 Introduction:
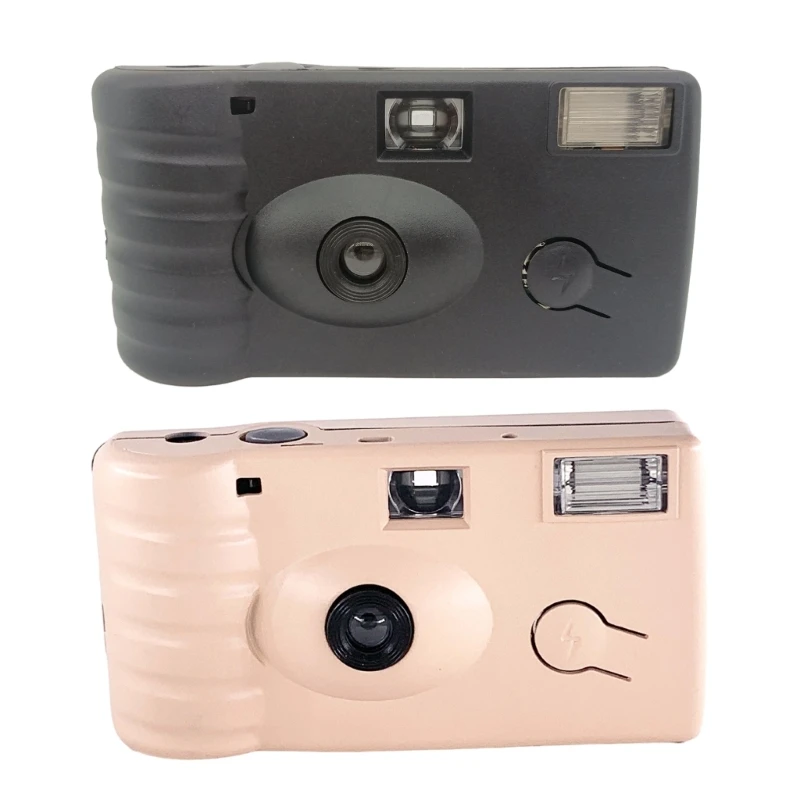
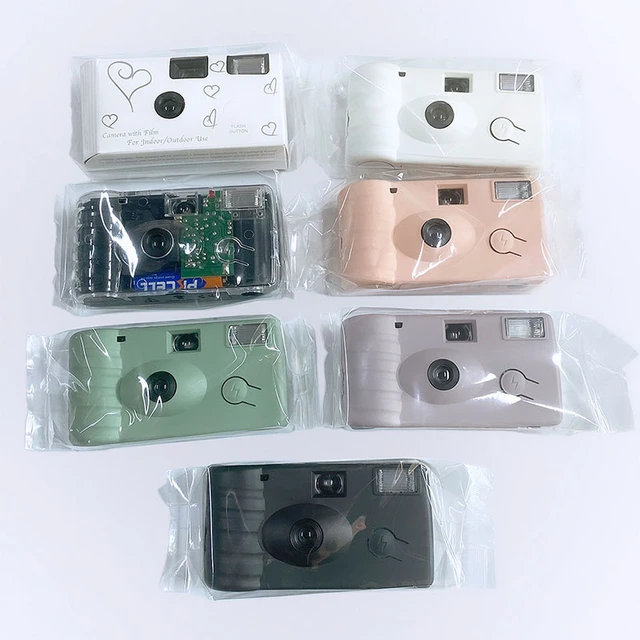
Disposable cameras, also known as single-use cameras, are popular for their simplicity and convenience when it comes to capturing moments without the need for expensive camera equipment or film processing. However, one common question that arises is how many pictures can be taken with a disposable camera. In this comprehensive guide, we will explore the factors that determine the number of pictures a disposable camera can take. By understanding film formats, exposures, and other considerations, you can make the most of your disposable camera and capture memorable moments with ease.
Disposable cameras have several advantages:
Convenience: Disposable cameras are compact, lightweight, and pre-loaded with film, making them convenient to carry around and use. They come ready to use without the need for additional equipment or accessories.
Easy to Use:
Disposable cameras are designed to be user-friendly, making them suitable for beginners or those who prefer a simple point-and-shoot experience. They typically have basic controls, allowing users to simply focus on framing and capturing the desired shots.
Cost-Effective:
Compared to purchasing a traditional film camera or a digital camera, disposable cameras are generally more affordable. They offer an economical option for capturing memories or specific events without a substantial investment.
Limited Options:
While it may seem counterintuitive, the limited features and options of disposable cameras can be seen as an advantage for some. Having fewer settings to adjust can encourage users to focus on composition and storytelling, rather than getting caught up in technical details.
Nostalgia and Surprises:
Disposable cameras can evoke a sense of nostalgia as they bring back the experience of waiting for film to be developed and the excitement of not knowing how the photos turned out until they are printed. This element of surprise adds a unique charm to disposable cameras and can make the process of capturing memories more enjoyable.
Exploration and Experimentation:
Disposable cameras offer an opportunity for users to experiment with different techniques, compositions, and lighting conditions without the immediate feedback and editing options available with digital cameras. This can lead to a more spontaneous and creative approach to photography.
Social Interaction:
Sharing disposable camera photos with others often involves physical prints rather than digital files. This can create a more tangible and interactive experience, allowing for instant sharing and discussions with friends and family.
These advantages make disposable cameras a popular choice for capturing memories, documenting special occasions, and embracing a unique and nostalgic approach to photography.
 Understanding Film Formats
35mm Film Format:
Most disposable cameras operate using 35mm film, which is a widely recognized and readily available format.
35mm film can yield between 24 and 36 exposures, depending on the specific camera model and film cartridge.
Advanced Film Formats:
Some disposable cameras utilize advanced film formats, such as APS (Advanced Photo System) or 110 film.
These formats can offer varying numbers of exposures, typically ranging from 15 to 40 frames.
Factors Affecting the Number of Pictures
Film Speed or ISO Rating:
The ISO rating of the film determines its sensitivity to light.
Higher ISO ratings indicate greater sensitivity and allow for faster shutter speeds, but may result in more apparent film grain.
Lower ISO ratings offer finer grain and better image quality but require more light for proper exposure.
Exposure Settings:
Disposable cameras generally lack manual controls for exposure settings such as aperture and shutter speed.
The camera’s built-in automatic exposure system determines the appropriate settings based on the available light.
Flash Usage:
Using the flash frequently can affect the total number of pictures a disposable camera can take.
The flash requires battery power, which may limit the number of exposures.
Tips for Maximizing Exposures
Film Roll Length:
Disposable camera film rolls are typically pre-loaded with a fixed number of exposures.
It is not possible to reload or unload the film midway through use.
Economical Camera Usage:
To maximize the number of pictures, consider using the camera sparingly or when the photo opportunity is most significant.
Avoid unnecessary shots or repetitive images to conserve film.
Lighting Considerations:
Ensure proper lighting conditions for each shot to minimize the need for flash usage.
Take advantage of natural light whenever possible.
Recycling the Camera:
After using a disposable camera, consider recycling the device to promote environmental sustainability.
Check local recycling programs or camera manufacturer guidelines for proper disposal methods.
Film Development and Processing
Developing Disposable Camera Film:
Once you have finished capturing your desired number of pictures, the next step is to have the film developed.
Disposable camera film can be processed at local photo labs, photography stores, or specialized film-processing services.
Digital Scanning and Sharing:
Some film-processing services provide digital scans of the developed negatives, allowing you to have digital copies of your analog images.
These digital files can be shared online, printed, or further edited using digital imaging software.
 Cleaning the sensor of a disposable camera:
Cleaning the sensor of a disposable camera requires careful handling as it is a delicate and sensitive component. Here are some important precautions to keep in mind:
Turn off the Camera:
Before cleaning the sensor, make sure the disposable camera is turned off to avoid accidentally activating any functions or causing damage.
Static Electricity:
Static electricity can potentially harm the sensor. To prevent this, ensure that you are working in a clean and static-free environment. Avoid wearing clothing that generates static and, if possible, work on an anti-static surface.
Gentle and Soft Cleaning Tools:
Use tools specifically designed for sensor cleaning, such as a sensor cleaning brush or a sensor cleaning swab. These tools are designed to be gentle on the sensor and minimize the risk of scratches or damage. Avoid using regular household cleaning tools or materials as they can cause more harm than good.
Avoid Direct Contact:
Refrain from touching the sensor with your fingers or any other material. Even the smallest particles or oils on your hands can cause smudges or leave residues on the sensor.
Proper Technique:
Follow proper cleaning techniques recommended by the camera manufacturer or consult professional advice if available. This usually involves using a gentle sweeping or dabbing motion to clean the sensor. Be gentle and avoid applying excessive force or pressure.
Cleaning Solution:
If a cleaning solution is required, use a specialized sensor cleaning solution recommended by the camera manufacturer or a reputable source. Apply only a small amount of solution to the cleaning tool and avoid excessive or direct application to the sensor.
Test Shots:
After cleaning the sensor, take some test shots to ensure that the cleaning was effective and to confirm if any further cleaning is required.
It’s important to note that disposable cameras are often designed for one-time use and may not be intended for sensor cleaning. If you are unsure or uncomfortable with cleaning the sensor yourself, it is advisable to consult a professional camera technician or contact the camera manufacturer for guidance.
 Conclusion:
The number of pictures a disposable camera can take depends on various factors such as film format, exposure settings, and flash usage. With 35mm film, the most common format, a disposable camera usually offers between 24 and 36 exposures. Advanced film formats like APS or 110 film may provide fewer or more exposures. Maximizing the number of pictures can be achieved by using the camera judiciously, considering lighting conditions, and reducing unnecessary shots. Remember to have the film developed after capturing your desired number of pictures and explore options for digital scans to preserve and share your analog images. Disposable cameras offer a nostalgic and straightforward approach to photography, allowing you to capture moments with ease and simplicity. Enjoy the process of capturing memories and cherishing the uniqueness of analog photography

 Introduction:
 Understanding Film and Exposures
 Developing and Printing the Film
 Some general cleaning precautions to keep in mind:
 Conclusion:
 Introduction:
 Some key advantages of Blink Cameras:
 Overview of Blink Camera Warranty
 Blink Camera and Ring Camera:
 Conclusion:
 Introduction:
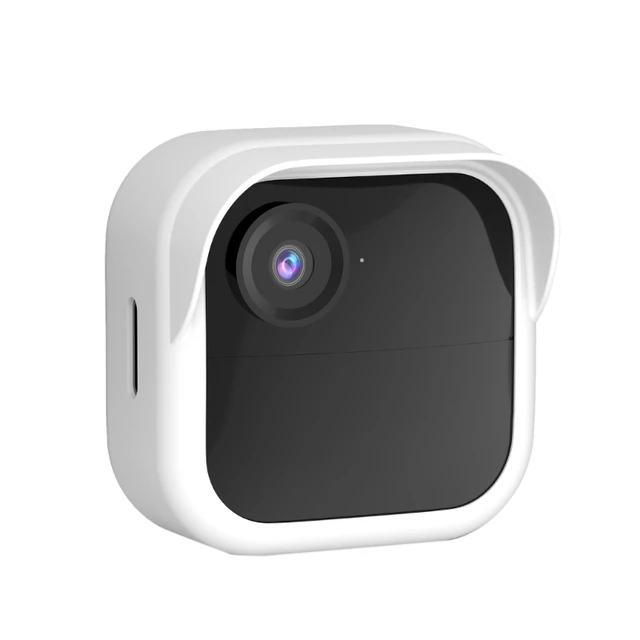 Some potential risks and consequences of a Blink camera not recording:
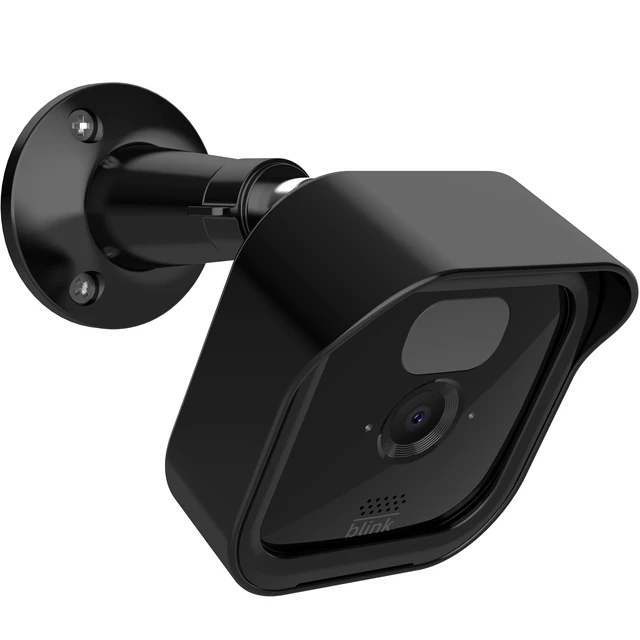 Power and Connectivity
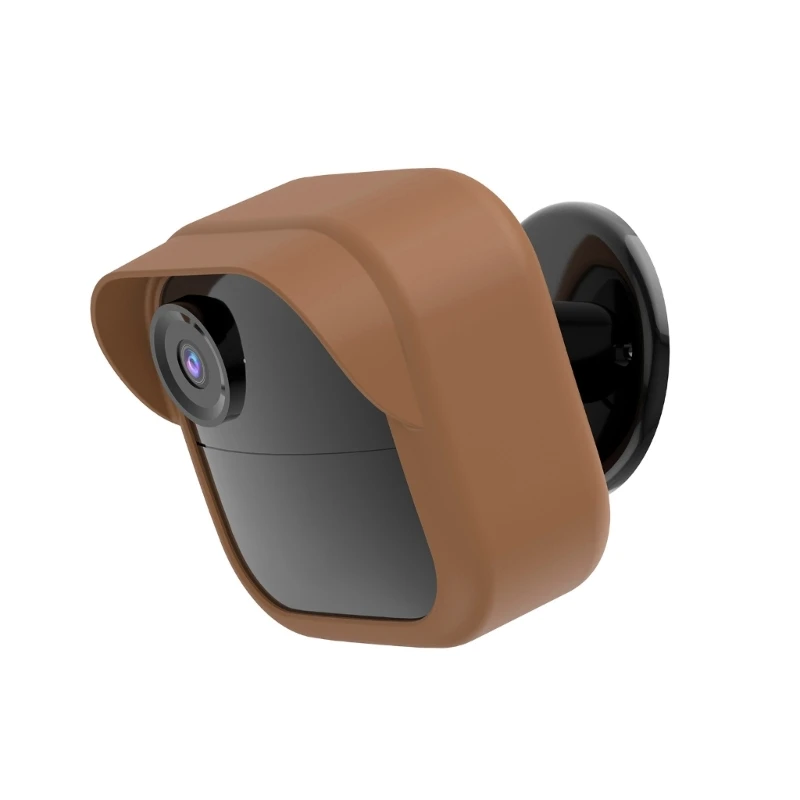 Camera Maintenance and Environment
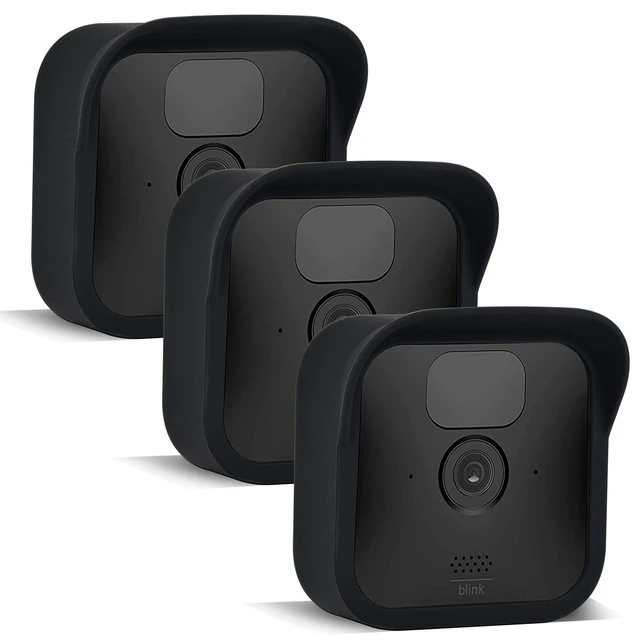 Conclusion:
 Introduction:
 A brief overview of the evolution of cameras:
 Lens Elements
 Lens Controls and Features
 Conclusion:
 Introduction:
 Common Scenarios and Troubleshooting
 Here are the distinctions between Blink Camera and Ring Camera:
 Here are some potential development trends we might observe with Blink Camera:
 Conclusion:
 Introduction:
 Here are some common types of cameras:
 Connecting a Digital Camera
 If a camera is not working while trying to connect it to a computer
 Conclusion:
 Introduction:
 Advantages of Mini USB
 Transition to Micro USB
 Here are some key trends in the evolution of Mini USB:
 Conclusion:
 Introduction:
 Disabling the Camera Temporarily
 Alternate Power Modes
 Cleaning the sensor of a ring camera
 Conclusion:
 Introduction:
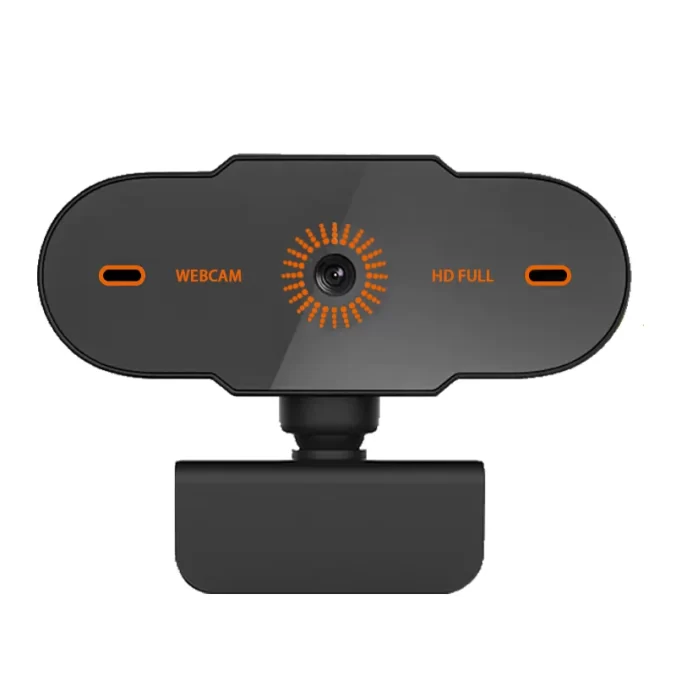
 There are generally two types of laptop cameras commonly found in laptops:
 Here are some key uses and functions of a laptop camera:
 Here are some daily maintenance and cleaning tips for laptop cameras:
 Conclusion: