Introduction
For tech enthusiasts, a workspace isn’t just about functionality — it’s a reflection of their passion for all things technology. One of the most innovative and stylish ways to personalize your setup is with a PCB computer parts mouse pad. These unique accessories combine practicality with a distinct aesthetic, making them an excellent addition to any desktop configuration. This guide delves into the best PCB computer parts mouse pads available, examining their features, benefits, and why they have become a must-have for tech lovers everywhere.
The Appeal of PCB Computer Parts Mouse Pads
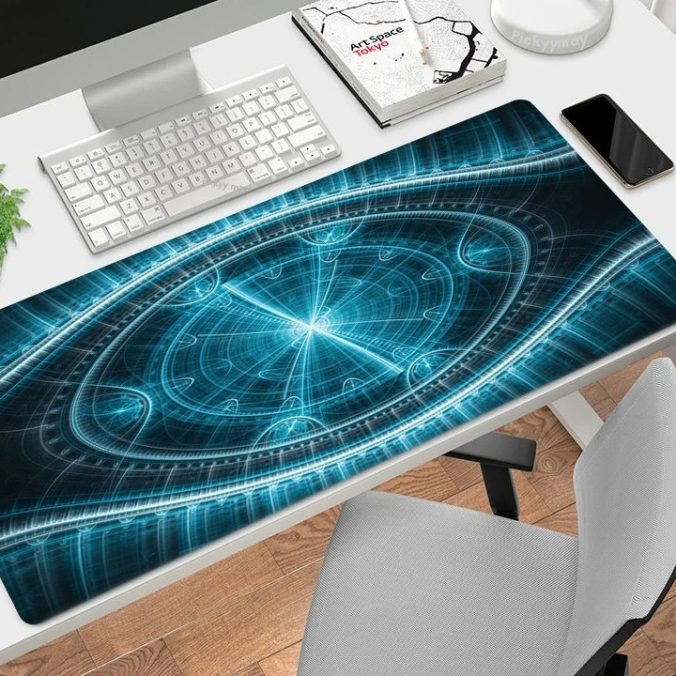
PCB computer parts mouse pads are more than just a surface for your mouse. They represent the intricate beauty of electronics. Printed Circuit Boards (PCBs) are the heart of modern technology, and integrating their designs into mouse pads offers a glimpse into the inner workings of devices we rely on daily. This aesthetic not only appeals to the visually inclined but also to those who appreciate the craftsmanship and engineering behind technology.
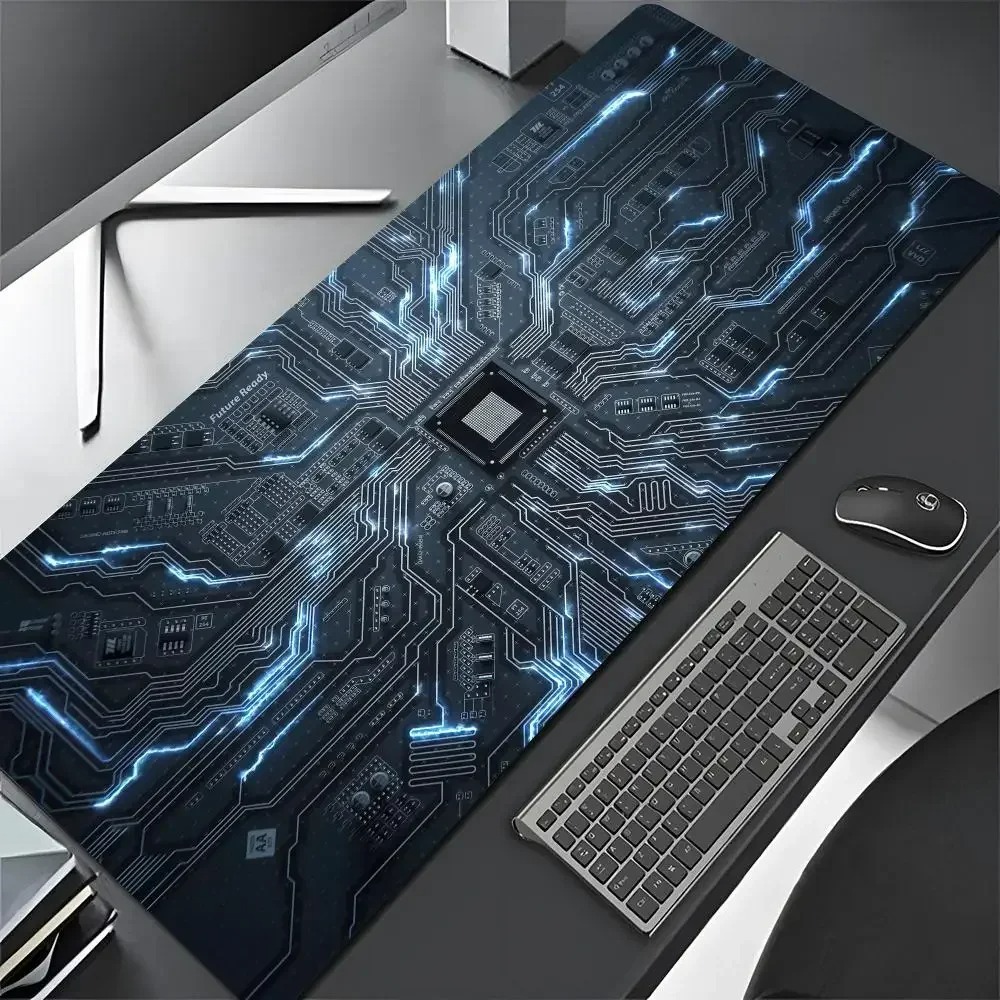
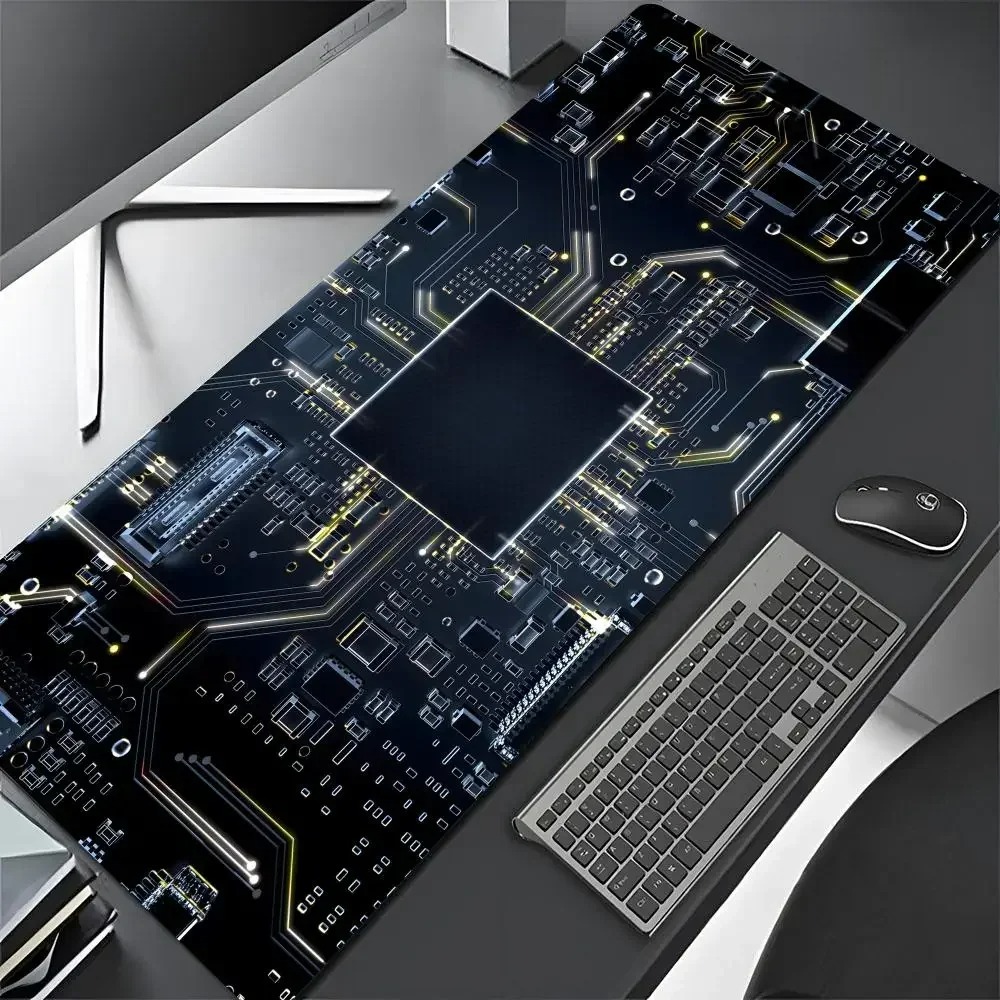
These mouse pads come with various designs, featuring detailed illustrations of circuit board layouts, microprocessors, and other electronic components. They offer a visually engaging element that can spark conversations and inspire creativity. Moreover, they’re crafted with high-quality materials, ensuring durability and enhancing the overall user experience.
Key Factors to Consider When Choosing a PCB Computer Parts Mouse Pad
Material Quality and Durability
One of the first things to consider when selecting a PCB computer parts mouse pad is the material. A quality mouse pad should offer a smooth, consistent surface that allows for precise mouse movements. Most high-end PCB mouse pads feature materials like neoprene or high-density rubber, which provide excellent grip and stability on your desk. Additionally, the top layer is usually made from a fine-textured fabric that ensures optical and laser mice can move effortlessly.
Durability is another critical factor. The best mouse pads are designed to withstand prolonged use without fraying or losing their shape. Edge stitching often adds to the pad’s longevity by preventing the edges from curling or splitting.
Design and Aesthetic Appeal
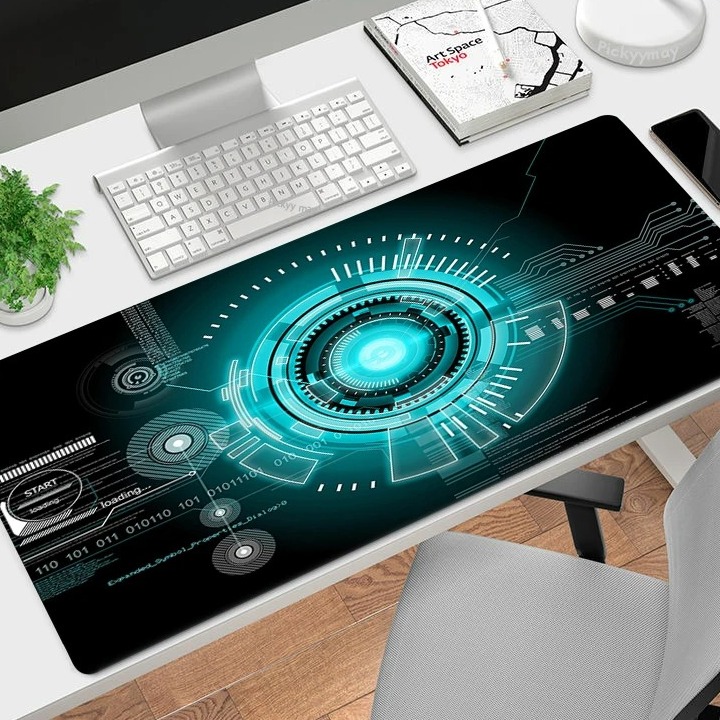
The design is where PCB computer parts mouse pads truly shine. These pads are available in countless patterns, each showcasing different elements of circuit anatomy. Some feature highly detailed, lifelike representations of PCBs, while others offer more abstract, artistic interpretations. When choosing a design, consider what appeals to your personal taste and how it complements the overall look of your workspace.
It’s also worth noting that some manufacturers use high-definition printing techniques to ensure the design remains vivid and clear, even after extensive use. The colors and details of the PCB design should remain sharp, enhancing the pad’s visual appeal.
Performance and Functionality
Beyond aesthetics, a good mouse pad must enhance your performance, particularly if you’re involved in gaming or design work. Look for pads with a smooth surface that allows for rapid and accurate mouse movements. Some PCB mouse pads also come with features like non-slip bases to keep them firmly in place during intense activities.
Consider the thickness of the mouse pad as well. Thicker pads can provide a more cushioned feel, which can be beneficial during long periods of use. Conversely, thinner pads offer a closer connection to the desktop, which some users prefer for a more direct and controlled experience.
Top PCB Computer Parts Mouse Pads on the Market
1. Infinikey Ultra-Premium PCB Mouse Pad
Infinikey’s Ultra-Premium PCB Mouse Pad stands out for its exceptional quality and striking design. Crafted from high-density neoprene, it features a durable, anti-slip rubber base and a smooth, micro-textured surface. The pad showcases a highly detailed PCB design, printed in high resolution to ensure every line and component remains crisp and clear.
The pad’s edges are reinforced with robust stitching, preventing fraying and ensuring longevity. Measuring 900mm x 400mm, it offers ample space for both your keyboard and mouse, making it an ideal choice for gamers and designers alike. Its blend of functionality and aesthetic appeal makes it a top contender in the PCB mouse pad market.
2. Glorious PC Gaming Race XXL Extended PCB Mouse Pad
Designed for avid gamers, the Glorious PC Gaming Race XXL Extended PCB Mouse Pad combines performance with a visually appealing PCB design. The pad’s extended size (910mm x 460mm) ensures plenty of room for swift, unrestricted mouse movements. It features a high-quality cloth surface that provides excellent tracking for both optical and laser mice.
The anti-fray stitched edges enhance durability, while the non-slip rubber base keeps the pad securely in place. The detailed PCB design is rendered in high resolution, making it an eye-catching addition to any setup. This mouse pad is perfect for those who demand both top-notch performance and standout aesthetics.
3. Corsair MM300 Pro PCB Edition
Corsair’s MM300 Pro PCB Edition is a premium mouse pad tailored for tech enthusiasts who value precision and quality. The pad’s textile-weave surface is optimized for low-friction tracking, making it ideal for fast-paced gaming or meticulous design work. Its anti-skid rubber base ensures stability, even during intense activity.
Measuring 930mm x 300mm, the MM300 Pro provides a spacious area for both your keyboard and mouse. The PCB design, printed with wear-resistant technology, remains vibrant and intact over time. Its durability, combined with its sleek appearance, makes it a worthwhile investment for any tech aficionado.
4. HyperX Fury S XL PCB-Themed Mouse Pad
HyperX is known for its high-performance gaming accessories, and the Fury S XL PCB-Themed Mouse Pad is no exception. Featuring a seamless, anti-fray stitched edge, this pad is built to last. The surface is densely woven, offering a smooth and consistent texture that enables precise mouse control.
The non-slip rubber base keeps the pad in place, no matter how dynamic your movements. The detailed PCB design is a standout feature, adding a touch of technological elegance to your setup. Large enough to accommodate both keyboard and mouse with its 900mm x 400mm dimensions, the HyperX Fury S XL delivers both form and function.
5. Razer Goliathus Extended Chroma PCB Edition
For those who want to add a splash of color to their setup, the Razer Goliathus Extended Chroma PCB Edition is the perfect choice. This mouse pad not only features a striking PCB design but also comes with customizable Chroma RGB lighting. With 16.8 million color options, you can personalize the lighting to match the rest of your gaming rig or workspace.
The pad’s micro-textured cloth surface provides perfect balance, enhancing mouse control and responsiveness. The anti-slip rubber base keeps it stationary, while the extended size offers ample room for your keyboard and mouse. Combining visual appeal with high-performance features, the Razer Goliathus Extended Chroma is ideal for tech enthusiasts looking to make a bold statement.
Caring for Your PCB Computer Parts Mouse Pad
Cleaning Tips
To maintain the aesthetic and functional quality of your PCB mouse pad, regular cleaning is essential. Start by shaking off loose debris and dust. For more thorough cleaning, use a damp cloth with mild soap to gently wipe down the surface. Avoid soaking the pad, as excessive moisture can damage the materials.
If your mouse pad is machine washable (check the manufacturer’s guidelines), you can place it in a gentle cycle with mild detergent. After washing, air dry the pad flat to maintain its shape and structure. Regular cleaning can help prevent the buildup of dirt and oils, keeping your pad looking fresh and new.
Storage and Maintenance
To extend the lifespan of your PCB mouse pad, proper storage is crucial. When not in use, ensure the pad is stored in a cool, dry place away from direct sunlight, which can cause fading and deterioration. Avoid folding or creasing the pad; instead, roll it lightly to prevent permanent bends or marks.
Inspect the edges and surface regularly for signs of wear. If you notice any fraying or detachment, address these issues promptly to prevent further damage. By taking care of your mouse pad, you can enjoy its aesthetic and functional benefits for years to come.
Conclusion: Enhancing Your Tech Setup with a PCB Mouse Pad
PCB computer parts mouse pads offer a unique blend of style and functionality, making them a perfect addition for any tech enthusiast’s workspace. With numerous designs and features to choose from, you can find a mouse pad that not only meets your practical needs but also reflects your passion for technology.
Whether you’re looking for a high-performance gaming surface, a durable and aesthetic addition to your desk, or a stylish conversation piece, PCB mouse pads deliver on all fronts. By considering factors like material quality, design, performance, and proper maintenance, you can select the ideal mouse pad that enhances both your setup and your overall tech experience.