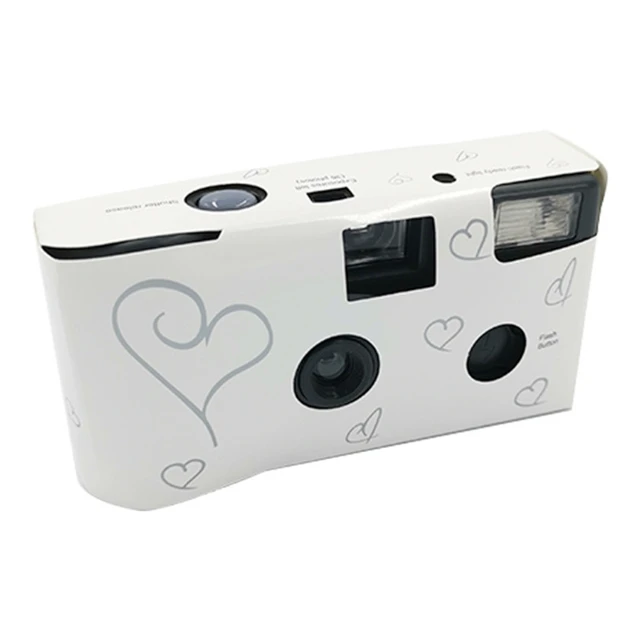
 Introduction:
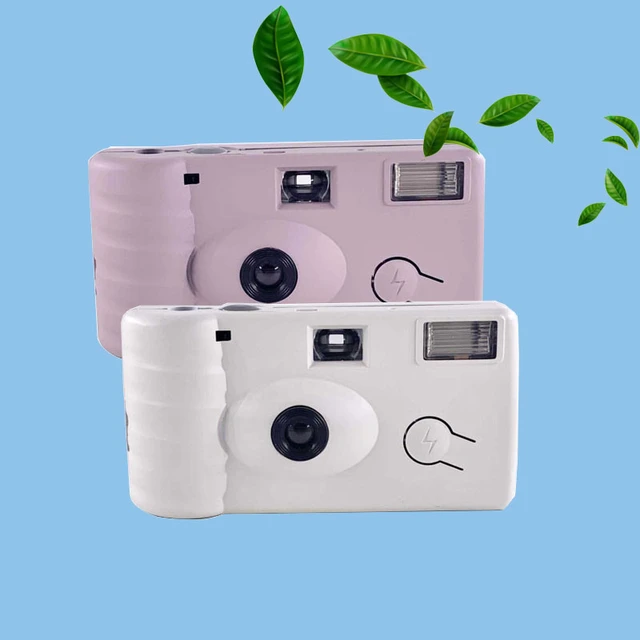
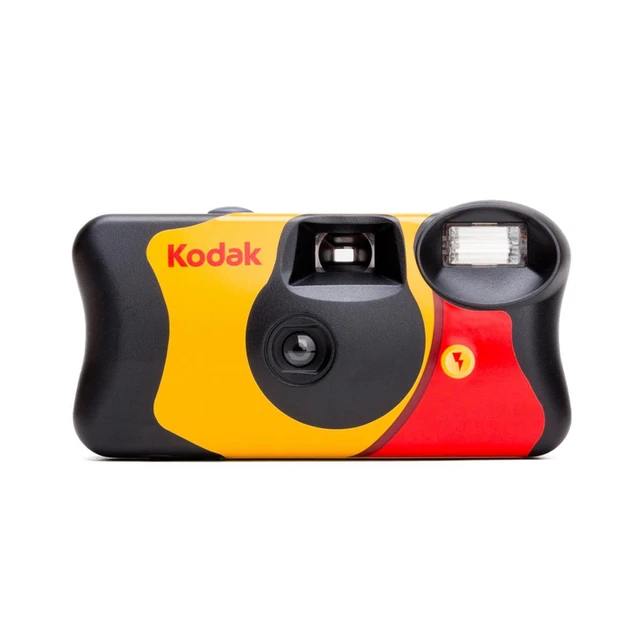
Disposable cameras have long been popular for their convenience and nostalgic appeal. However, many people wonder, “How many pictures does a disposable camera take?” In this comprehensive guide, we will explore the factors that determine the number of pictures and exposures in a disposable camera. By understanding the concepts of film and exposures, you can make the most of your disposable camera and capture memorable moments with ease.
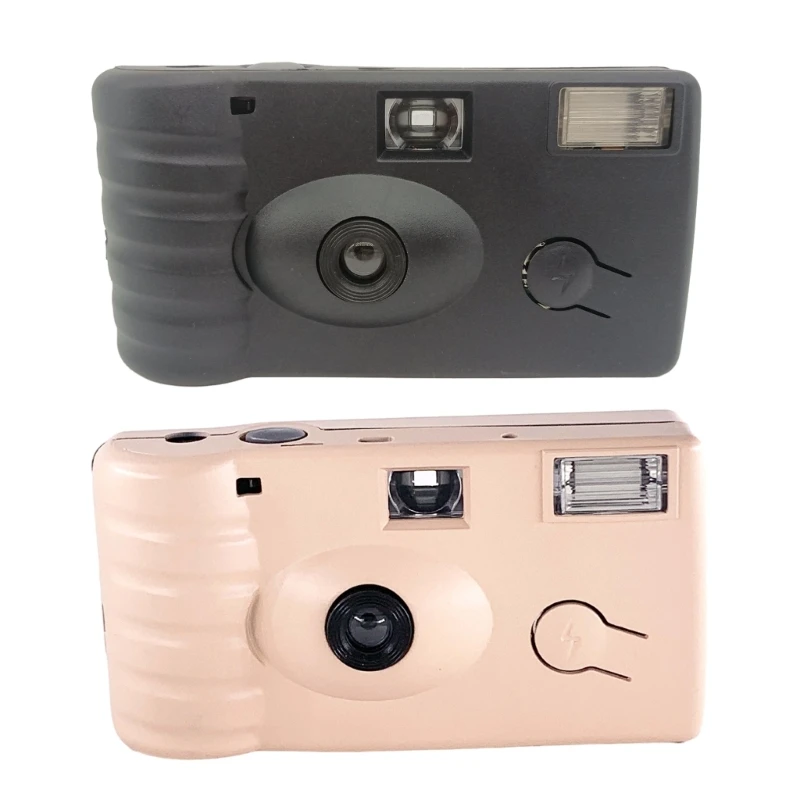 Understanding Film and Exposures
Film Format:
Disposable cameras typically use 35mm film, which is a widely used format for still photography.
The 35mm film comes in a roll, with each frame used for capturing a single image.
Exposures:
Each frame on the roll of film represents one exposure opportunity.
An exposure occurs when the camera’s shutter opens, allowing light to reach the film and create an image.
Factors Affecting Number of Exposures
Film Length:
Disposable cameras come with various film lengths, typically ranging from 24 to 36 exposures.
The film length refers to the number of exposures available before the film needs to be rewound and developed.
User Settings:
Disposable cameras generally don’t have user-adjustable settings, such as aperture or shutter speed.
The camera’s settings are pre-determined for optimal exposure in different lighting conditions.
Maximizing the Number of Exposures
Film Advance:
After each exposure, the camera needs to advance the film to the next frame for the next photo.
Properly advancing the film ensures that you can maximize the number of exposures and avoid accidental double exposures.
Avoiding Accidental Exposures:
To avoid unintentional exposures, ensure that the lens cap or camera cover is securely in place when not taking photos.
It’s also essential to handle the camera with care to prevent accidental button presses or film winding.
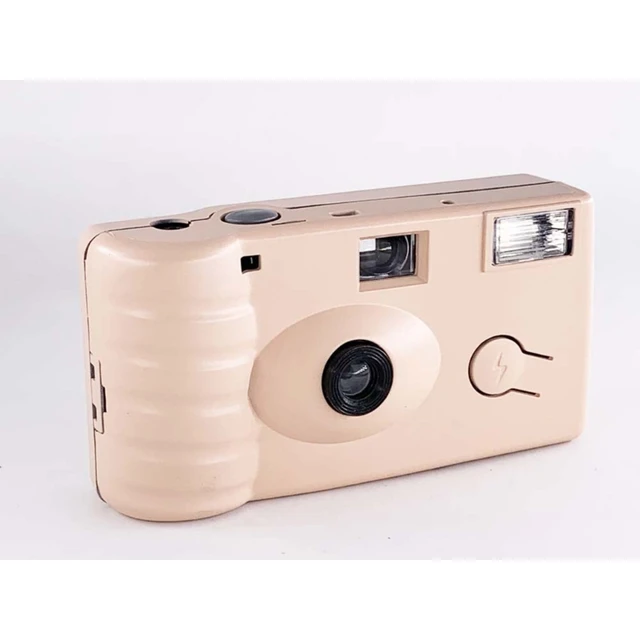 Developing and Printing the Film
Rewinding the Film:
When you’ve taken the desired number of pictures, rewind the film back into the disposable camera.
Follow the camera’s instructions for proper film rewinding to avoid damaging the film.
Film Development:
Once the film is rewound, it needs to be developed at a professional lab or a photo processing service.
Select a reputable lab that specializes in developing 35mm film for the best results.
Prints and Digital Scans:
After film development, you can choose to have physical prints made or opt for digital scans of your images.
Digital scans allow for easy sharing and digital archiving, while prints offer a tangible and nostalgic feel.
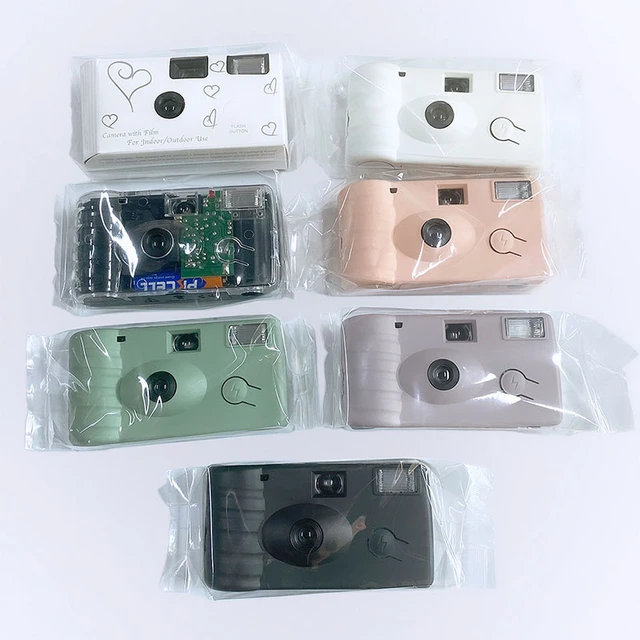 Some general cleaning precautions to keep in mind:
When it comes to cleaning a disposable camera sensor, it’s important to note that disposable cameras are typically designed as single-use devices and do not have sensors like digital cameras. However, if you are referring to the lens or the outer surface of the camera, here are some general cleaning precautions to keep in mind:
Handle with Clean Hands:
Before cleaning any part of the disposable camera, ensure that your hands are clean and free from dirt, grease, or other contaminants. This helps prevent transferring any debris onto the lens or other surfaces.
Use a Soft Brush or Blower:
For dust or loose particles on the lens, gently use a soft brush or a blower to remove them. Avoid using compressed air cans, as the pressure can be too high and may damage the lens or camera.
Avoid Excessive Pressure:
When cleaning the outer surfaces, take care not to apply excessive pressure or force, as it can scratch or damage the camera’s plastic body or the lens.
Use Lens Cleaning Solutions:
If fingerprints or smudges are present on the lens, use a lens cleaning solution specifically designed for camera lenses. Apply a small amount of the solution to a microfiber cloth and gently wipe the lens in a circular motion. Avoid applying the solution directly to the lens itself.
Be Mindful of Water Exposure:
Disposable cameras often have a waterproof or water-resistant design. However, it is essential to follow the manufacturer’s instructions and guidelines regarding water exposure. If you need to clean the camera with water, make sure it is compatible with water exposure and dry it thoroughly before use.
Avoid Harsh Chemicals:
Avoid using harsh chemicals or household cleaners to clean the camera, as they can damage the lens coating or other components. Stick to lens-specific cleaning solutions or mild, alcohol-free solutions recommended for camera cleaning.
Remember to check the specific instructions provided by the disposable camera manufacturer as cleaning methods or recommendations can vary based on the camera’s model and design. If in doubt, it is best to consult the manufacturer’s guidelines or seek assistance from a professional camera technician.
Disposable cameras are typically not designed to be connected directly to a computer or to transfer digital files. They are designed to capture images on film, which needs to be developed and printed before being able to view the photos.
Digitize the photos taken with a disposable camera and transfer them to your computer:
If you want to digitize the photos taken with a disposable camera and transfer them to your computer, you will need to use a film scanner or opt for professional film developing services that offer digital scanning options. Here’s how you can go about it:
Develop the Film: Take the disposable camera to a photo lab or film processing service to have the film developed. They will process the film and provide you with physical prints or negatives.
Opt for Digital Scanning: At the time of developing, you can request the lab to scan the negatives or prints and provide you with digital files. They may either provide the digital images on a CD, DVD, or USB drive, or send them to you via email or through a cloud storage service.
Use a Film Scanner: If you prefer to scan the negatives yourself, you can invest in a film scanner or rent one. Film scanners are designed specifically for converting analog film to digital files. Follow the instructions provided with the scanner to scan the negatives and save them to your computer.
Transfer and Organize: Once you have the digital files on your computer, you can transfer them to a specific folder or use photo-editing software to organize and edit them as desired.
Remember, disposable cameras were primarily meant for capturing photos in analog format, and their use is not directly compatible with transferring images to a computer. The above methods allow you to convert the film images into digital files for easy access and sharing.
 Conclusion:
The number of pictures and exposures in a disposable camera depends on the film length, typically ranging from 24 to 36 exposures. Understanding the concepts of film and exposures allows you to make the most of your disposable camera and capture memorable moments. By properly advancing the film, avoiding accidental exposures, and handling the camera with care, you can maximize the number of exposures and ensure successful image capture. Remember to rewind the film and have it professionally developed for physical prints or digital scans. Embrace the simplicity and nostalgia of disposable cameras and enjoy the anticipation of seeing your moments come to life.
Leave a Reply