 Introduction:
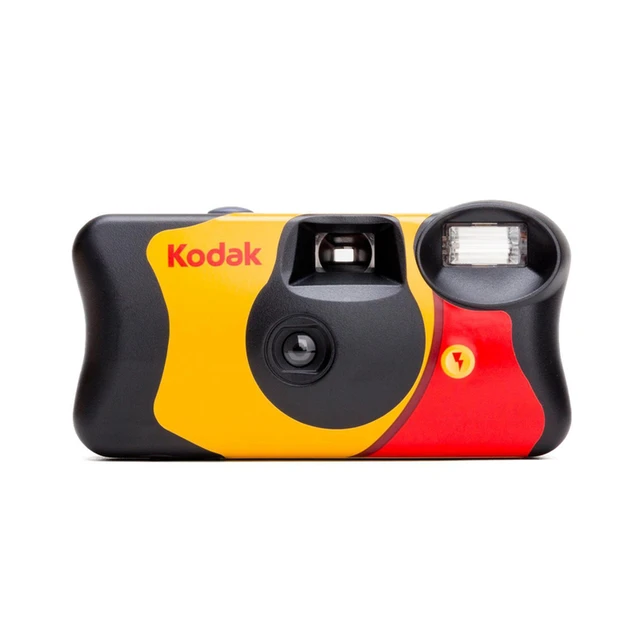
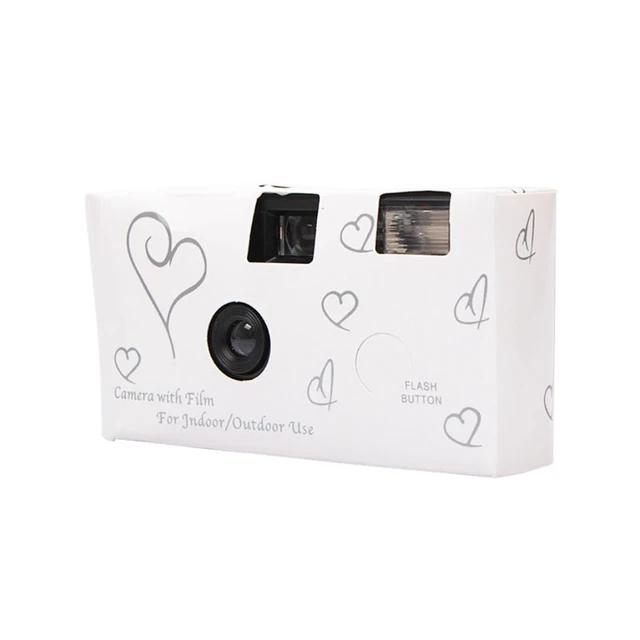
Disposable cameras provide a nostalgic and fun way to capture moments without the complexity of digital photography. However, many people are uncertain about the number of pictures a disposable camera can capture before it needs to be replaced or developed. In this comprehensive guide, we will explore the factors that determine the capacity of a disposable camera, such as film format and settings, and provide practical tips for maximizing the number of pictures taken. By understanding these aspects, you can confidently use a disposable camera and capture memories to be cherished.
 Understanding Disposable Camera Types and Film Formats
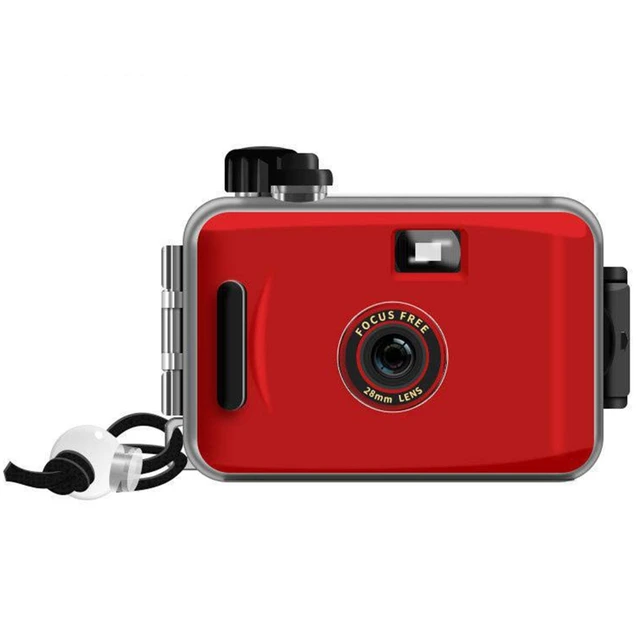
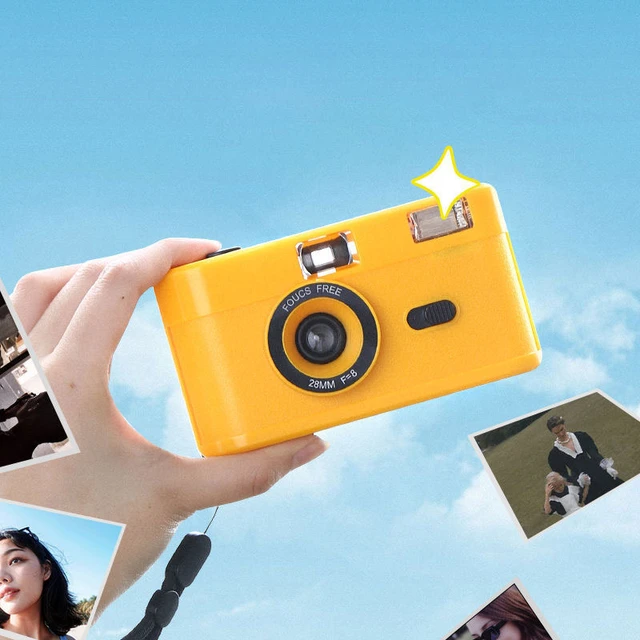
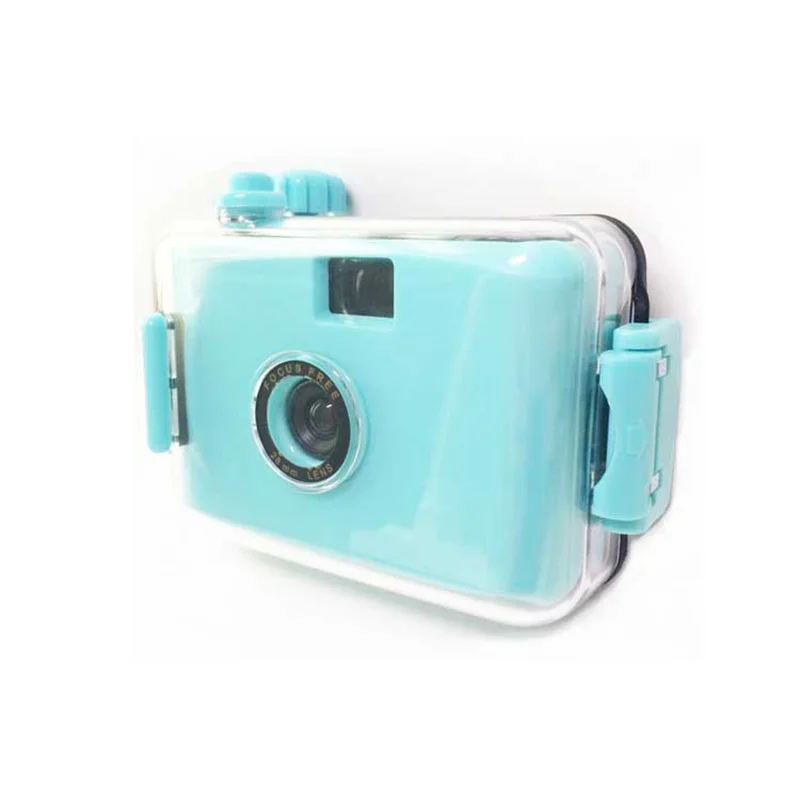
Fixed Focus Cameras:
Fixed focus disposable cameras have a pre-set focus distance, typically around 4-5 feet.
These cameras are simple to use and are often found at lower price points.
Zoom or Autofocus Cameras:
Some disposable cameras feature a zoom or autofocus mechanism to adjust the focus distance as desired.
These cameras offer more versatility but may be slightly more expensive.
Film Formats:
Disposable cameras generally use 35mm film, which can yield varying numbers of exposures depending on the camera model and film format used.
Film formats include standard 24-exposure and 27-exposure rolls, as well as extended 36-exposure rolls.
Battery system in a disposable camera:
Power Source: Disposable cameras typically have a built-in battery system that powers their automatic functions. These batteries are often small and non-rechargeable.
Non-Rechargeable Batteries: Disposable cameras generally use non-rechargeable batteries, meaning that once the battery is depleted, it cannot be recharged or replaced. The specific type and size of the batteries vary depending on the camera model.
Battery Life: The battery life of a disposable camera is designed to last for the duration of the film inside the camera. Manufacturers typically estimate the battery life based on the average number of exposures the camera can take.
Automatic Functions: The battery in a disposable camera is responsible for powering its automatic functions, such as the flash, autofocus, or motor drive for film advancement. The battery is activated when the camera is turned on and remains active until its energy is depleted.
Single-Use Design: Disposable cameras are intended for single-use, meaning they are used until the film is exhausted. Once the film is used up or the battery dies, the entire camera is typically disposed of or sent for film development.
Please note that while disposable camera batteries cannot be replaced or recharged, some specialty disposable cameras may come with built-in rechargeable batteries. However, these are relatively rare, and the majority of disposable cameras still use non-rechargeable batteries.
 Factors Influencing the Number of Pictures
Film Roll Length:
The length of the film roll loaded into the disposable camera determines the number of pictures it can capture.
Standard 24-exposure and 27-exposure rolls have a lower capacity compared to extended 36-exposure rolls.
Film Advance Mechanism:
Some disposable cameras have a fixed film advance mechanism, meaning each exposure advances the film automatically.
Others may allow manual film advancements, enabling the user to control the number of exposures more precisely.
Flash Usage:
The use of the flash affects the battery life of the disposable camera.
Constant flash usage may consume more power, limiting the total number of pictures that can be taken.
Section 3: Tips for Maximizing Picture Taking
Avoid Film Waste:
Be mindful of the number of exposures taken to avoid wasting film on unnecessary shots.
Consider framing and composition before pressing the shutter button.
Use Natural Lighting:
Whenever possible, utilize natural light sources to reduce the reliance on flash photography.
Natural lighting can provide more flexibility in exposure settings and save battery power.
Conserving Battery Life:
Limit the use of the flash to essential situations where additional light is required.
Avoid leaving the camera on or using excessive flash to conserve battery power for a greater number of exposures.
 Maintenance tips:
Maintenance tips to keep in mind when handling disposable cameras to ensure optimal image quality:
Keep the Lens Clean: The lens of a disposable camera is crucial for capturing clear and sharp images. Avoid touching the lens with your fingers, as it can leave smudges or fingerprints. If necessary, gently wipe the lens with a clean, soft cloth to remove any dirt or debris.
Protect from Moisture and Extreme Conditions: Disposable cameras are designed for single-use and may not have robust protection against moisture or extreme conditions. Avoid exposing them to water, high humidity, extreme temperatures, or direct sunlight, as these factors can jeopardize the film and potentially affect image quality.
Handle with Care: Disposable cameras are typically made of plastic and may not be as durable as more robust camera equipment. Handle them with care to avoid accidentally dropping or damaging them, as this can impact their functionality and image quality.
Proper Storage: Store disposable cameras in a cool, dry place until they are ready to be developed. Avoid storing them in areas with high humidity, direct sunlight, or extreme temperatures, as these conditions can damage the film inside the camera.
Develop the Film Promptly: Since disposable cameras have pre-loaded film, it’s important to develop the film promptly after use. The longer you wait, the higher the risk of degraded image quality due to aging or exposure to unfavorable conditions.
Remember that disposable cameras are designed for convenience and simplicity, and their image quality may not match that of advanced digital cameras. However, by following these basic maintenance tips, you can help ensure the best results from your disposable camera and capture lasting memories.
 Conclusion
Determining the number of pictures a disposable camera can take depends on various factors such as film format, camera model, and usage habits. Understanding the limitations and considerations discussed in this comprehensive guide allows for better planning and more efficient use of a disposable camera. Remember to consider the film roll length, film advance mechanism, and flash usage when estimating the number of pictures available. By following tips to maximize picture-taking, such as avoiding film waste and conserving battery life, you can make the most out of your disposable camera and capture cherished moments. Let this guide serve as a valuable resource in using and maximizing the number of pictures taken with a disposable camera.
 Introduction:
 Tips for Maximizing Battery Life
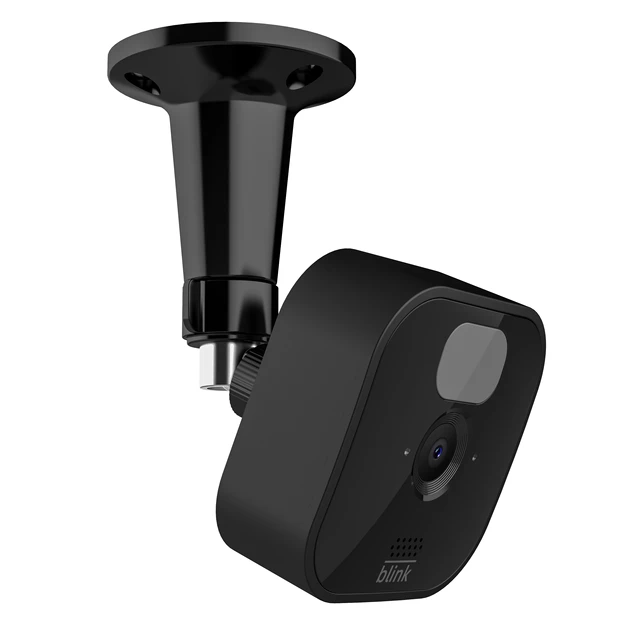 Blink cameras and Ring cameras:
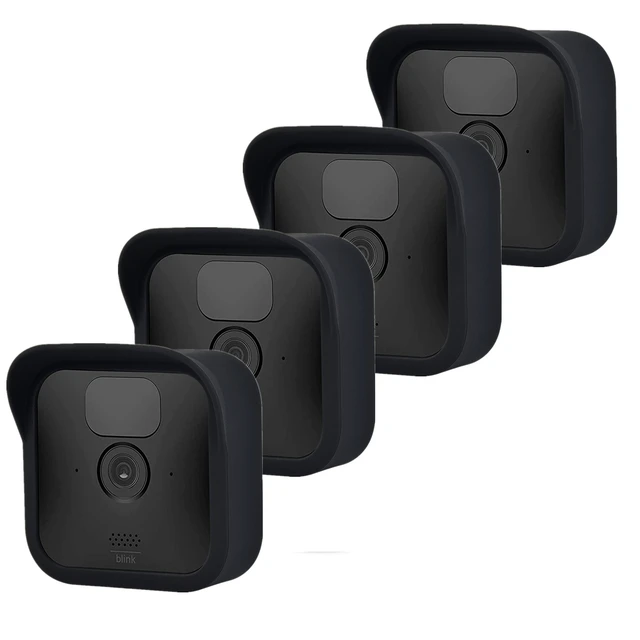
 Blink cameras offer several advantages:
 Conclusion:
 Introduction:
 Some key advantages of cameras:
 Key Figures in Camera Invention
 Some essential tips for camera maintenance:
 Conclusion:
 Introduction:
 Some common types of cameras:
 The Predecessors of the Camera
 Camera Evolution and Technological Advancements
 Conclusion:
 Introduction:
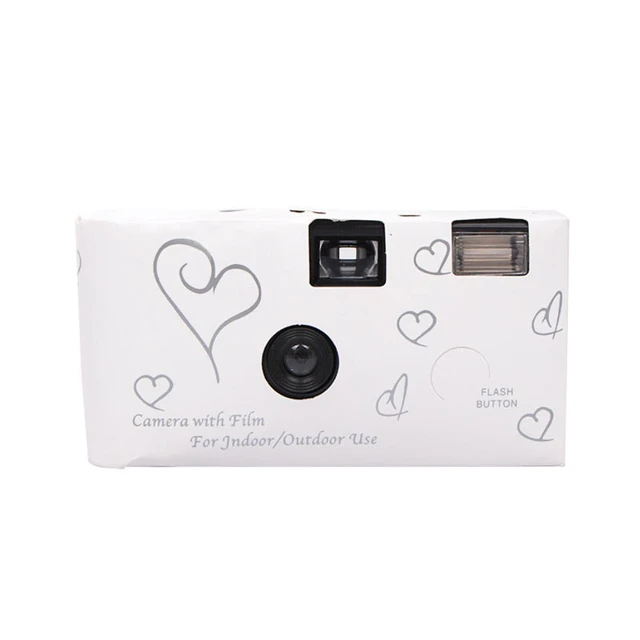 Understanding Film Formats
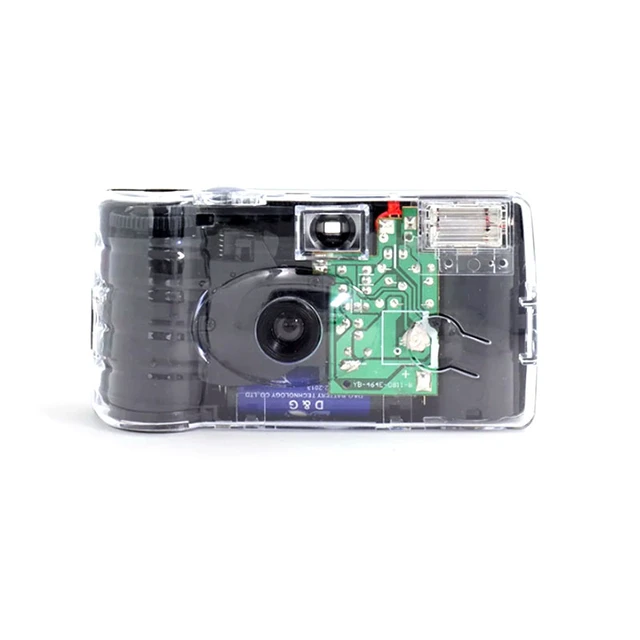 Cleaning the sensor of a disposable camera:
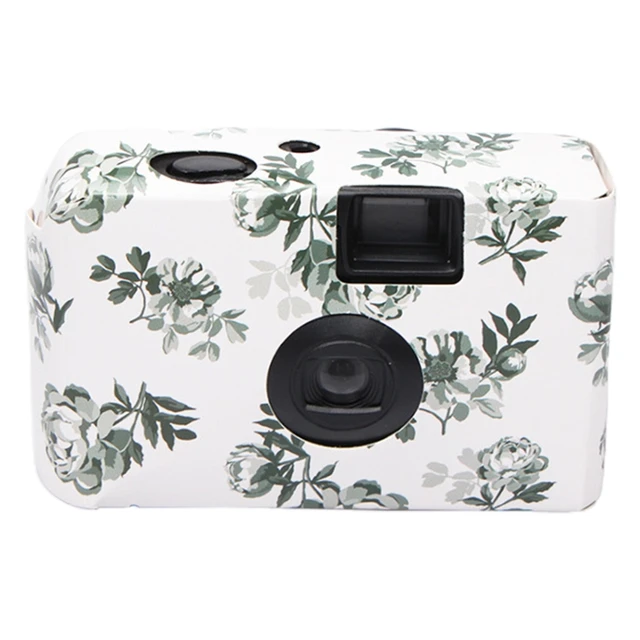 Conclusion:
 Introduction:
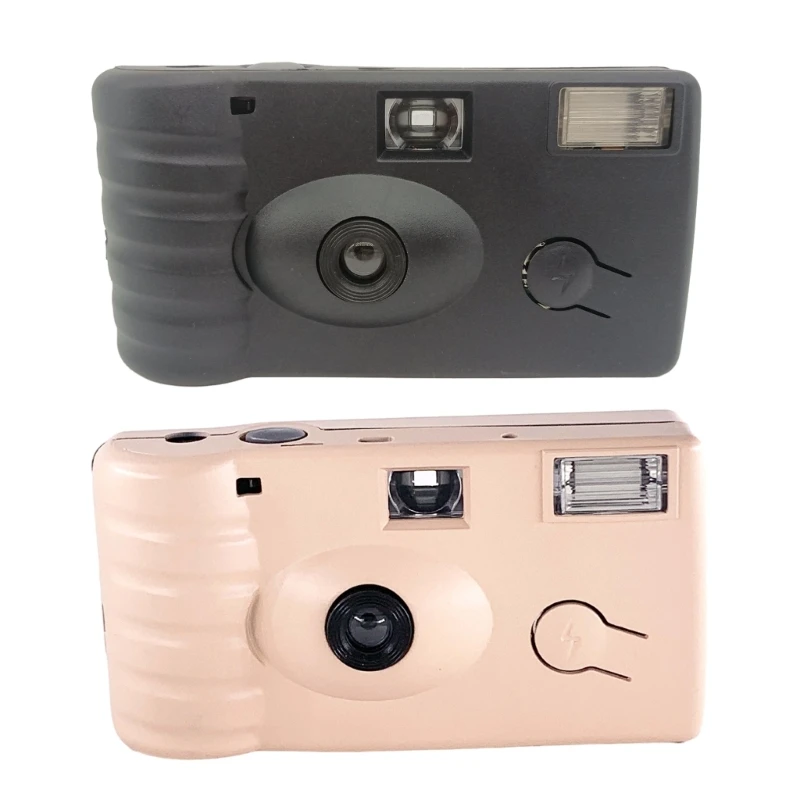 Understanding Film and Exposures
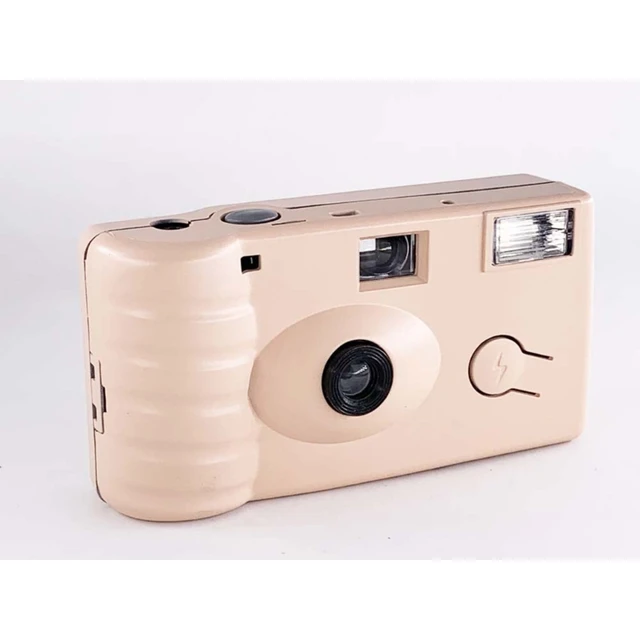 Developing and Printing the Film
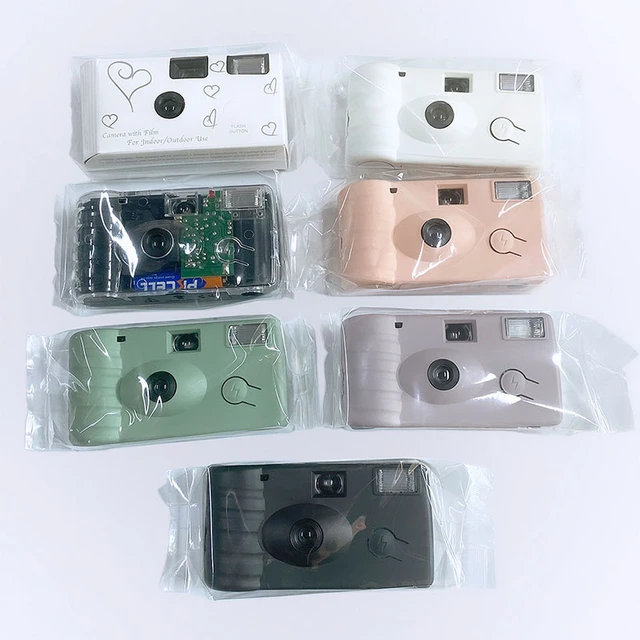 Some general cleaning precautions to keep in mind:
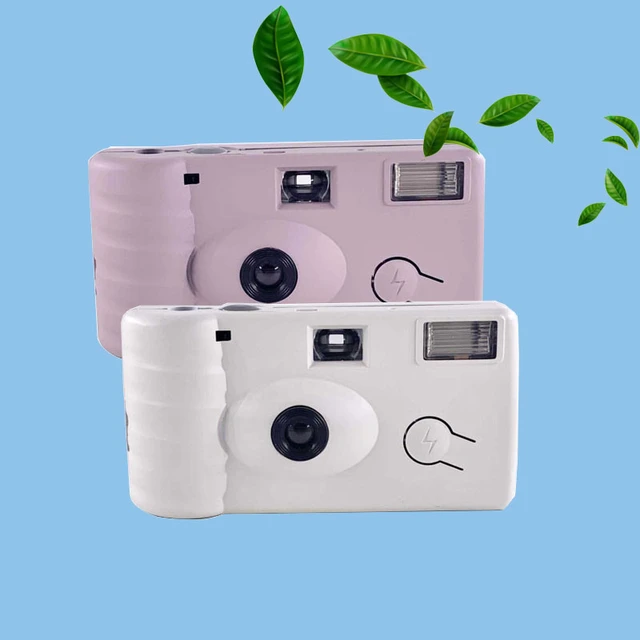 Conclusion:
 Introduction:
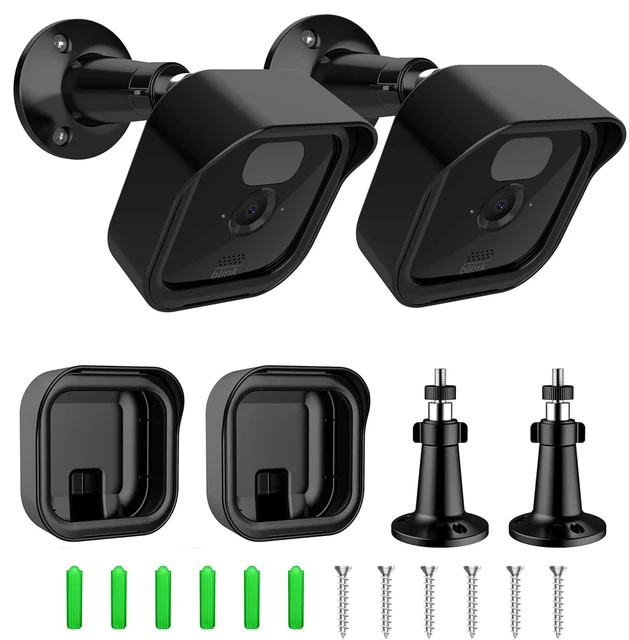
 Some key advantages of Blink Cameras:
 Overview of Blink Camera Warranty
 Blink Camera and Ring Camera:
 Conclusion:
 Introduction:
 Some potential risks and consequences of a Blink camera not recording:
 Power and Connectivity
 Camera Maintenance and Environment
 Conclusion:
 Introduction:
 A brief overview of the evolution of cameras:
 Lens Elements
 Lens Controls and Features
 Conclusion: