 Introduction:
Having a non-functioning back camera on your device can be frustrating, as it prevents you from capturing photos and videos. The issue may arise due to various reasons, ranging from software glitches to hardware malfunctions. In this comprehensive guide, we will explore the common causes behind a non-working back camera and provide potential solutions to resolve the problem. By following these simple instructions and troubleshooting steps, you can regain the functionality of your back camera and continue capturing memories with ease.
 Introduction to Back Camera Malfunctions
A non-working back camera can occur due to software or hardware issues, interfering with its operation.
A. Importance of the Back Camera: The back camera allows you to capture high-quality photos and videos, making it an essential feature of your device.
B. Frustrations of Camera Malfunctions: Camera malfunctions can disrupt your ability to document moments, impacting usability and the overall functionality of your device.
Serious consequences of a non-functional back camera:
If the back camera of a device stops working, it can have several consequences depending on the specific situation and the importance of the camera function for the device. Here are some potential serious consequences of a non-functional back camera:
Limited Photography and Videography:
The primary purpose of the back camera is capturing photos and videos. If it stops working, users will not be able to use the rear camera for taking pictures or recording videos. This can be a significant inconvenience, especially for individuals who heavily rely on their device’s camera for personal or professional purposes.
Impaired Scanning and Optical Recognition:
Many applications and features utilize the back camera for scanning QR codes, barcodes, documents, or for performing optical character recognition (OCR). A non-functional camera can hinder these functionalities, hampering tasks such as mobile banking, ticket scanning, or document digitization.
Restricted Augmented Reality (AR) Experiences:
AR applications and games heavily rely on the back camera to interact with the real-world environment. Without a functioning back camera, users will be unable to fully experience the augmented reality features and games that depend on real-time camera input.
Limited Video Conferencing and Live Streaming:
Back cameras are crucial for video conferencing applications, allowing users to show the view from their surroundings. Without a working back camera, individuals may be limited to audio-only communication or reduced to using the front-facing (selfie) camera, which often produces lower-quality video.
Decreased Resale or Trade-in Value:
A device with a non-functional back camera may face diminished resale or trade-in value. This is because camera functionality is an important selling point for many buyers, and a non-working camera can indicate a significant flaw or require costly repairs.
It’s important to note that the severity of the consequences depends on individual needs, device usage, and the availability of alternative options such as using a secondary device or temporarily relying on another working camera if available. In some cases, repairing or replacing the faulty camera module may be possible to restore full camera functionality.
 Software Issues
Software-related problems can affect the operation of your back camera.
A. App Malfunctions: Camera apps may crash or freeze, preventing the camera from functioning correctly.
B. Software Glitches: Operating system bugs or conflicts can cause the camera to malfunction.
Hardware Malfunctions
Hardware-related issues can disrupt the functioning of the back camera.
A. Physical Damage: Accidental drops or impacts can cause damage to the camera lens or internal components.
B. Loose Connections: Loose or faulty connections within the device can affect the camera’s functionality.
C. Hardware Defects: Manufacturing defects can cause the back camera to fail or perform poorly.
Obstructed Lens
An obstructed lens can affect the performance of the back camera.
A. Fingerprints or Smudges: Accumulated fingerprints, dirt, or smudges on the lens can blur or distort images.
B. Dust or Debris: Dust or debris particles on the sensor can obstruct light and impact image quality.
Solutions for Software Issues
Follow these steps to address software-related camera problems:
A. Close and Reopen Camera App: Close the camera app completely and reopen it to resolve any temporary glitches.
B. Update Camera App and Device Software: Check for updates for both the camera app and the device’s operating system to ensure you have the latest versions.
C. Clear Cache and Data: Clear the cache and data of the camera app in the device settings to eliminate any corrupted files.
 Solutions for Hardware Malfunctions
Consider these steps to troubleshoot hardware-related camera issues:
A. Restart the Device: Restarting the device can resolve temporary hardware glitches and restore camera functionality.
B. Check for Hardware Damage: Inspect the back camera lens and surrounding components for any signs of physical damage. If damaged, seek professional repair.
C. Ensure Proper Connections: Check the camera connections inside the device to ensure they are secure and not loose.
Cleaning the Camera Lens
Regularly cleaning the camera lens can improve image quality.
A. Use a Microfiber Cloth: Gently wipe the camera lens with a microfiber cloth to remove fingerprints, smudges, or dirt.
B. Avoid Using Harsh Chemicals: Do not use abrasive materials or chemical cleaners that can damage the lens coating.
Seeking Professional Help
If the above steps do not resolve the issue, it may be necessary to seek professional assistance.
A. Manufacturer’s Support: Contact the device manufacturer’s customer support for guidance or repair options.
B. Authorized Service Centers: Visit an authorized service center for a thorough examination and repair if needed.
Maintaining and caring for your device’s back camera:
Proper maintenance of the back camera can help ensure its longevity and optimal performance. Here are some essential tips to consider for maintaining and caring for your device’s back camera:
Keep the Lens Clean:
Regularly clean the camera lens to remove fingerprints, dirt, dust, or smudges that can affect image quality. Use a soft microfiber cloth or lens cleaning tissue to gently wipe the lens in a circular motion. Avoid using abrasive materials that can scratch the lens.
Avoid Touching the Lens:
When handling the device, take care not to touch the camera lens with your fingers. Oils and residues from your fingers can leave smudges or cause unwanted smears on the lens. If you accidentally touch the lens, clean it immediately using the recommended methods mentioned above.
Store the Device Safely:
When not in use, store your device in a safe and protective case or pouch to shield it from dust, dirt, and potential scratches. Avoid placing the device with its back camera facing downward on surfaces to prevent contact or accidental scratches.
Protect from Moisture and Liquid:
Exposure to moisture or liquid can damage the back camera or affect its performance. Use caution in wet environments and consider using a waterproof case or cover if necessary. In case of accidental exposure to liquid, immediately turn off the device and consult professional assistance, if needed.
Avoid Extreme Temperatures:
Extreme temperatures, such as extreme heat or cold, can negatively impact the camera’s performance and potentially damage the lens or internal components. Avoid leaving the device in direct sunlight or in environments with extreme temperature fluctuations.
Regularly Update Software:
Keep your device’s operating system and camera software up to date. Software updates often include improvements and bug fixes that can enhance camera performance and image quality.
Use Screen Protectors Wisely:
If you use a screen protector on your device, ensure that it does not obstruct or interfere with the back camera. Poorly applied screen protectors can affect image quality and cause unwanted glare or blurriness.
Be Mindful of Impact and Drops:
Handle your device with care and avoid dropping it or subjecting it to impact. A sharp impact or hard drop can damage not only the device itself but also the back camera module.
By following these maintenance tips, you can help preserve the quality and functionality of your device’s back camera, ensuring that it performs optimally for capturing high-quality photos and videos.
 Conclusion
Troubleshooting a non-working back camera requires identifying the underlying cause, whether software-related or due to hardware malfunctions. By following the provided solutions and taking appropriate actions, you can address the issue and restore the functionality of your back camera. Regularly cleaning the lens and ensuring proper connections can also prevent future camera problems. However, if the issue persists, seeking professional help from the manufacturer or an authorized service center is recommended. With a functioning back camera, you can capture memorable moments and enjoy the full capabilities of your device once again.

 Introduction:
 Sync Module and Camera Pairing
 Battery and Power Issues
 Blink Camera and Ring Camera:
 Conclusion
 Introduction:
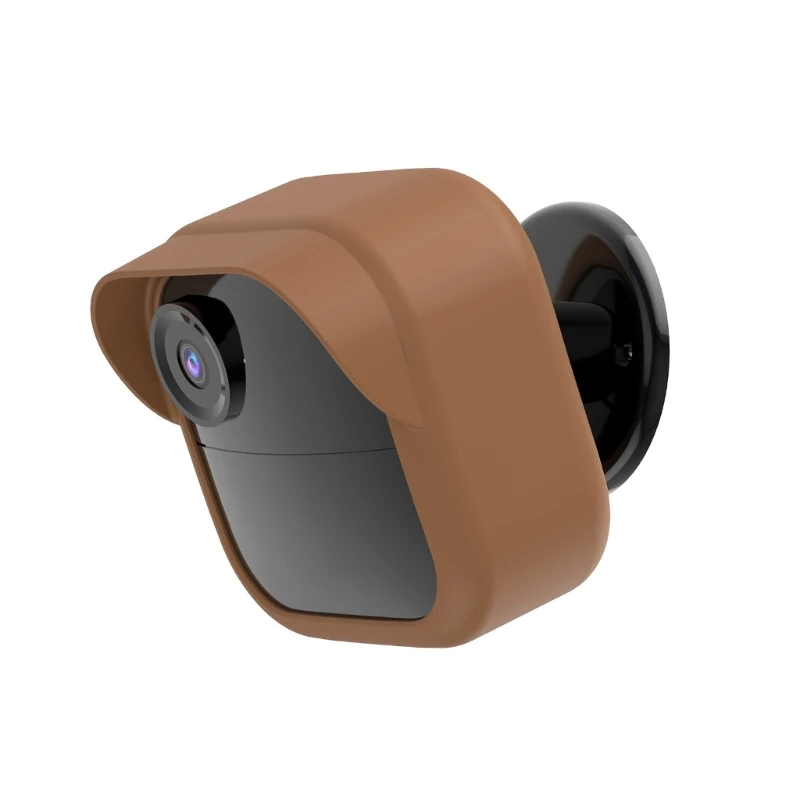 Potential Causes of a Blink Camera Blinking Red
 Additional Tips for Blink Camera Maintenance
 Blink Camera and Ring Camera:
 Conclusion
 Introduction:
 Understanding the Causes of Camera Shake
 Additional Measures to Reduce Camera Shake
 Comparing Ring camera and Blink camera:
 Conclusion
 Introduction:
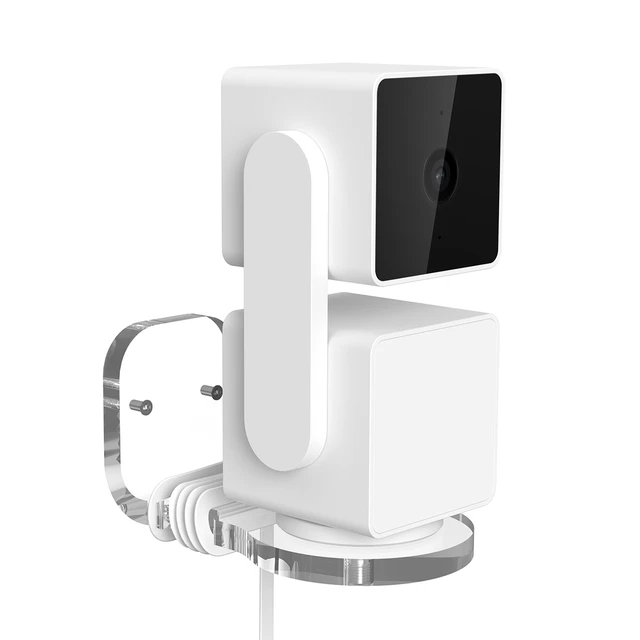
 Introduction to Blink Camera Batteries
 Removing the Old Batteries
 Reinstalling the Blink Camera
 Conclusion
 Introduction:
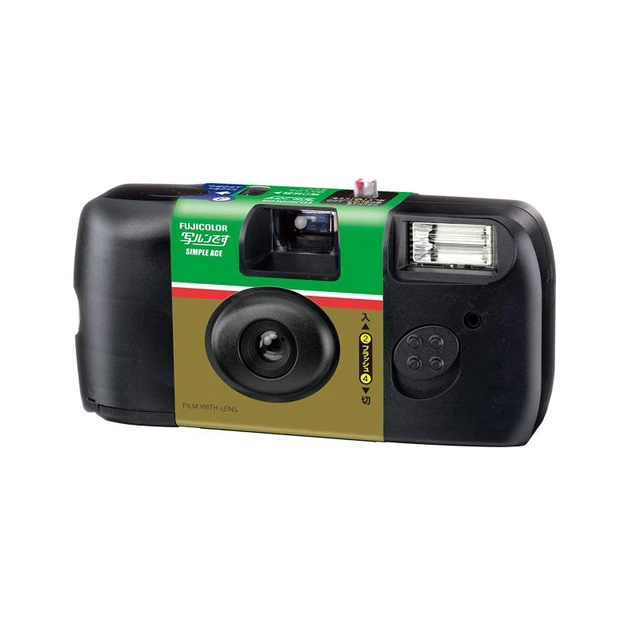
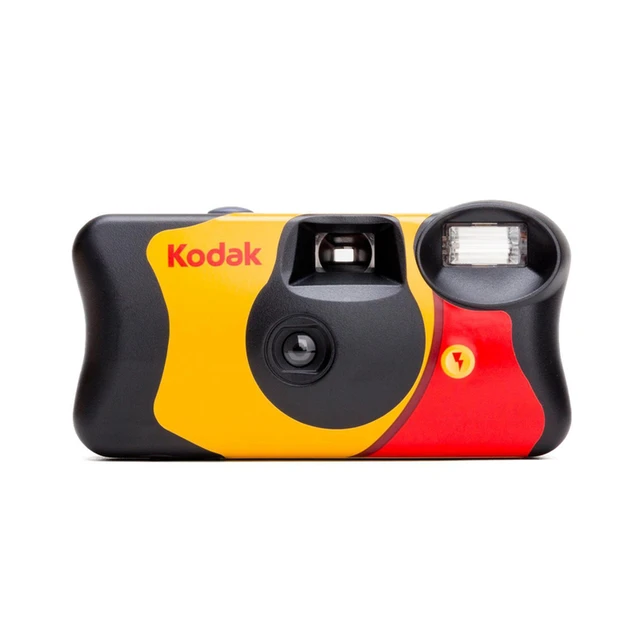 Understanding Disposable Camera Types and Film Formats
 Factors Influencing the Number of Pictures
 Maintenance tips:
 Conclusion
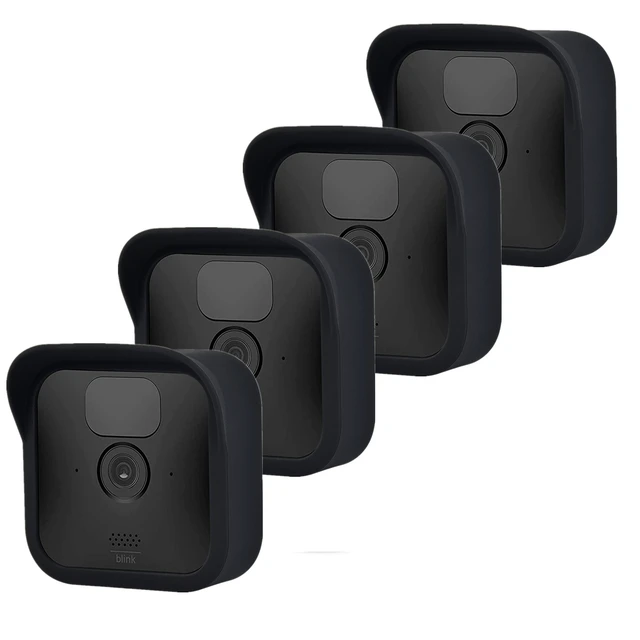
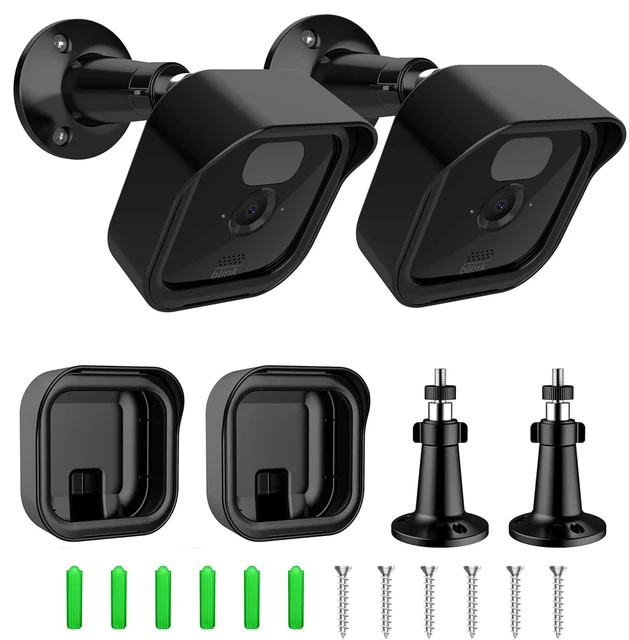 Introduction:
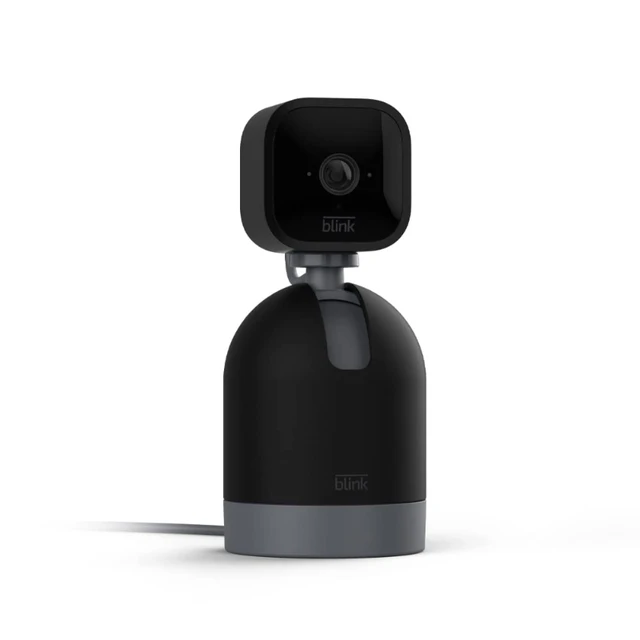 Tips for Maximizing Battery Life
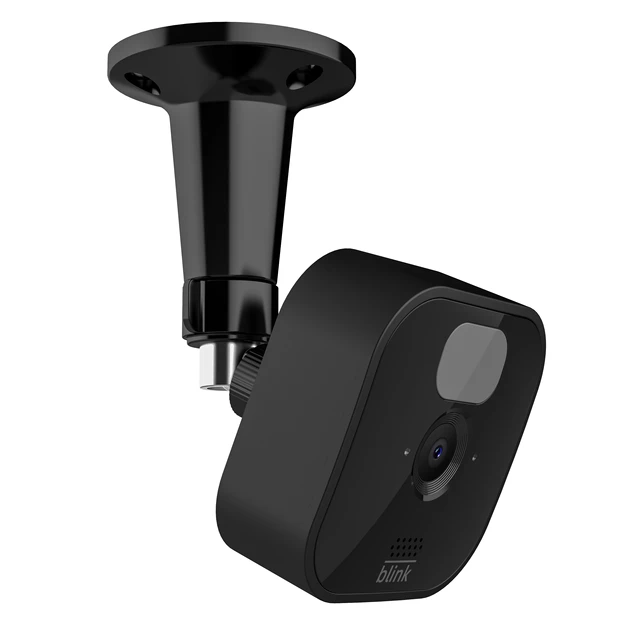 Blink cameras and Ring cameras:
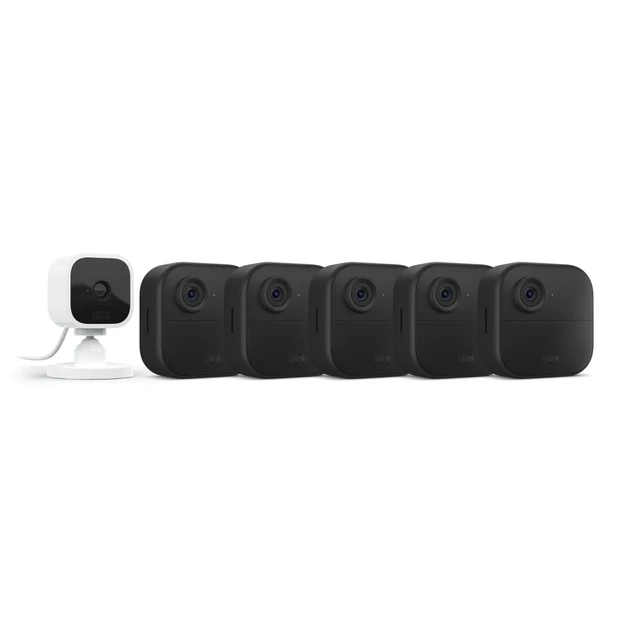
 Blink cameras offer several advantages:
 Conclusion:

 Introduction:
 Some key advantages of cameras:
 Key Figures in Camera Invention
 Some essential tips for camera maintenance:
 Conclusion:
 Introduction:
 Some common types of cameras:
 The Predecessors of the Camera
 Camera Evolution and Technological Advancements
 Conclusion: