Camera flicker is a common phenomenon in photography and videography. It can disrupt the visual experience and affect the quality of images and videos. This article aims to explore the causes of camera flicker, its effects on visual media, and practical solutions to mitigate it. We will break the topic down into manageable sections for better understanding.
 What is Camera Flicker?
Some of its potential hazards:
Camera flicker, often caused by inconsistent lighting or refresh rates, can significantly impact video and photography quality. Here are some of its potential hazards:
Visual Distortions: Flicker can lead to noticeable variations in brightness and color, resulting in a distracting viewing experience.
Image Quality Degradation: It can reduce the overall clarity and sharpness of images, making them look unprofessional or unappealing.
Post-Production Complications: Editing footage affected by flicker can be challenging, requiring additional time and effort to correct the issue.
Viewer Discomfort: Prolonged exposure to flickering images can cause eye strain or discomfort for viewers, potentially leading to headaches or fatigue.
Loss of Detail: Important details in shadowed or brightly lit areas may be lost due to flicker, compromising the effectiveness of the visual content.
Inconsistent Exposure: Flickering can lead to uneven exposure levels, making it difficult to achieve a uniform look across different shots.
Professional Reputation: Content with noticeable flicker may harm the reputation of creators and their work, leading to dissatisfaction among clients or audiences.
Overall, addressing camera flicker is crucial for ensuring high-quality visual content and maintaining viewer engagement.
 Definition of Camera Flicker
Camera flicker occurs when there is an inconsistent light source affecting the exposure of the camera sensor. This inconsistency can manifest as unwanted changes in brightness or color within your images or videos. The flicker can often be seen as a rapid change in light intensity or color, making it distracting for the viewer.
Types of Flicker
There are primarily two types of flicker:
- Power Supply Flicker: This type results from variations in the electrical supply. Common in overhead fluorescent lights, it can cause a visible strobing effect in camera footage.
- Shutter Speed Flicker: This flicker occurs due to a mismatch between the camera’s shutter speed and the frequency of the lighting. For instance, using a shutter speed that is too slow can lead to inconsistencies in light capture, causing flicker.
Causes of Camera Flicker
Lighting Conditions
Various lighting conditions can lead to camera flicker. Modern lighting solutions like LED and fluorescent lights are known to produce flicker. Understanding the underlying causes can help photographers and videographers prepare for and minimize flicker.
1. Fluorescent Lights
Fluorescent lights use electric currents to excite gases, creating light. They do not emit a constant stream of light, which can lead to flicker. Depending on the frequency of the power supply (50Hz or 60Hz in different regions), the flicker may become visible.
 2. LED Lights
Similar to fluorescent lights, some LED lights can cause flicker. While many LEDs are flicker-free, cheap or poorly made models might not be, leading to visual disruptions in footage.
Shutter Speed and Frame Rate
The relationship between shutter speed and frame rate is crucial. The shutter speed should always be set to a value that fits the frequency of the light source. Using a shutter speed that is too low can cause flickering in your images and videos.
1. Calculation
To achieve the best results, the shutter speed should ideally be double the frame rate. For example, if you are shooting at 30 frames per second (fps), the shutter speed should be around 1/60 seconds. This ensures that each frame is exposed adequately.
Environmental Factors
Environmental factors such as reflections and shadows can also contribute to perceived flicker in camera footage. Understanding how these factors interact is vital for photographers and videographers.
 Effects of Camera Flicker
Visual Distruction
Camera flicker can be distracting for viewers. It can ruin an otherwise perfect shot. This becomes especially problematic in professional settings, where quality is paramount.
1. Audience Engagement
Flickering videos can disengage an audience. The viewer may focus more on the flicker than the content. This detracts from the story or message being conveyed.
2. Professionalism
For professionals, presenting flickering footage can appear unprofessional. It may lead to a lack of trust in the brand or creator, affecting business outcomes.
Image Quality
Flicker can affect image quality in various ways. This may include:
1. Color Distortion
Flickering can cause unwanted changes in color hues. This can lead to inconsistencies that may require significant post-production efforts to correct.
2. Blurry Images
If shooting with a slow shutter speed in flickering light conditions, the result may be blurry images. Blurriness can detract from the overall appeal of the visual content.
Solutions to Camera Flicker
Choosing the Right Lighting
Choosing the right lighting is fundamental in preventing flicker. Before selecting lights, consider their quality and production process.
1. High-Quality LED Lights
Investing in high-quality LED lights can minimize flicker. Look for brands that specifically advertise flicker-free technology. This ensures that the lights maintain consistent output, thus providing better visual stability in your projects.
2. Use Natural Light
Whenever possible, utilizing natural light can help avoid flicker. Sunlight is a consistent and reliable light source that significantly reduces the chances of flicker.
Adjusting Camera Settings
Properly adjusting camera settings can also help mitigate the chances of flicker.
1. Shutter Speed
Always match the shutter speed to the frame rate. As mentioned earlier, a general rule is to set the shutter speed to double the frame rate. This synchronization can help achieve steadier footage.
2. ISO Settings
Keep the ISO low whenever possible. High ISO settings can introduce noise and grain. Lower ISO settings can help create cleaner footage, especially in flickering light conditions.
 Post-Production Solutions
If flicker is already present in your footage, there are software solutions available in post-production.
1. Flicker Reduction Plugins
Different video editing software offers flicker reduction plugins. These tools can analyze the video to remove flicker effectively, enhancing the overall quality.
2. Color Correction
Color grading techniques can also help in making flickered footage more visually appealing. While it may not completely eliminate flicker, it can help balance out color distortions.
Monitoring Tools
Using monitoring tools can help notice flicker in real-time.
1. External Monitors
Using external monitors allows for better visibility during shoots. These monitors can provide a clearer picture of what the camera is capturing, allowing for adjustments on the fly.
2. Histogram and Waveform
Using the histogram and waveform monitors on your camera can provide real-time data regarding exposure and color levels. Keeping an eye on these metrics can help minimize flicker during shooting.
Conclusion
Camera flicker can pose significant challenges in photography and videography. Understanding its causes, effects, and solutions is vital for producing high-quality visual media.
Summary
By choosing the right lighting, adjusting camera settings, exploring post-production techniques, and using monitoring tools, creators can effectively combat camera flicker. Awareness of flicker can lead to better production quality and ultimately more engaging content for audiences.
As technology continues to evolve, so do the methods for minimizing camera flicker. This allows creators to focus more on their art and less on technical disruptions. Anyone involved in visual media should prioritize learning about flicker.
By understanding and implementing these techniques, they can create stunning visuals free from distractions and present their stories with clarity and professionalism.

 Advantages and Disadvantages
 Key points regarding its current and evolving trends:
 Conclusion


 Henry Fox Talbot and the Calotype
 Advancements in Science and Medicine
 Conclusion
 Several types of cameras:
 Understanding Digital Cameras
 Comparing Digital Cameras and DSLRs

 Several types of cameras:
 The Science of Mirrors
 Unfamiliarity with Photographs
 Pros and Cons
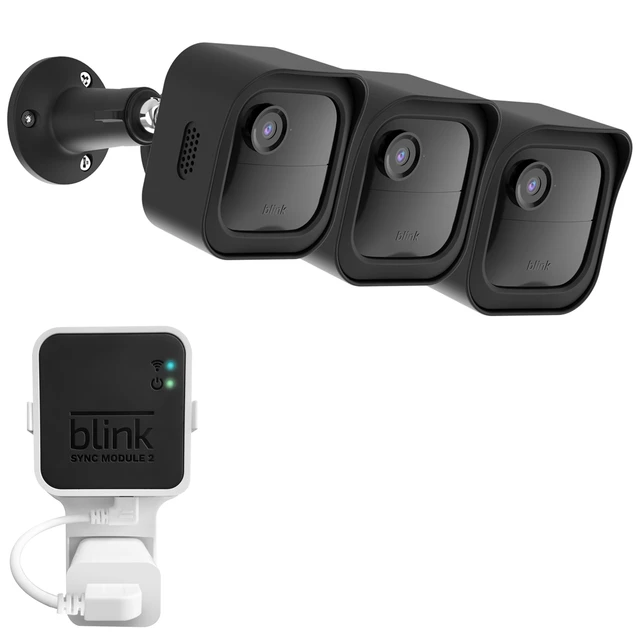
 Advantages of the Blink Outdoor Camera
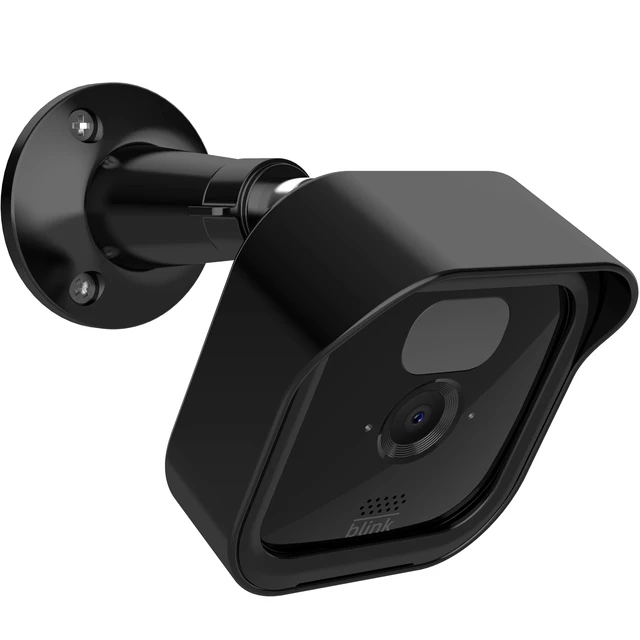 Understanding Your Blink Outdoor Camera
 Step 5: Remove the Old Batteries
 Troubleshooting Common Issues
 Conclusion
 Introduction to the Blink Outdoor Camera:
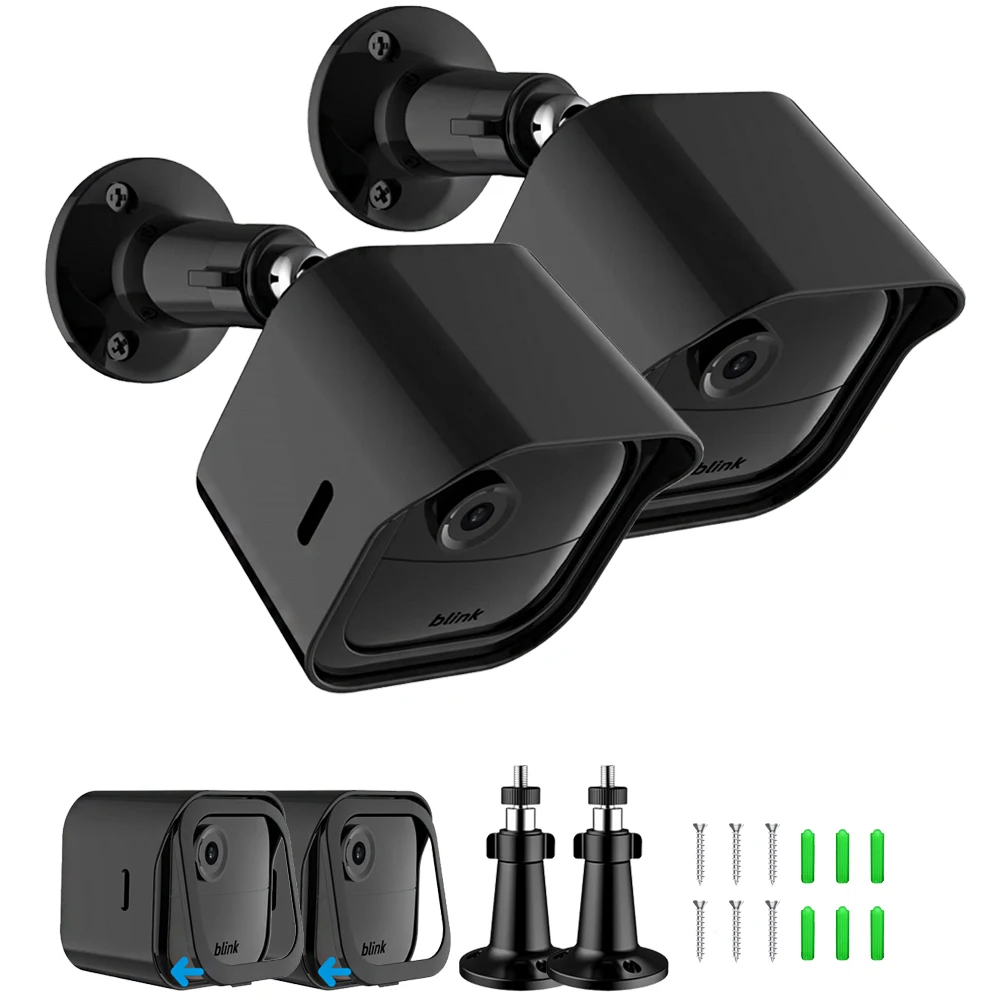 Reasons for Opening a Blink Outdoor Camera
 Step-by-Step Guide to Opening a Blink Outdoor Camera
 Troubleshooting Common Issues
 Conclusion
 Introduction
 Common Reasons for Offline Issues
 Wi-Fi Network Considerations
 Insufficient Power Supply
 Conclusion

 Some of the popular trends in cameras:
 Conclusion
 Introduction:
 Introduction to the Camera Obscura
 Creating the Pinhole or Using a Lens
 Some key points highlighting its importance: