Connecting your HP printer to Wi-Fi can seem daunting at first. However, once you break it down into steps, it becomes much easier. This article guides you through the process of connecting your HP printer to your Wi-Fi network. It covers various methods, troubleshooting tips, and more, ensuring that you can quickly get your printer up and running wirelessly.
Understanding the Basics of Wi-Fi Connection
What is Wi-Fi?
Wi-Fi, or Wireless Fidelity, refers to a technology that allows devices to connect to the internet without the need for physical cables. It uses radio waves to transmit information. Printers with Wi-Fi capability can communicate with other devices wirelessly, enabling you to print from your computer, tablet, or smartphone. This convenience saves time and provides flexibility in where you can set up your printer.
Benefits of Wireless Printing
Wireless printing offers many advantages. First, it eliminates the need for cables, reducing clutter around your workspace. You can place your printer anywhere within range of your Wi-Fi network. This flexibility allows for better organization and accessibility. Additionally, wireless printing often enables multiple devices to connect to a single printer, making it easy for everyone in your home or office to use the same machine. This feature is particularly useful in collaborative environments, where team members frequently need to print documents.
Preparing Your HP Printer for Wi-Fi Connection
Checking Printer Compatibility
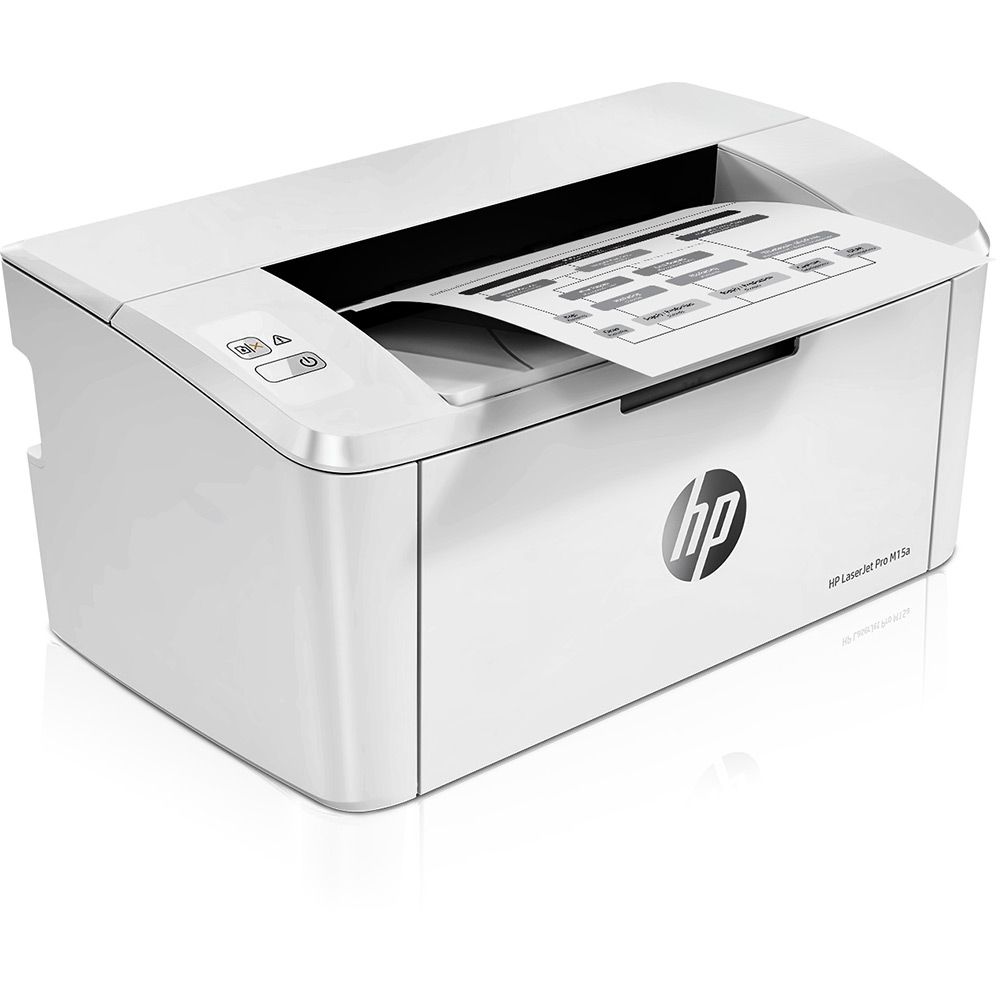
Before connecting your HP printer to Wi-Fi, confirm that your printer is compatible with wireless networking. Most modern HP printers come with built-in Wi-Fi capabilities. Check the printer’s manual or the HP website for specifics. You may also look for a Wi-Fi icon on the printer’s control panel. This icon usually resembles a series of curved lines or waves. If your printer has this icon, it likely supports wireless connectivity.
Updating Printer Firmware
Keeping your printer firmware updated is essential for optimal performance and security. Manufacturers, including HP, release updates that could improve connectivity and functionality. Go to the HP support website to find the latest firmware for your model. Download and install any available updates before attempting to connect to Wi-Fi. This step can often resolve issues before they arise, making the connection process smoother.
Methods to Connect HP Printer to Wi-Fi
Using the HP Smart App
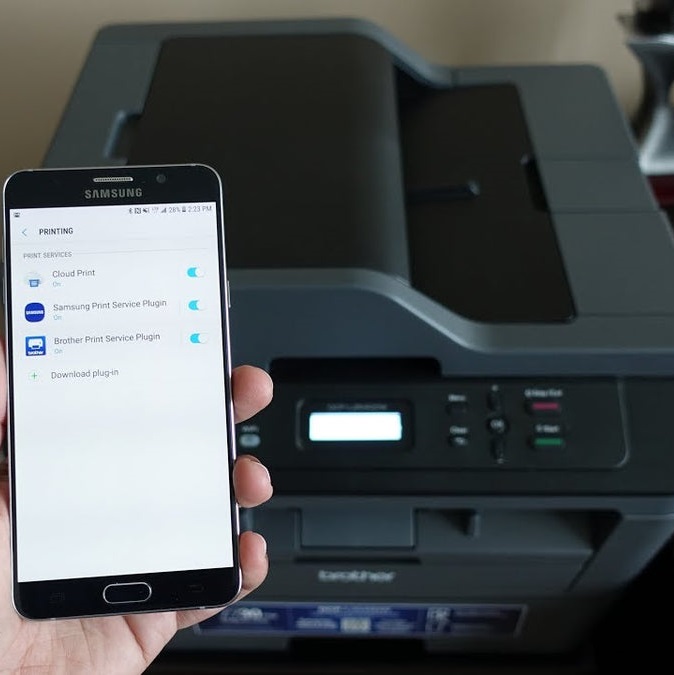
One of the easiest ways to connect your HP printer to Wi-Fi is by using the HP Smart app. The app is available for both iOS and Android devices, making it accessible for most users. Begin by downloading the app from the App Store or Google Play. Open the app and follow the prompts to set up your printer.
- Download the App: Search for “HP Smart” in your mobile device’s app store and download it.
- Open the App: Launch the app and sign in or create an HP account if you don’t have one.
- Add Printer: Tap on the “Add Printer” option. The app will search for nearby HP printers.
- Select Your Printer: Once your printer appears on the list, select it to proceed.
- Connect to Wi-Fi: Follow the prompts to connect your printer to your Wi-Fi network. You may need to enter your Wi-Fi password.
- Finish Setup: After successfully connecting, the app will guide you through completing the printer setup.
The entire process is user-friendly, eliminating many potential complications.
Connecting via WPS
If your router has a WPS (Wi-Fi Protected Setup) button, you can use this method for a quick connection. WPS allows for a secure and easy connection without needing to enter your Wi-Fi password manually.
- Locate the WPS Button: Find the WPS button on your router; it’s usually labeled clearly.
- Prepare the Printer: Turn on your HP printer and ensure that it’s ready to connect. Look for the wireless button on the printer’s panel.
- Initiate WPS Mode: Press and hold the wireless button on the HP printer for a few seconds. This will activate WPS mode.
- Press the WPS Button: Within two minutes, press the WPS button on your router. The printer and router should connect automatically.
- Confirmation: Look for a solid blue light on your printer to confirm the successful connection.
This method is quick and straightforward. It eliminates the need for manual password entry, reducing the risk of errors.
Troubleshooting Common Connection Issues
Connection Problems
Despite the ease of connecting your HP printer to Wi-Fi, issues may arise. Common problems include failure to find the network or incorrect password entry. If your printer cannot detect your Wi-Fi network, ensure that your wireless network is functioning properly. Restart your router and printer to refresh the connection.
Printer and Network Compatibility
Another common issue involves compatibility between the printer and your network. Ensure that your network operates on a frequency compatible with your printer. Many HP printers work on 2.4 GHz networks, but some newer models can connect to 5 GHz networks as well. If your printer does not support the frequency used by your router, you may need to adjust the settings on your router.
Final Checks After Connection
Print a Test Page
After connecting your HP printer to Wi-Fi, it’s essential to confirm that everything works as intended. One of the best ways to do this is by printing a test page. From your computer or mobile device, navigate to the printer settings and select the option to print a test page.
- Open Printer Settings: Access the printer settings from your device.
- Select Test Page: Look for the option to print a test page. Click on it.
- Check Quality: Once the page prints, examine its quality for any issues.
This step ensures that your printer is fully operational and ready for use.
Regular Maintenance
Maintaining your HP printer can help prevent connectivity issues in the future. Schedule regular updates for your printer’s firmware and keep the software on your connected devices up to date. Frequent maintenance ensures that your printer remains in good working condition.
Tips for Optimal Printing Experience
Connection Stability
For the best printing experience, ensure that your printer stays within range of your Wi-Fi router. Physical obstructions like walls and furniture can interfere with the wireless signal. If you notice connectivity issues, consider moving your printer closer to the router. Another option is investing in a Wi-Fi range extender if you want to place the printer further from the router.
Using a Static IP Address
For advanced users, consider assigning a static IP address to your printer. This option can provide a more reliable connection. By setting a static IP, your printer will always maintain the same network address. This consistency can help avoid connectivity issues that arise from changing IP addresses.
Conclusion
Connecting your HP printer to Wi-Fi opens up new possibilities for convenience and flexibility in printing. Whether using the HP Smart app or the WPS method, you can find a solution that suits your needs. Troubleshooting potential problems and taking the time for regular maintenance can enhance your experience. By following these steps and tips, you can ensure that your HP printer remains a valuable tool for all your printing needs.
Additional Resources
In case you require further assistance, many resources are available online:
- HP Support Website: Visit for troubleshooting guides and FAQs tailored to your specific model.
- User Manuals: Often, a comprehensive manual can provide detailed instructions for your printer.
- Community Forums: Online communities or forums related to HP products can offer insights from other users who may have experienced similar issues.
By utilizing these resources, you can maximize your HP printer‘s potential and streamline your printing responsibilities. The aim is always to achieve a smoother, hassle-free printing experience.


 Understanding Wireless Printing Options
 Connecting Using Third-Party Apps
 Enhancing Your Wireless Printing Experience
 Specific Trends:
 Conclusion:
 The Power of the Shared Experience
 The Office Space Legacy: More Than Just a GIF
 Some printer usage considerations:
 Some trends in the printer market:
 Future Trends: