The internet is a vast and ever-expanding landscape of memes, but few have achieved the enduring popularity and cultural impact of the Office Space printer GIF. This iconic image, featuring the frustrated character Peter Gibbons (played by Ron Livingston) delivering a vicious kick to a malfunctioning office printer, has resonated with countless people across the globe. But why has this simple GIF, mere seconds in length, become such a powerful symbol of workplace frustration and a universal language of office life?
 The Power of the Shared Experience
At its core, the Office Space printer GIF captures a feeling familiar to anyone who has ever encountered the pitfalls of office technology. We’ve all been there: the agonizing wait for a printer to churn out a single page, the infuriating paper jams, the endless troubleshooting sessions that leave us feeling utterly defeated. This shared experience, this collective frustration, is what makes the GIF so relatable and instantly recognizable.
The GIF transcends individual situations, speaking to a universal truth: the office can be a frustrating, often infuriating place. It’s a space where technology can malfunction, deadlines loom, and our patience is constantly tested. The image of Peter Gibbons, a man on the verge of breaking point, striking a blow against the very symbol of office inefficiency, resonates with anyone who has ever felt that same pressure.
A Meme for the Digital Age
The Office Space printer GIF’s popularity was further fueled by the rise of social media. The internet, with its vast network of online communities, provided the perfect platform for this meme to spread like wildfire. People could share the GIF with their friends and colleagues, instantly sparking conversation and a sense of camaraderie.
The GIF’s versatility was another contributing factor to its success. It could be used in a variety of contexts, expressing a range of emotions from frustration and anger to humor and even relief. It became a shorthand for anything related to office life, from the mundane to the outrageous.
 The Office Space Legacy: More Than Just a GIF
The Office Space printer GIF’s popularity is also a testament to the enduring legacy of the movie itself. Released in 1999, Office Space captured the anxieties and frustrations of a generation disillusioned with corporate life. The film’s characters, from the hapless Peter Gibbons to the tyrannical boss Bill Lumbergh, resonated deeply with audiences. The film’s message of rebellion against the stifling monotony of the office resonated with audiences, especially during the early days of the dot-com boom, when technology was both a source of excitement and frustration.
The Office Space printer GIF is a direct result of this legacy. It captures a specific moment from the film, but it also encapsulates the film’s broader themes of workplace frustration, rebellion, and the search for meaning in a corporate world.
A Cultural Phenomenon
The Office Space printer GIF has become more than just a meme; it has evolved into a cultural phenomenon. It has been featured in news articles, television shows, and even commercial campaigns. It has been used to express everything from political frustration to the struggles of everyday life.
The GIF’s influence extends beyond the digital realm, appearing in real-world scenarios as well. People have recreated the iconic kick in various locations, from office break rooms to college campuses. The GIF has even been used to raise awareness for workplace issues, becoming a symbol of workplace frustration and the need for change.
Beyond the Frustration: A Message of Resilience
While the Office Space printer GIF is often seen as a humorous representation of workplace frustration, it also holds a deeper message about resilience and the human spirit. The act of kicking the printer is not just about anger; it’s about taking control, about defying the seemingly insurmountable forces of the corporate world.
Peter Gibbons, despite his initial frustrations, ultimately finds a way to escape the monotony of his office job. The GIF, in its own way, reflects this message of hope and the ability to overcome even the most frustrating obstacles.
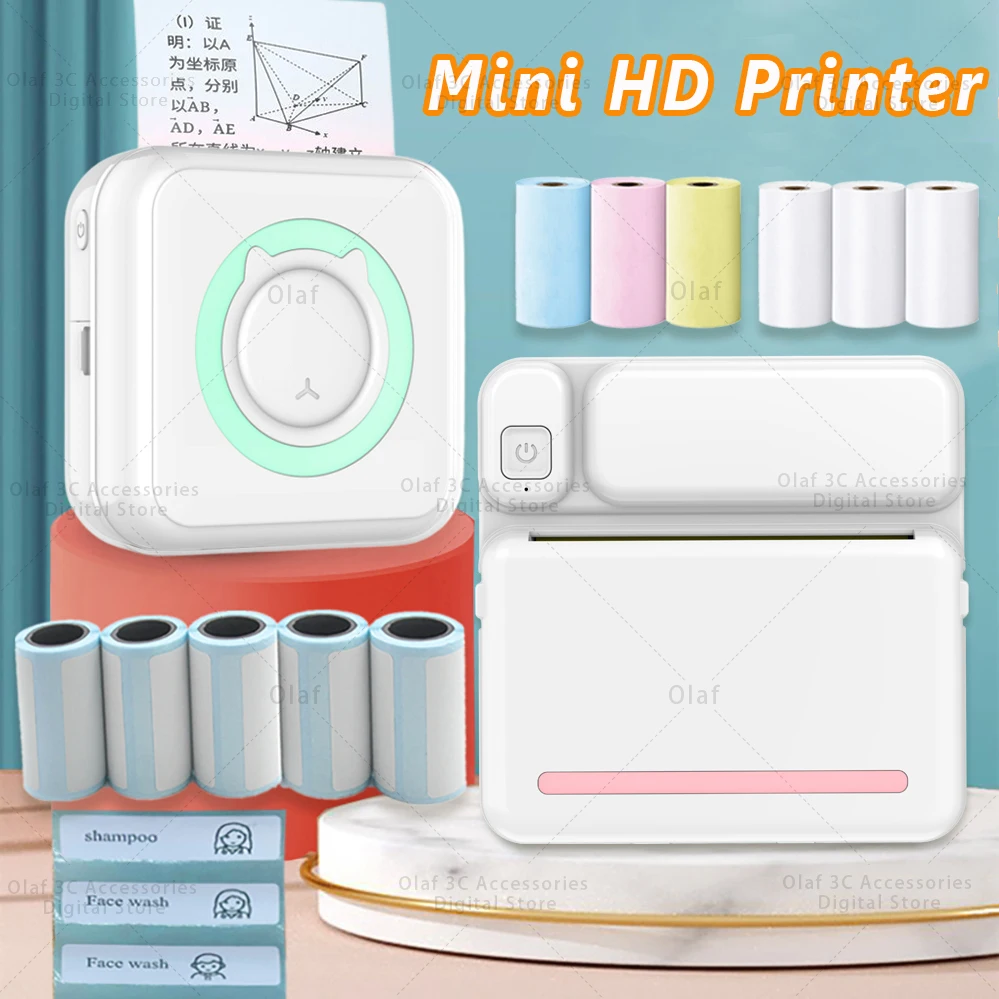
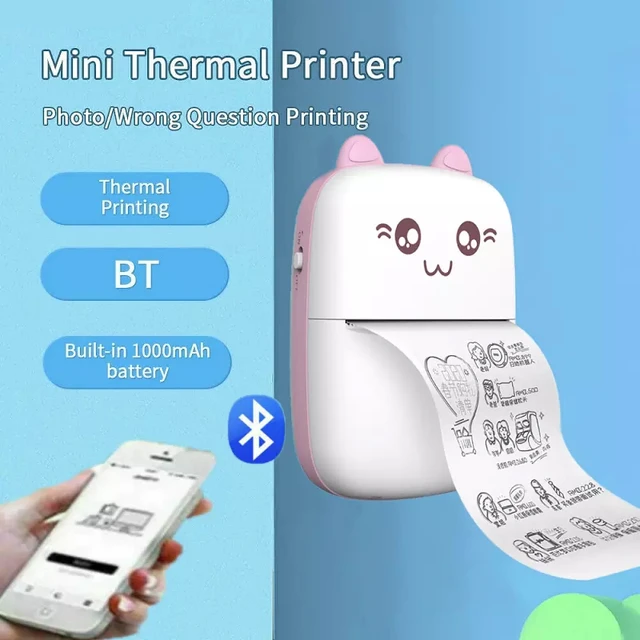
 Some printer usage considerations:
Here are some printer usage considerations:
General Usage:
- Regular Maintenance: Clean your printer regularly. This includes replacing cartridges, cleaning the print head, and removing dust and debris.
- Use the Correct Paper: Use paper that is designed for your printer. Avoid using thin or flimsy paper, as this can cause jams or poor print quality.
- Avoid Obstructions: Ensure the paper path is clear of obstructions, such as paper clips or staples.
- Check Ink Levels: Don’t let your ink levels get too low. Running out of ink can damage your print head.
- Use High-Quality Ink: Using compatible or generic ink cartridges can lead to poor print quality and damage your printer.
- Proper Handling: Be careful when handling your printer. Avoid dropping or jarring it.
- Power Management: Unplug your printer when not in use to save energy.
Specific Types of Printers:
- Laser Printers:
- Use the correct toner cartridges.
- Don’t shake the toner cartridge.
- Avoid touching the drum.
- Keep the printer in a cool, dry environment.
- Inkjet Printers:
- Use the correct ink cartridges.
- Clean the print head regularly.
- Don’t let the printer sit idle for long periods.
- Turn off the printer when not in use to prevent ink drying out.
- 3D Printers:
- Use the correct filament.
- Level the print bed.
- Check the temperature settings.
- Clean the print head regularly.
Other Considerations:
- Security: If you’re printing sensitive information, be aware of security risks.
- Environment: Printers can consume a lot of energy and generate waste. Consider using eco-friendly options.
Troubleshooting:
- Paper Jams: If you have a paper jam, gently remove the paper.
- Print Quality Issues: Check the ink levels, clean the print head, and make sure you’re using the correct paper type.
- Connectivity Issues: Ensure that your printer is properly connected to your computer or network.
If you’re unsure about any aspect of printer usage, consult your printer’s manual or the manufacturer’s website.
 Some trends in the printer market:
Here are some trends in the printer market:
Overall Trends:
- Shifting to multifunction devices (MFDs): Printers are increasingly integrated with other functionalities like scanning, copying, and faxing. This trend is driven by the need for all-in-one devices that save space and streamline workflows.
- Focus on wireless connectivity: Wireless printing has become the norm, allowing users to print from any device in the home or office. This has further driven the popularity of mobile printing solutions.
- Growing importance of security features: As data breaches become more frequent, businesses and consumers are looking for printers with strong security features to protect sensitive information.
- Sustainability and eco-friendly options: Consumers are becoming more environmentally conscious and are seeking printers with low energy consumption and recycled materials.
Specific Trends:
- Rise of 3D printing: 3D printing technology is gaining traction, particularly in industries like manufacturing, healthcare, and education. It offers the ability to create custom objects on demand, leading to faster prototyping and personalized products.
- Growth of label printers: Businesses of all sizes are relying on label printers for product identification, inventory management, and shipping.
- Increasing adoption of cloud printing: Cloud printing allows users to print from any location with an internet connection, making it a convenient option for businesses with remote workers.
- Demand for high-quality photo printing: Despite the rise of digital photos, many consumers still prefer prints for displaying memories and creating personalized gifts.
- Growing popularity of inkjet printers: Inkjet printers are becoming more affordable and offer superior quality for photo printing compared to laser printers.
 Future Trends:
- Increased use of bioplastics and recycled materials: The printer industry will likely continue to adopt sustainable materials to reduce its environmental impact.
Overall, the printer market is evolving to meet the changing needs of consumers and businesses. From multifunctionality and wireless connectivity to cloud printing and 3D printing, there are a variety of trends shaping the industry and driving innovation.
The Enduring Power of a Meme
The Office Space printer GIF’s enduring popularity is a testament to the power of humor, the importance of shared experiences, and the enduring appeal of relatable stories. This simple image, captured in a single moment of cinematic brilliance, has transcended its original context, becoming a powerful symbol of office life and a universal language of workplace frustration.
It is a reminder that even in the face of seemingly insurmountable challenges, we can find humor, resilience, and ultimately, a way to break free from the mundane and find our own path to fulfillment. The GIF’s enduring legacy lies in its ability to resonate with people from all walks of life, reminding us that we are not alone in our frustrations and that even the most seemingly mundane moments can be transformed into something meaningful and memorable.

 2. Choosing the Right Location
 4. Setting Up the Ring Camera
 5. Configuring Your Ring Camera Settings
 The popularity of Ring cameras:
 What is Camera Flicker?
 Definition of Camera Flicker
 2. LED Lights

 Advantages and Disadvantages
 Key points regarding its current and evolving trends:
 Conclusion
 Henry Fox Talbot and the Calotype
 Advancements in Science and Medicine
 Conclusion
 Several types of cameras:
 Understanding Digital Cameras
 Comparing Digital Cameras and DSLRs
 Several types of cameras:
 The Science of Mirrors
 Unfamiliarity with Photographs
 Pros and Cons
 Advantages of the Blink Outdoor Camera
 Understanding Your Blink Outdoor Camera
 Step 5: Remove the Old Batteries
 Troubleshooting Common Issues
 Conclusion
 Introduction to the Blink Outdoor Camera:
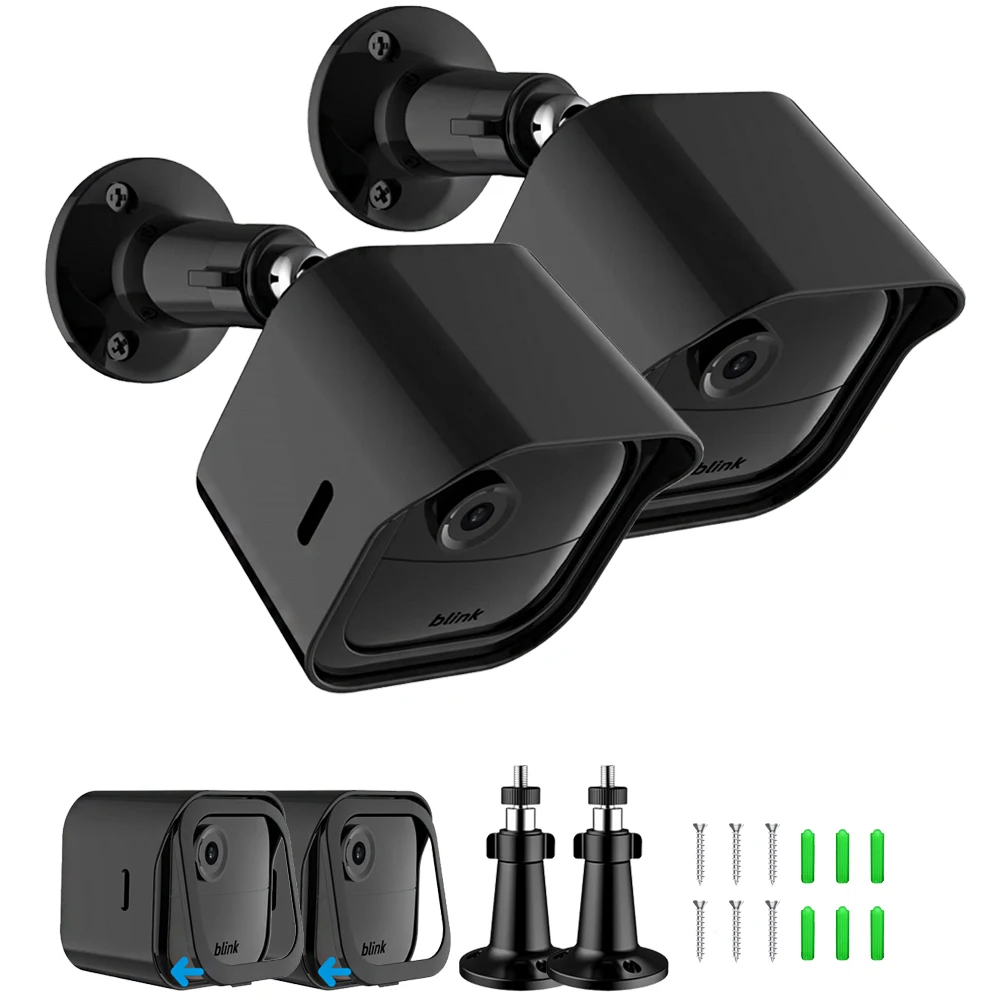 Reasons for Opening a Blink Outdoor Camera
 Step-by-Step Guide to Opening a Blink Outdoor Camera
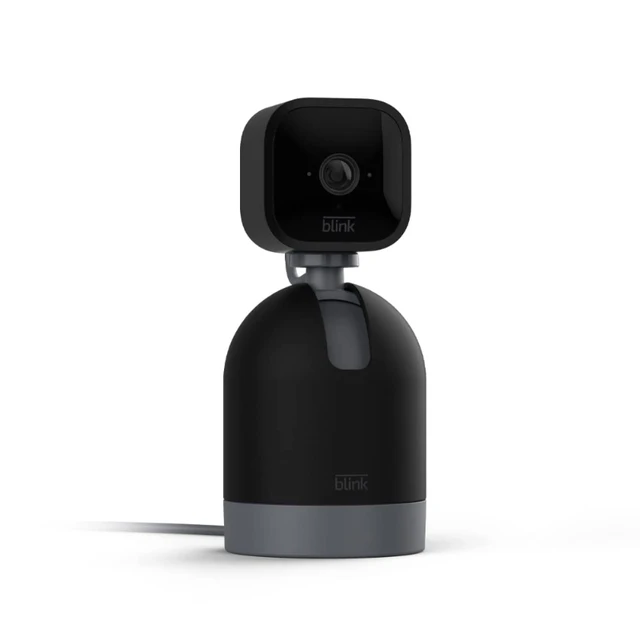 Troubleshooting Common Issues
 Conclusion
 Introduction
 Common Reasons for Offline Issues
 Wi-Fi Network Considerations
 Insufficient Power Supply
 Conclusion