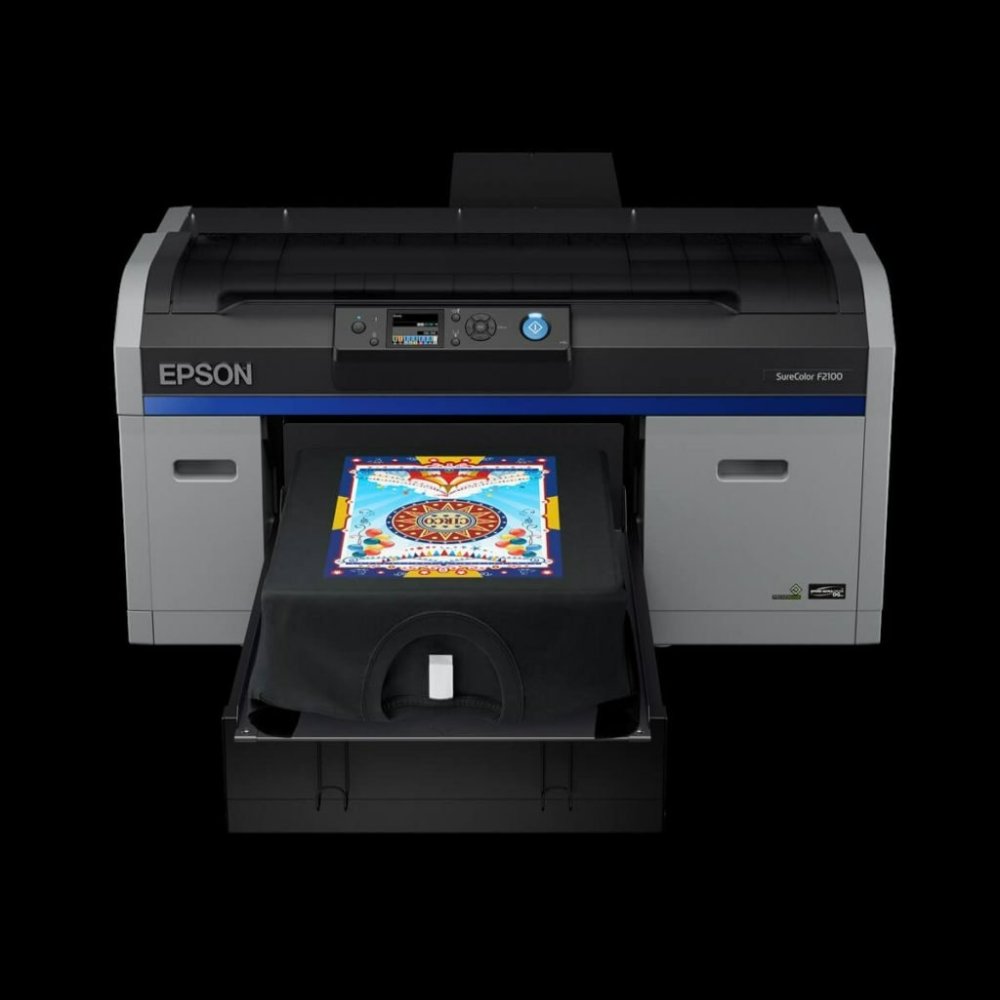
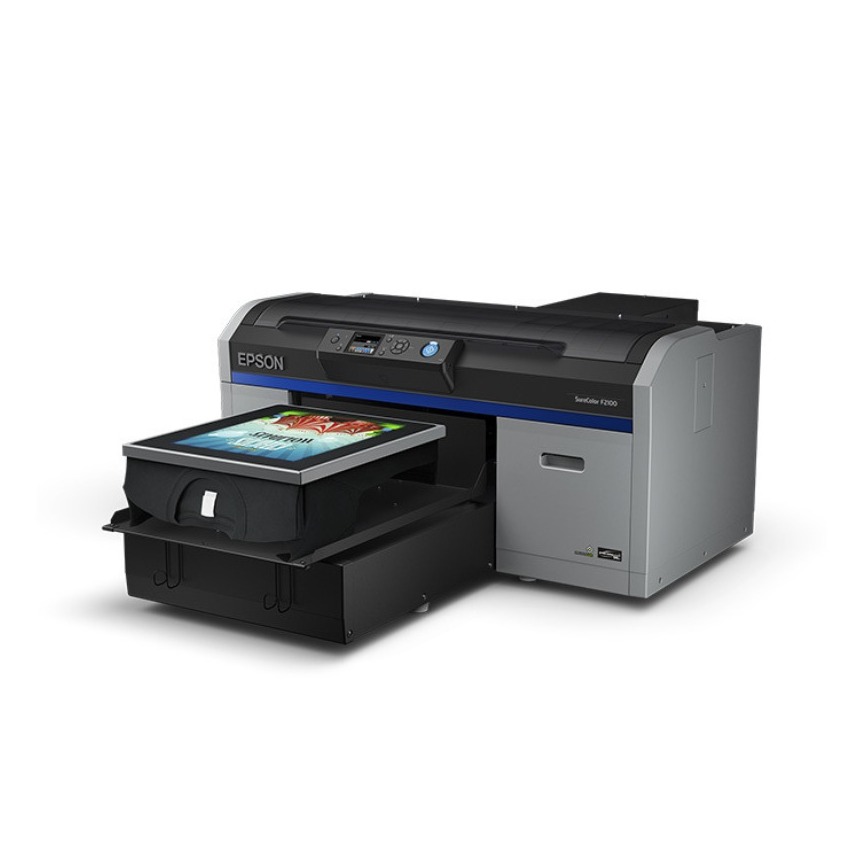
Setting Up Your Epson F2100 DTG Printer
Setting up your Epson F2100 DTG printer is the first step towards mastering its capabilities. Proper setup ensures smoother operations and optimal printing results.
Unboxing and Initial Setup
Start by carefully unboxing your Epson F2100 DTG printer. Check all the components are present as per the manual. Place the printer on a stable, flat surface near a power source. Ensure the work area is clean and dust-free to avoid any contamination.
Installing the Software and Drivers
Install the necessary software and drivers that come with the Epson F2100 DTG printer. Follow the instructions provided to ensure correct installation. This software will enable you to manage printing tasks and customize settings according to your needs.
Loading Garments and Preparing for Printing
Ensure the garments are clean and wrinkle-free before loading them into the printer. Use the platen appropriately sized for your garment. Align the garment correctly to avoid any misprints or distortions. Pre-treat the garments if required, depending on the fabric type and color.

Understanding the Interface and Software
Once your Epson F2100 DTG printer is set up, you’ll need to familiarize yourself with the interface and software. Mastering these elements is key to harnessing the full capabilities of your printer.
The control panel of the Epson F2100 is your command center. Here, you can access and adjust various settings. Use the panel to monitor ink levels, maintenance alerts, and print status. Practice navigating through the menus to find what you need quickly. This makes it easier to respond to any issues that arise during the printing process.
Utilizing the Garment Creator Software
The Garment Creator software that comes with your Epson F2100 DTG printer is powerful. It enables you to create and customize designs specifically for DTG printing. Learn to import your images and graphics, set color profiles, and arrange your layout. The software also lets you adjust ink density and white underbase, essential for vivid prints. By exploring these features, you can ensure your prints come out perfect every time.
Pre-treatment Processes for Optimal Results
Perfect prints start with proper pre-treatment of your garments. This stage is crucial for vibrant and long-lasting results when using your Epson F2100 DTG printer.
Selecting the Right Pre-treatment Liquid
Choosing the right pre-treatment liquid is essential. Options vary based on fabric type and color. For cotton, use a standard pre-treat. For blends, look for a formula that works with multiple fabrics. Always test on a small area before full application.
Applying Pre-treatment Evenly
An even pre-treatment layer is key for a consistent print. Use a pre-treatment machine or hand spray method. Ensure coverage is uniform across the print area. Avoid excess liquid, which can cause issues like ink bleed.
Pre-treatment Tips for Dark and Light Garments
For dark garments, a heavier pre-treatment application may be required. This ensures white ink pops against the dark background. For light garments, use less pre-treat to prevent a ‘box’ effect around the printed area. Adjust your approach based on garment color for optimal print quality.

The Printing Process Explained
The proper execution of the printing process is central to optimal results with the Epson F2100 DTG printer. Each step from platen selection to maintenance plays a vital role.
Selecting Proper Platen and Placement
Choosing the right platen for your garment size and type ensures proper printing alignment. The Epson F2100 DTG printer offers various platen sizes to support different garment types. Ensure the garment lies flat and the area to be printed is centered on the platen. This step is crucial to prevent the designs from distorting.
Adjusting Print Settings for Different Fabrics
Different fabrics require specific print settings for the best results. The Epson F2100 allows adjustments in print resolution and ink density. For denser fabrics like denim, increase ink density for richer colors. For lighter fabrics, decrease it to prevent bleed-through. Always test print on a similar fabric scrap before final printing to gauge setting adjustments.
Maintenance Routine to Prevent Clogs and Jams
Regular maintenance of the Epson F2100 DTG printer prevents clogs and jams, ensuring consistent print quality. Implement a daily cleaning routine focusing on the printhead and capping station. Use recommended cleaning solutions and techniques from the Epson user manual. Additionally, make sure to keep the printer’s firmware updated to ensure optimal functionality and troubleshoot any emergent issues promptly.
Troubleshooting Common Issues
When using the Epson F2100 DTG printer, encountering issues is a normal part of the process. By learning how to troubleshoot common problems, you can ensure a swift return to high-quality printing. Let’s dive into the ways to tackle typical challenges.
Diagnosing and Resolving Error Messages
Error messages on the Epson F2100 can range from low ink warnings to printhead troubles. When an error pops up, consult the manual. It has a list of codes and steps for fixes. Perform regular maintenance to avoid these errors. If they persist, it might be time to call in a technician.

Managing Color Consistency and Quality
Color issues can arise from software settings or ink levels. For consistent colors, always use genuine Epson inks. Calibrate your printer regularly and check the Garment Creator software settings. Test prints are also crucial for matching colors correctly. If you face persistent color problems, revisiting the color profiles may be necessary.
Overcoming Garment Fabric Challenges
Different fabrics can react differently during printing. For tough fabrics like polyester, tweak the printer settings for better adhesion. Pre-treat garments properly to ensure quality prints. If you find specific fabrics are challenging, explore forums or manufacturer guides for advice. Sometimes, a slight adjustment in technique makes all the difference.
Optimizing Printing Workflow
To achieve efficiency with your Epson F2100 DTG printer, optimizing the printing workflow is essential. Proper workflow optimization leads to increased productivity, reduced waste, and a smoother overall printing experience.
Efficiently Aligning Orders for Print
Organize your print jobs in a way that maximizes printer usage. Group similar orders together to reduce setup time between jobs. Align orders based on design complexity and garment type. This minimizes adjustments for print settings and platens, allowing for quicker transitions and better time management.
Balancing Speed and Quality
Find the sweet spot between speed and quality. High-quality prints sell, but slow production rates lead to backlogs. Use the Epson F2100 DTG printer’s settings to adjust print resolution for each job. Choose higher resolutions for detailed designs and a lower one for simpler graphics. Balance is crucial to meet deadlines without compromising on the visual appeal of your prints.
Streamlining the Post-Printing Process
Develop a post-printing process that is as smooth as the printing itself. Set up a system to handle drying, curing, and folding efficiently. Use heat presses or tunnel dryers to cure ink according to manufacturer guidelines. Organize a folding and packaging station to immediately prepare garments for delivery after they’re printed and cured. This reduces handling time and keeps orders flowing smoothly through your production line.
Advanced Techniques and Tips
Achieving mastery over the Epson F2100 DTG printer involves exploring advanced techniques and tips. This section will delve into methods to enhance print quality and expand creative possibilities.
Exploring Different Color Modes and Profiles
Understanding color modes and profiles is crucial for high-quality prints. The Epson F2100 DTG printer provides various settings. Switch between CMYK and RGB depending on the design needs. Use color profiles to match the printer output with your design software. It ensures that colors on screen translate accurately onto fabrics.
Creative Use of White Ink and Overlays
White ink can make designs stand out, especially on dark garments. Experiment with overlays, which involve printing a white underbase. Then, add colored inks on top for a vibrant effect. Test different levels of white ink density for the best results. Learn to balance the white underbase to not overpower the final colors.
Leveraging the Printer for Mixed Media Designs
Expand your offerings with mixed media designs. Combine DTG printing with other embellishments like embroidery or sequins. The Epson F2100 allows for versatility in design application. Remember to align other media with your printed designs carefully. This approach can create unique, high-value products that attract customers.
Maintaining Your Printer for Longevity
To ensure your Epson F2100 DTG printer operates efficiently for years, maintain it well. Regular cleaning and timely replacement of consumables are key.
Routine Cleaning Schedules
Set up daily, weekly, and monthly cleaning routines for your Epson F2100 DTG printer. Start each day with a quick wipe of the printer’s surface to remove dust. Clean the printhead to avoid ink clogs. End the week by checking all moving parts and lubricate if necessary. Each month, do a thorough clean. Check the entire system for any ink residue or debris.
When to Replace Consumables
Know when to replace key consumables like ink cartridges, maintenance tanks, and dampers. Replace ink cartridges before they run dry to prevent air from entering the system. Change maintenance tanks when the printer signals. Swap out dampers as per the manual’s recommendation to ensure smooth ink flow.
Support Resources and When to Seek Help
Utilize the support resources Epson provides for the F2100 DTG printer. This includes online manuals, FAQs, and customer service hotlines. If you encounter a problem you can’t fix, seek technical support. Don’t hesitate to call a professional when necessary. It’s better to get expert help than to risk damaging your printer.

Leave a Reply