 Introduction:
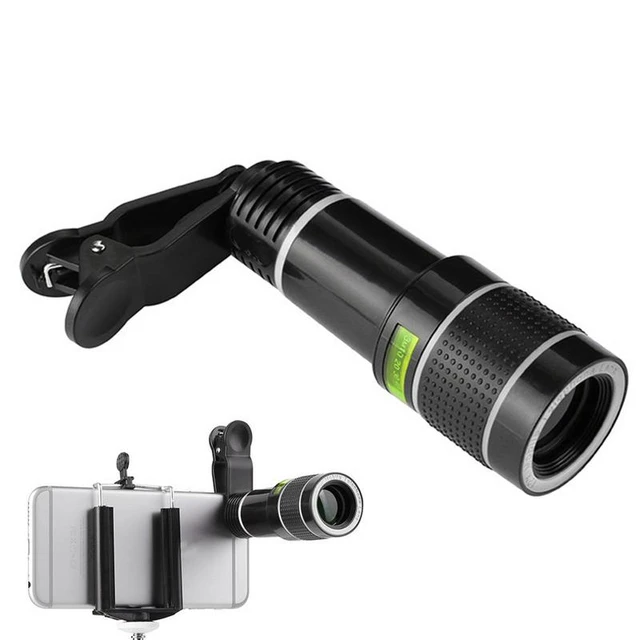
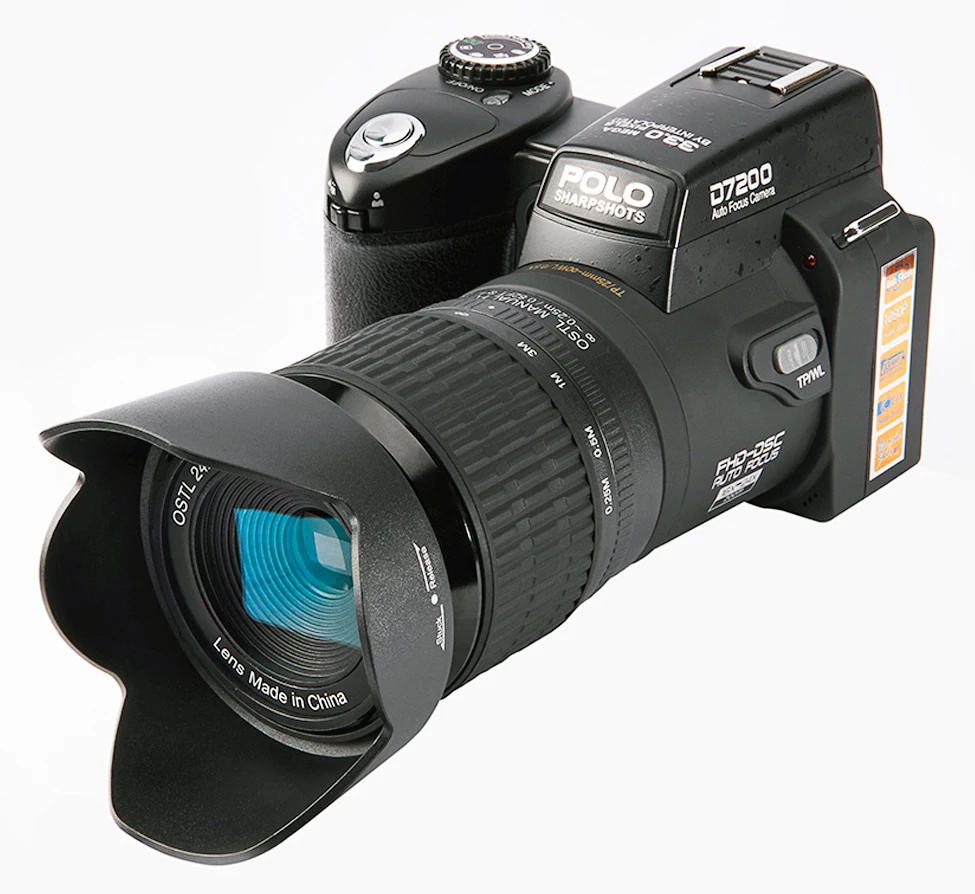
A telephoto camera is a type of camera lens that allows users to capture distant subjects with clarity and detail. With its specialized design and construction, a telephoto lens offers an extended reach, making it an essential tool for various photography genres. In this comprehensive guide, we will explore the basics of a telephoto camera, its unique features, and the benefits it provides to photographers. By understanding the fundamentals of a telephoto lens, photographers can make informed decisions when selecting equipment and achieve outstanding results in their photography.
 Introduction to Telephoto Cameras
Telephoto cameras are camera lenses specifically designed for capturing subjects at a distance.
A. Purpose: Telephoto lenses provide an increased focal length to magnify distant subjects, allowing photographers to capture them with detail and clarity.
B. Applications: Telephoto lenses are widely used in wildlife, sports, nature, and portrait photography, among other genres.
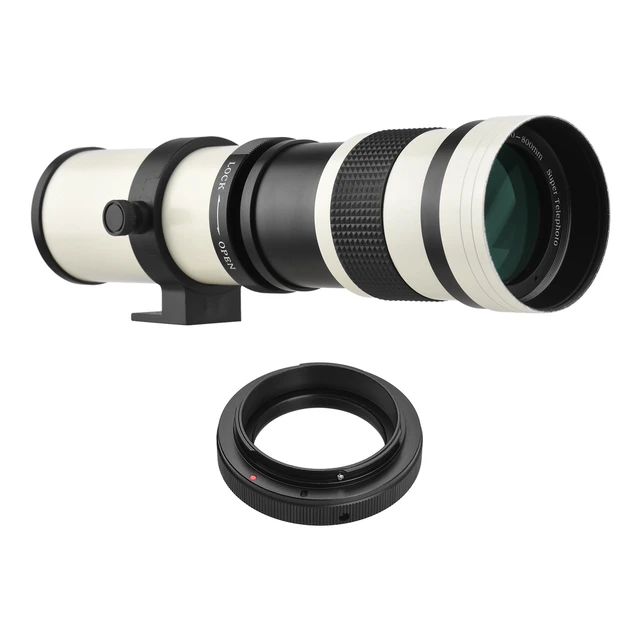
Focal Length and Reach
The key characteristic of a telephoto lens is its focal length, which determines its reach and magnification capabilities.
A. Focal Length Range: Telephoto lenses typically have a focal length of 70mm or longer, extending well into the hundreds of millimeters.
B. Magnification: The longer the focal length, the greater the magnification power, allowing photographers to capture distant subjects as if they were closer.
Compression and Perspective
Telephoto lenses have a unique effect on perspective and scene compression.
A. Compression: Telephoto lenses compress the perceived distance between subjects and their backgrounds, creating visually captivating images with a shallow depth of field.
B. Perspective: Telephoto lenses flatten the perspective, making objects appear closer together and enhancing the perception of distance.
Narrower Angle of View
Telephoto lenses have a narrower angle of view compared to standard or wide-angle lenses.
A. Field of View: The narrower angle of view allows photographers to isolate and focus on specific subjects, eliminating distractions from the surrounding environment.
B. Zoom or Prime Lenses: Telephoto lenses can be available as zoom lenses, providing versatile focal lengths, or as prime lenses with a fixed focal length for optimum image quality.
Image Stabilization
Due to their longer focal lengths, telephoto lenses are more susceptible to camera shake and hand movement.
A. Image Stabilization Technology: Many telephoto lenses feature built-in image stabilization, which compensates for camera shake and allows for sharper handheld shots.
B. Tripod Usage: In situations where longer exposure times or stability is required, using a tripod can ensure maximum sharpness and eliminate any unwanted camera movement.
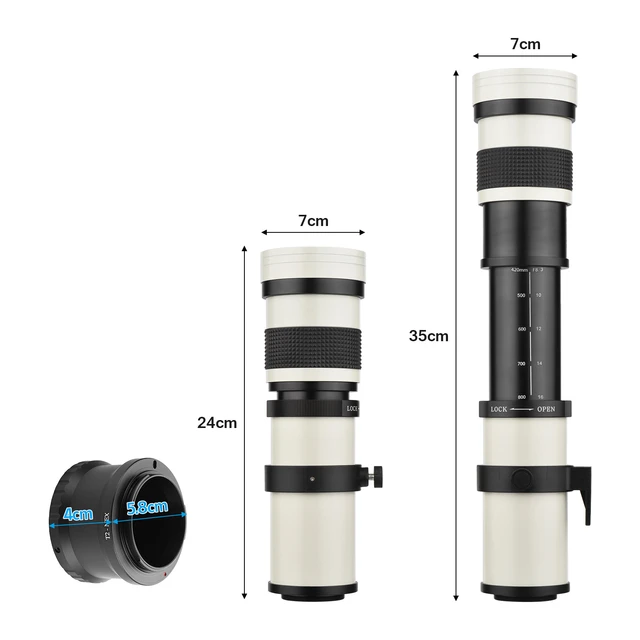
 Weight and Portability
Telephoto lenses tend to be larger and heavier compared to shorter focal length lenses.
A. Durability and Construction: Telephoto lenses are constructed with robust materials to withstand the weight and provide stability during use.
B. Transportation and Accessibility: Using a camera bag or lens case specifically designed for telephoto lenses facilitates transportation and protects the lens from damage during travel.
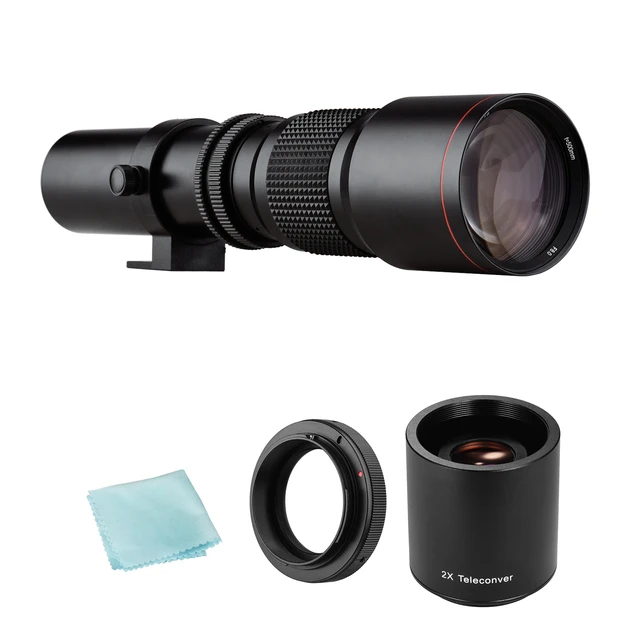
 Choosing a Telephoto Lens
When selecting a telephoto lens, consider factors such as focal length, maximum aperture, and additional features based on your specific photographic needs.
A. Focal Length Range: Determine the desired focal length range that suits your photography style and the subjects you typically capture.
B. Maximum Aperture: Consider the maximum aperture of the lens, as wider apertures allow for better low-light performance and greater creative flexibility.
The popularity and trends surrounding telephoto cameras:
The popularity and trends surrounding telephoto cameras have been on the rise in recent years. Here are some key factors shaping the popularity of telephoto cameras:
Smartphone Advancements:
Advances in smartphone camera technology have led to the integration of telephoto lenses into many flagship and high-end smartphones. Users are now able to capture high-quality zoomed-in photos without sacrificing image quality.
Social Media and Photography Trends:
Social media platforms like Instagram, where photography plays a significant role, have popularized the use of telephoto lenses for capturing stunning landscape, wildlife, and portrait shots. Telephoto lenses allow users to capture subjects from a distance, bringing a unique perspective to their photography.
Travel and Adventure Photography:
With the increasing popularity of travel and adventure photography, telephoto lenses have become essential tools for capturing distant landscapes, wildlife, and other subjects. These lenses enable photographers to zoom in and capture detailed shots from afar, enhancing their storytelling and visual appeal.
Wildlife and Sports Photography:
Telephoto lenses are highly sought after by wildlife and sports photographers. These lenses allow them to capture detailed and close-up shots of fast-moving subjects, even from a considerable distance. The ability to zoom in without physically getting close to the subject is crucial in these genres of photography.
Optical Zoom and Image Stabilization Technology:
Telephoto cameras with optical zoom capabilities and built-in image stabilization technology have become more common. These features enable users to capture sharp and clear images even when zoomed in, reducing the risk of blurry photos caused by camera shake.
Camera Industry Developments:
The camera industry has responded to the demand for telephoto capabilities by introducing more compact and versatile telephoto lenses for interchangeable lens cameras. This has made telephoto lenses more accessible to a wider range of photographers.
Overall, the growing popularity of telephoto cameras can be attributed to advancements in smartphone cameras, evolving photography trends, and the demand for capturing distant subjects with excellent image quality. As technology continues to improve, we can expect telephoto cameras to further evolve and become even more prevalent in the photography industry.
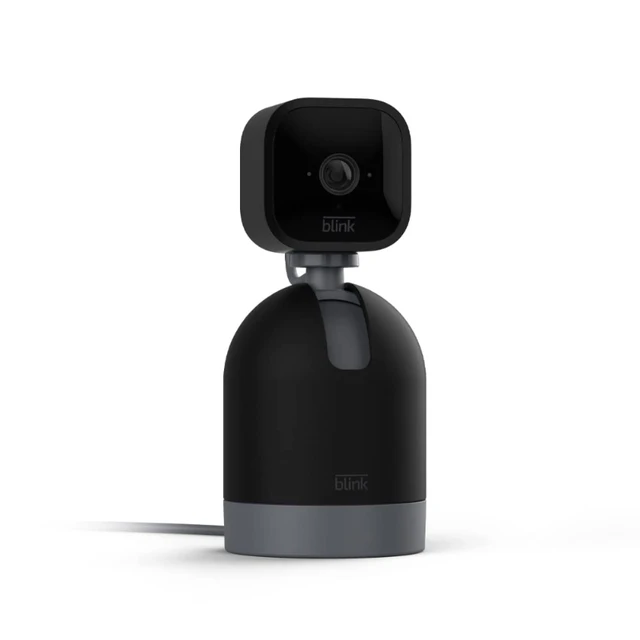
Comparing Blink Camera and Ring Camera in terms of telephoto capabilities
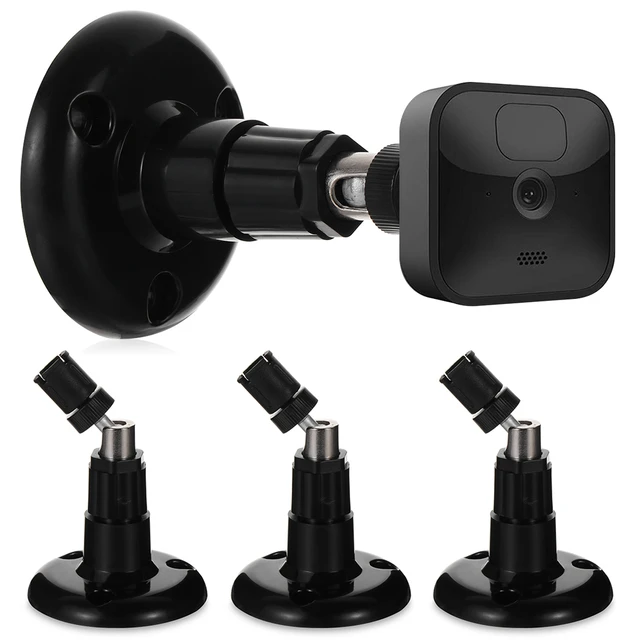
When comparing Blink Camera and Ring Camera in terms of telephoto capabilities, it’s important to note that both brands primarily focus on wide-angle and general-purpose cameras. They do not offer specific models with telephoto lenses. However, I can provide a comparison of the two brands’ overall camera offerings:
Blink Cameras: Blink offers indoor and outdoor cameras that are designed for wide-angle coverage rather than telephoto capabilities. While some Blink camera models may have digital zoom functionality, they do not have dedicated telephoto lenses. Blink cameras are known for their affordability, ease of use, and wireless capabilities.
Ring Cameras: Ring also offers a range of indoor and outdoor cameras, but like Blink, they do not have dedicated telephoto lenses. Ring cameras typically feature wide-angle lenses to capture a broader view of the surroundings. However, some Ring camera models may have digital zoom capabilities that can help magnify the image digitally.
It’s essential to consider your specific photography needs when deciding between these brands. If telephoto capabilities are a priority, you may need to explore other camera brands that specialize in telephoto lenses or consider using additional lens attachments or optical zoom adapters with smartphones or traditional cameras.
Remember to research the specifications and features of each brand’s camera models thoroughly to determine which one best suits your requirements, including your desired level of zoom or telephoto capabilities.
 Conclusion
A telephoto camera lens is a valuable tool that allows photographers to capture distant subjects with detail, clarity, and creative possibilities. By understanding the basics of a telephoto lens, photographers can make informed equipment choices and explore the unique features and capabilities it offers. Whether capturing wildlife, sports, or captivating portraits, the telephoto lens opens up a world of possibilities for photographers interested in exploring distant subjects and creating visually compelling images.
 Introduction:
 Setting Up Your Blink Camera
 Adjusting Camera Settings
 Troubleshooting Common Issues
 Conclusion
 Introduction:
 Introduction to Connectors
 Maintenance and Care
 Popularity:
 Conclusion
 Introduction:
 Introduction to Blink Doorbell Camera Batteries
 Extending Battery Life
 Blink Doorbell Camera and Ring Camera:
 Conclusion of blink doorbell camera batteries
 Introduction:
 Introduction to Full Frame Cameras
 Some potential disadvantages of full-frame cameras:
 Comparing Full Frame to Other Camera Formats
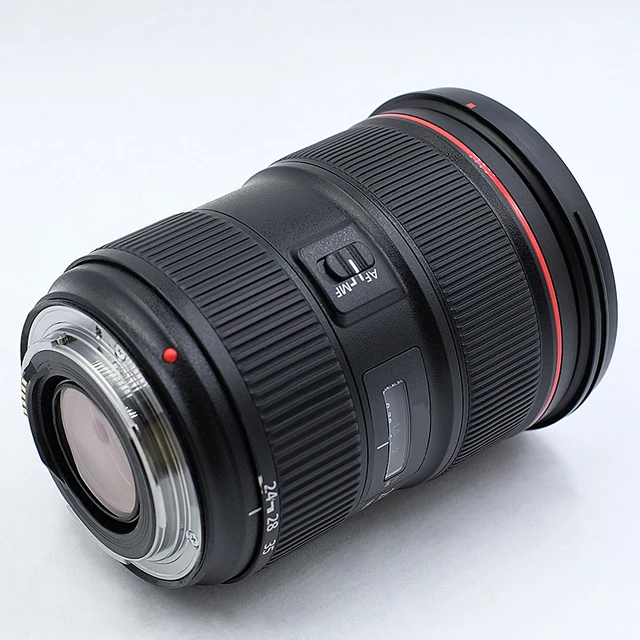 Conclusion
 Introduction:
 Introduction to Back Camera Malfunctions
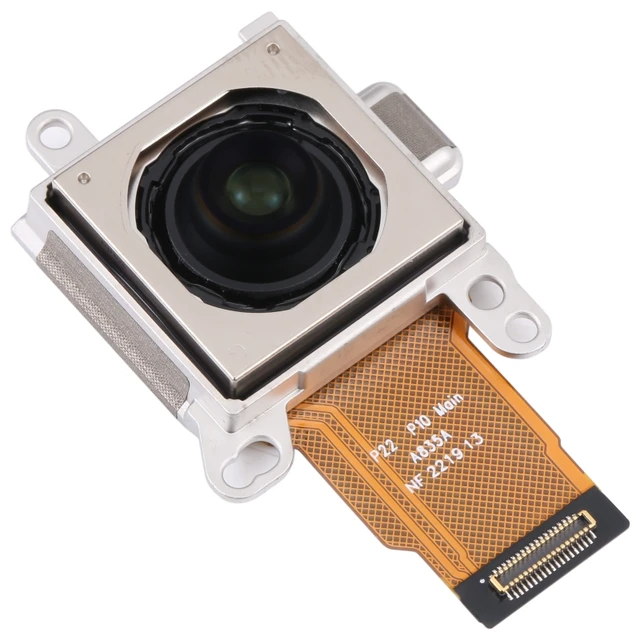 Software Issues
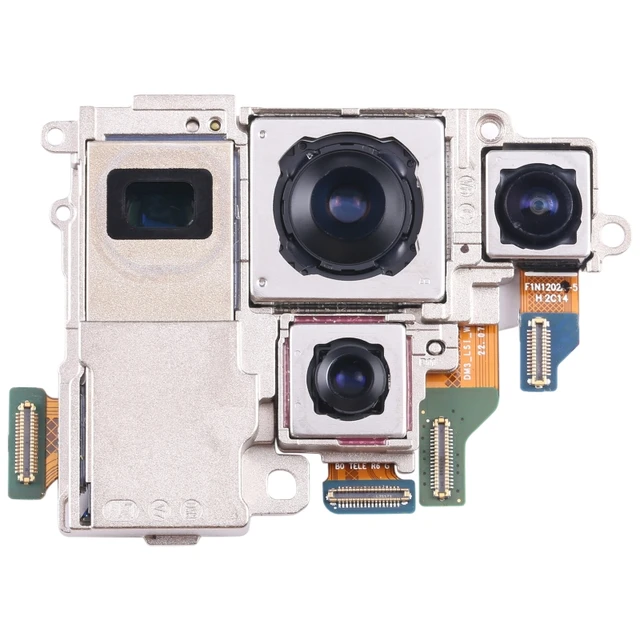 Solutions for Hardware Malfunctions
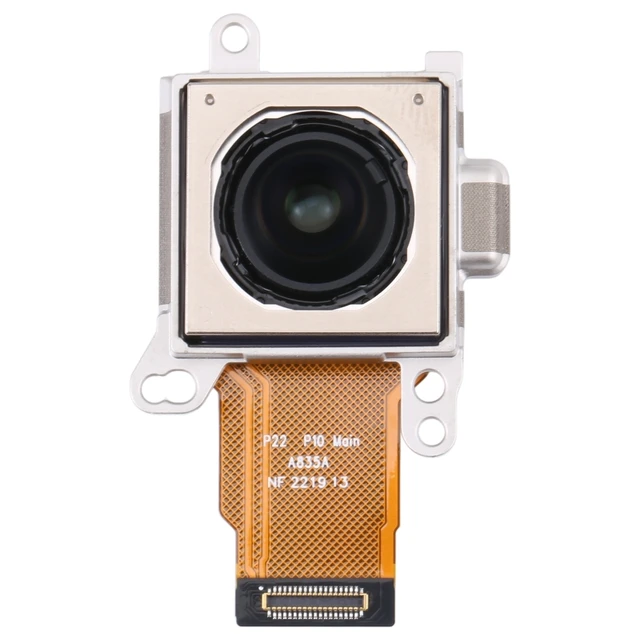 Conclusion
 Introduction:
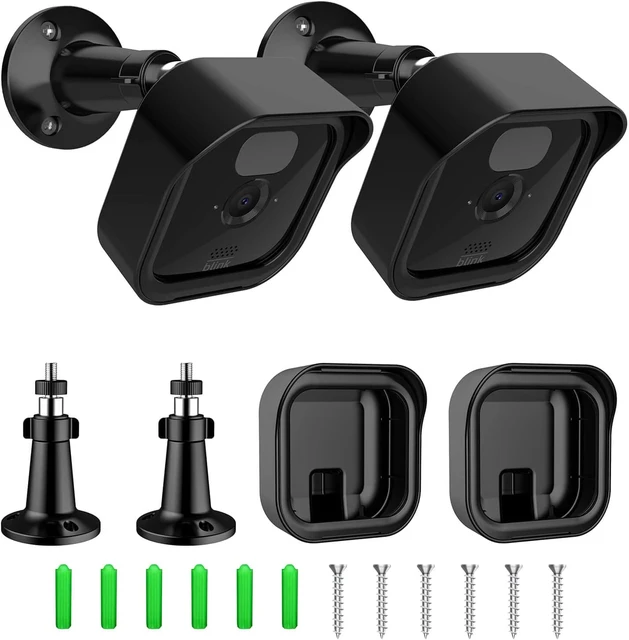 Sync Module and Camera Pairing
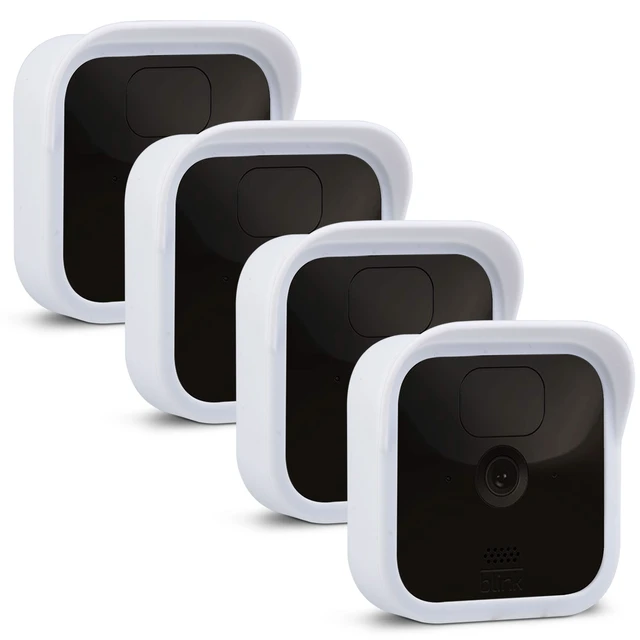 Battery and Power Issues
 Blink Camera and Ring Camera:
 Conclusion
 Introduction:
 Potential Causes of a Blink Camera Blinking Red
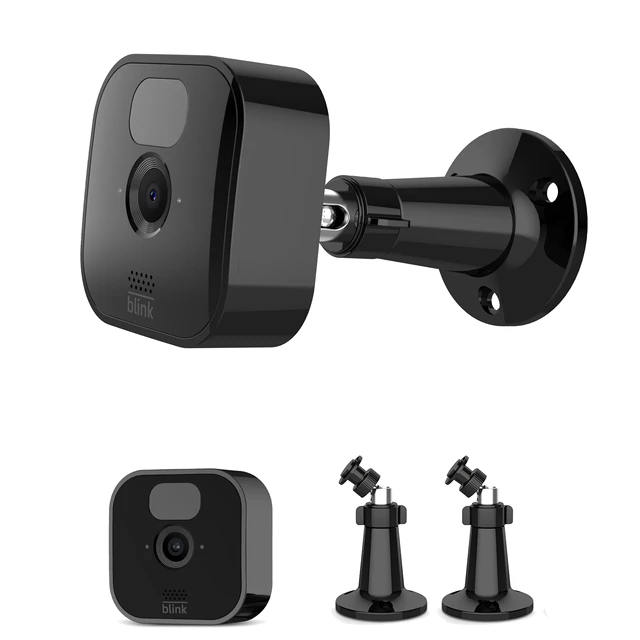 Additional Tips for Blink Camera Maintenance
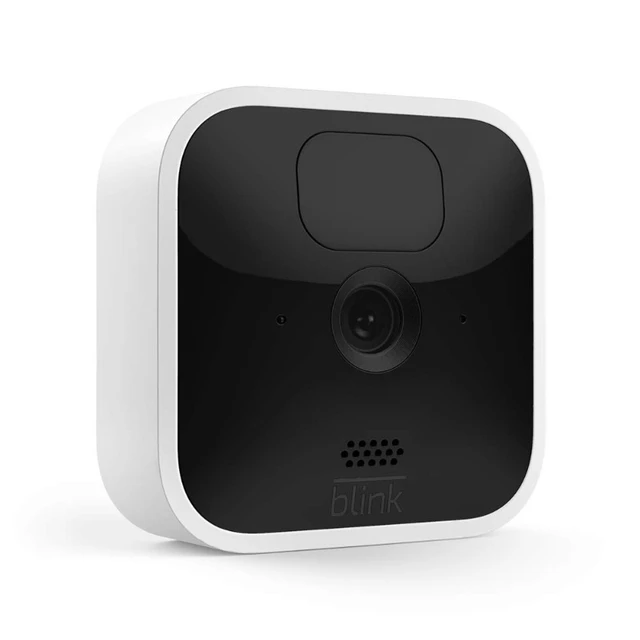 Blink Camera and Ring Camera:
 Conclusion
 Introduction:
 Understanding the Causes of Camera Shake
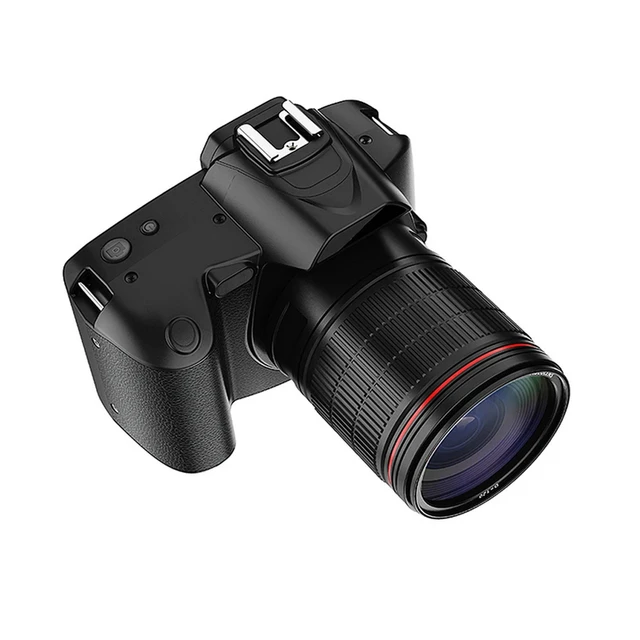 Additional Measures to Reduce Camera Shake
 Comparing Ring camera and Blink camera:
 Conclusion
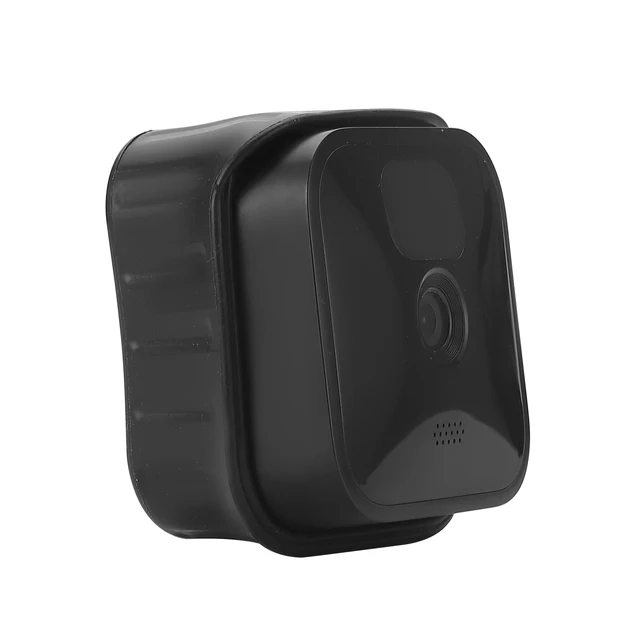
 Introduction:
 Introduction to Blink Camera Batteries
 Removing the Old Batteries
 Reinstalling the Blink Camera
 Conclusion