Here you can learn about a variety of electronic equipment and office items to help you work and study better. What are you waiting for? Come and take a look!

Month: January 2025 (Page 2 of 2)

How to Change Ink in HP Printer: A Tutorial for Beginners

Identifying the Right Ink for Your HP Printer

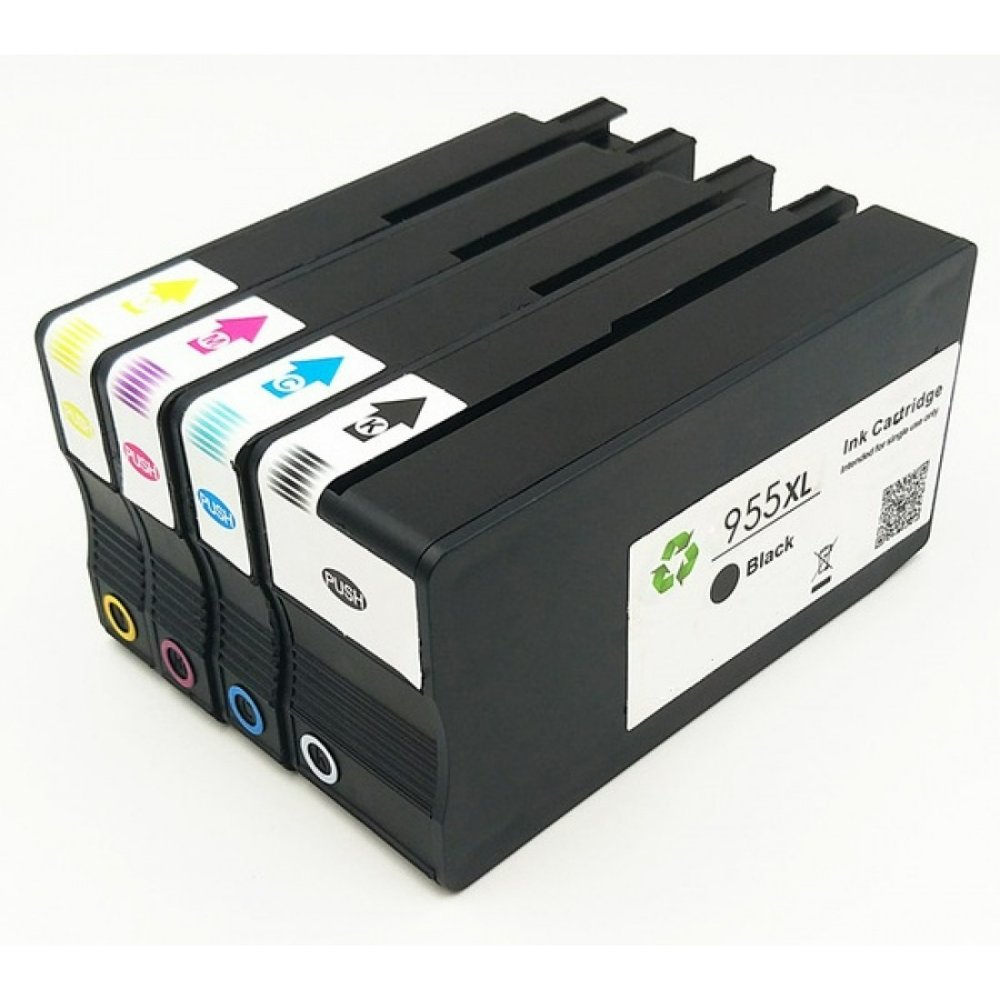
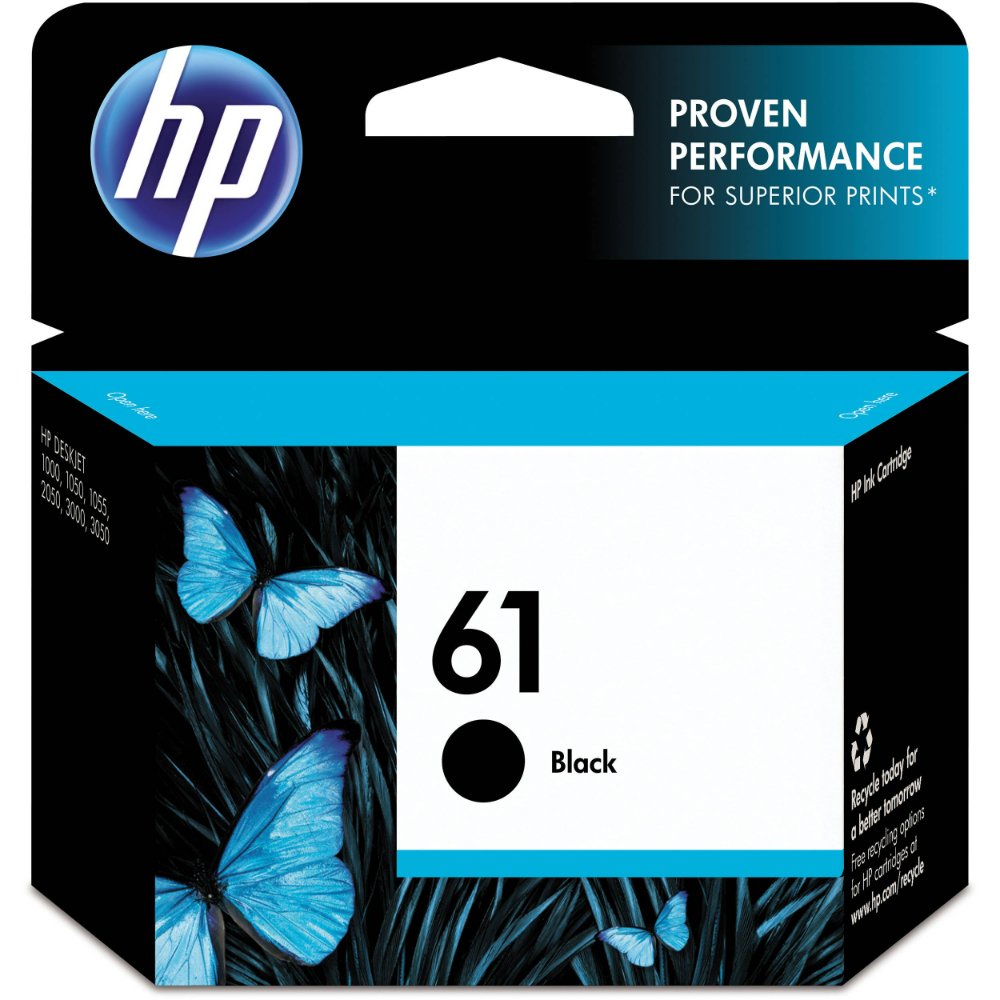
Before you learn how to change ink in hp printer, identifying the correct ink cartridge is critical. HP printers use specific ink cartridges that match the model and series of the printer. Using the wrong type can lead to poor print quality or even printer damage. Here are steps to find the right ink for your HP printer:

  1. Check Your Printer Model: Look for the model number on the printer itself or in the user manual.
  2. Refer to HP’s Website: Visit the official HP website. Input your printer model to find compatible cartridges.
  3. Examine the Old Cartridge: If you have the old cartridge, check its reference number. It will guide you when buying a new one.
  4. Consult the Packaging: Ink cartridge boxes often list the printer models they fit. Check the packaging to ensure it includes your model.
  5. Visit a Retail Store: If online searches are confusing, visit a local store. Staff can help identify the right cartridge for your HP printer.
  6. Use Only Genuine HP Ink: To maintain quality and warranty, opt for genuine HP cartridges. They may cost more but ensure best performance and support.

Remember, each HP printer series may require a different ink cartridge model. Always double-check to avoid errors when you need to change ink in hp printer.

ink cartridge

When to Change Your HP Printer Ink

Knowing when to change your HP printer ink is just as important as knowing how to do it. There are several signs that indicate it’s time to replace your cartridges:

  1. Print Quality Declines: If you notice streaks, faded colors, or any other quality issues in your prints, it may be time for new ink.
  2. Low Ink Warnings: Your printer will typically alert you when ink levels are running low. Do not ignore these warnings if you want to avoid print disruptions.
  3. Empty Cartridges: Once an ink cartridge is empty, your printer will stop working until it’s replaced. Check your printer display or software for ink levels.
  4. Inconsistent Prints: Sometimes, even with ink remaining, poor ink delivery can cause inconsistent print quality. This might suggest the ink is nearing its end.
  5. Routine Maintenance: If you use your printer heavily, set a regular schedule to check and change ink to maintain performance.
  6. Before an Important Task: If you have critical documents to print, it’s wise to ensure your ink levels are sufficient to avoid last-minute issues.

Remember, regularly checking your ink levels can prevent print quality problems and help you determine the best time for a change. Stay proactive to keep your HP printer running smoothly and to deliver the sharp, vibrant prints you expect.

Preparing to Change the Ink Cartridge

Before you start the process of how to change ink in hp printer, preparation is key. Here’s how to get ready:

  1. Turn on Your Printer: Ensure that your HP printer is powered on. It should be stable and on a flat surface.
  2. Gather Necessary Supplies: Have a new ink cartridge handy. Keep a cloth or paper towel near you for any possible ink spills.
  3. Check Printer Status: Make sure the printer isn’t in the middle of a printing task. Wait until it is idle and silent before proceeding.
  4. Open Printer Access Door: Gently open the access door or cover where the ink cartridges reside. This action often moves the ink cartridge holder to the center automatically.
  5. Wear Gloves (Optional): To avoid getting ink on your fingers, consider wearing disposable gloves.
  6. Be Mindful of Timing: Don’t remove the old cartridge until you are ready to immediately replace it. This minimizes the risk of the ink nozzle drying out.

Preparation prevents mishaps and ensures a smooth ink change for your HP printer. Follow these steps closely to ensure you’re set for the replacement process.

HP printer ink

Step-by-Step Ink Replacement Process

Changing the ink in your HP printer is a simple process if you follow these steps closely:

  1. Wait for Cartridge Positioning: After opening the access door, wait for the cartridge holder to move to the center. This indicates readiness for the change.
  2. Remove Used Cartridge: Press down lightly on the used cartridge to release it. Then, pull it out of the holder.
  3. Prepare New Cartridge: Take the new cartridge out of its packaging. Pull the protective tape off the cartridge to unseal the ink nozzles.
  4. Insert New Cartridge: Hold the cartridge by its sides with the nozzles facing the printer. Slide it into the corresponding slot until it clicks into place.
  5. Close the Access Door: Once the new cartridge is secure, close the printer’s access door. The printer will often recognize the new cartridge and run an alignment automatically.
  6. Print a Test Page: After the alignment, print a test page. This will help you check the new cartridge’s installation and ink flow.
  7. Check the Ink Levels: Finally, check the ink levels on your printer display or software to confirm the successful replacement.

Remember to handle cartridges carefully. Follow these steps every time you need to know how to change ink in hp printer. This ensures clear prints and a long-lasting printer.

Troubleshooting Common Ink Replacement Issues

Even with the right approach to change ink in HP printer, challenges may arise. Addressing common issues promptly can ensure uninterrupted printing. Below are common problems and how to fix them.

  • Cartridge Not Recognized: Ensure the cartridge is HP branded and compatible with your model. Remove and reinsert the cartridge firmly until it clicks.
  • Poor Print Quality: After installing new ink, run a cleaning cycle. If quality issues persist, align the printer heads via your printer’s settings.
  • Ink Leaks: Handle cartridges carefully. If you spot leaks, clean the printer’s interior gently with a soft cloth before inserting a new cartridge.
  • Printer Won’t Print: Check that the protective tape on the nozzles is removed. Make sure your printer software recognizes the new cartridge.
  • Error Messages: Restart your printer. If error messages continue, check the HP support site or the manual for specific troubleshooting tips.
  • Air in Cartridges: Sometimes air bubbles cause blockages. Run the printer’s cleaning function to expel any trapped air.

Take these tips as a first step whenever you have to troubleshoot after changing your HP printer ink. A systematic approach will resolve most issues swiftly, getting your prints back to their best.

HP printer

Tips for Maintaining Your HP Printer Ink Cartridges

To get the most out of your HP printer ink cartridges, regular maintenance is key. Here are some practical tips to help you maintain your cartridges and ensure consistent print quality:

  1. Store Cartridges Properly: Keep new cartridges in their sealed packages until you need them. Store them upright in a cool, dry place to avoid leaks or drying out.
  2. Avoid Exposure to Air: Once you open a cartridge, try not to leave it exposed to air. This prevents the ink from drying in the nozzles and causing clogs.
  3. Use Your Printer Regularly: Print a few pages every week to keep the ink flowing smoothly. This helps prevent ink from drying and clogging the print heads.
  4. Run Printer Cleanings: Use your printer’s cleaning function periodically. This can clear ink nozzles and avoid streaks on your prints.
  5. Handle Cartridges Gently: When replacing cartridges, be gentle. Rough handling can damage the ink nozzles or cause leaks.
  6. Turn Printer Off Properly: When not in use, turn the printer off using the power button. This helps protect the ink from drying and moves the cartridges to a safe position.
  7. Avoid Refilled Cartridges: While they can be cheaper, refilled cartridges may not offer the same quality or reliability as new, genuine HP ink.

By following these tips, you can help prolong the life of your HP printer ink cartridges, save money on replacements, and enjoy high-quality prints. Regular maintenance is an essential part of how to change ink in hp printer and keep it functioning optimally.

Recycling Used Ink Cartridges

After learning how to change ink in hp printer, it’s important to responsibly dispose of your used cartridges. HP has a commitment to sustainability, and recycling is a key part of this. Here are simple steps to recycle your HP printer ink cartridges:

  1. Use HP’s Recycling Program: HP offers a recycling program for its cartridges at no extra cost. Visit HP’s Planet Partners website to get started.
  2. Package Cartridges Carefully: Place the used cartridges back in their original box or any other small box. This will prevent leakage or damage during shipping.
  3. Print Prepaid Shipping Label: HP provides a prepaid shipping label. Print it out and attach it to your package with the used cartridges.
  4. Drop Off the Package: You can leave the package at any post office or mail pickup location. Alternatively, you can schedule a pickup through the shipping carrier’s website.
  5. Opt for Local Recycling Centers: Some areas have local recycling centers that accept ink cartridges. Check your municipality’s recycling guidelines.
  6. Retailer Take-back Programs: Many office supply stores offer ink cartridge recycling. Drop off your old cartridges next time you visit.

By recycling used ink cartridges, you’re not just disposing of them; you’re contributing to a circular economy and reducing waste. Remember, never throw cartridges in the trash as they can harm the environment. Take the extra step to recycle, and help ensure a safer, cleaner planet for future generations.

Top Tips for Selecting the Printer Paper Sizes for Your Office

Introduction to Printer Paper Size Standards

When it comes to printing, the size of the paper can be just as important as the content it holds. Two main standards dictate printer paper sizes: the North American and International ISO 216 systems. Understanding these standards is crucial for precision in document creation and printing.

North American Paper Size System

In North America, the common paper sizes revolve around Letter, Legal, and Tabloid. These sizes stem from historical developments and are tailored to fit the typical output needs of domestic printers and office machinery. When discussing printer paper sizes in North America, referencing these standards helps avoid any complications during printing processes.

International Paper Size System ISO 216

Globally, many countries use the International Standard, ISO 216, which is different from the North American system. The ISO 216 standard employs a systematic range of paper sizes known as the A-series, where each size has a consistent aspect ratio. This consistency simplifies scaling between sizes and ensures compatibility across different countries and printing devices. For those involved in international communication, knowing ISO 216 standards is essential for seamless document exchange.

HP printer

Most Common North American Paper Sizes

Understanding the most common North American printer paper sizes is key for everyday printing needs. Here’s a quick look at the three sizes you’re most likely to encounter: Letter, Legal, and Tabloid.

Letter Size (8.5 x 11 inches)

Letter size is the standard go-to for daily print tasks. At 8.5 by 11 inches, it’s ideal for memos, reports, and emails. This size is pre-set on most U.S. printers and is ready for your use. Suits best for personal and professional documents alike.

Legal Size (8.5 x 14 inches)

Legal size paper measures 8.5 by 14 inches and is a bit longer. It’s used when you need more room for legal documents or contracts. Remember to adjust your printer tray when switching to this size. It allows for more text on a single page which can be crucial for detailed documents.

Tabloid Size (11 x 17 inches)

Tabloid, also known as Ledger, is larger at 11 by 17 inches. This size is excellent for big images or layouts for print media. Think brochures, posters, or newspaper sections. If you’re creating materials for visual impact, Tabloid is your size. Check if your printer can handle this size before printing.

For each of these sizes, make sure your printer settings match the paper size to avoid errors or cropping. With these North American paper sizes, you’ll be ready for various printing needs, from quick office documents to elaborate presentations.

The History Behind Paper Size Standards

The understanding of paper sizes did not just appear out of thin air. They have a rich history, driven by the need for uniformity in printing and documentation.

Development of Paper Size Standards in the U.S.

In the early 20th century, paper sizes in the United States became standardized. The reason was practicality for common use in offices and for mail service. The Letter size, at 8.5 by 11 inches, became the standard for daily tasks. It fits well into envelopes and filing systems. The Legal size followed, with its extra length for more text, while Tabloid was for large-scale graphics.

Paper size norms changed with technology and policy. For instance, President Hoover wanted government papers at 8 by 10.5 inches. It was not until the 1980s that President Reagan set 8.5 by 11 inches for government use. In 1995, the ANSI/ASME Y14.1 made these standards official, setting sizes for engineering drawings too.

Printer Paper

The International Acceptance of ISO 216 Standard

The ISO 216 standard came about in 1975, becoming a global guide for paper sizes. The A-series, including the famous A4 size, is based on a simple geometric rule. Each size is half of the size above it. This system is in metric units, which differs from the U.S. standard.

This standard simplified international trade and communication. With the same paper size, businesses worldwide could share documents without trouble. The A4 size, measuring 210 by 297 mm, is the close equivalent to U.S. Letter size. But, it is not the same and this can lead to printing issues.

Both the U.S. and international standards for printer paper sizes have histories rooted in convenience and functionality. While different, understanding both is key to global business success and straightforward document exchange.

How to Print Documents of Varying Paper Sizes

Working with different printer paper sizes can be tricky.

Adjusting Printer Settings for A4 Documents

When printing A4 documents, a common issue arises. Your printer might cut off the top and bottom. To avoid this, adjust your printer settings. Set magnification to 94% for complete printing. If someone else prints your Letter document, tell them to use 97% magnification. This helps fit the print on A4-sized paper.

Ensuring Compatibility and Avoiding Print Issues

To ensure compatibility, always check document and printer paper size settings. Use the correct size to prevent formatting problems. This keeps your text and images aligned properly. Always confirm paper size within printer settings before printing. This avoids print issues like paper jams. Using the right size also saves paper and ink. It ensures prints look sharp and professional. For a smooth printing process, matching the document size to the correct paper size is key.

Paper Size Use Cases and Applications

The right paper size matters for different print jobs. Let’s look at some common uses.

Everyday Printing and Office Documentation

Letter size (8.5 x 11 inches) is the go-to for daily office print needs. Reports, emails, and memos fit well on this size. It’s preset on US printers for ease of use. Always pick letter size for quick, everyday jobs.

Legal Documents and Contracts

Legal size paper (8.5 x 14 inches) has extra room for more text. It’s ideal for contracts that need more space. Switch your printer to this size when printing longer documents. It’s the standard choice for many in law offices.

HP Printer Driver

Marketing Materials and Presentation Graphics

Tabloid size (11 x 17 inches) is great for visual impact. Use it for large images and marketing designs. It’s also perfect for printing folded brochures or small newspapers. Be sure your printer can handle tabloid before starting your job.

Choosing the right paper size helps your documents to look their best. It ensures a professional look and fits with the print job’s purpose. Remember to check your printer for paper size settings to avoid mistakes.

Choosing the Right Paper Size for Your Needs

Selecting the right paper size is essential for creating high-quality prints that meet your specific requirements. Whether it’s for personal use or professional documents, the choice of paper size can have a significant impact on the final output. Here are the key factors to consider when determining the best paper size for your printing needs.

Factors Influencing Paper Size Selection

  • Document Purpose: Identify the goal of your document. Is it a legal contract, a daily office report, or marketing material? Each purpose has a standard size.
  • Audience Location: Consider the location of your recipients. Use the ISO 216 system for international contacts and North American sizes for local ones.
  • Printer Settings: Check your printer’s capability. Some printers may not support all sizes, particularly larger formats like tabloid size.
  • Visual Appeal: For items that include graphics, a larger paper size can enhance visibility and impact.

The rate of paper size selection often depends on these factors. Making the right choice can help you avoid unnecessary print issues.

Ensuring Compatibility with Printer Capabilities

When choosing a paper size, it’s crucial to make sure that your printer can handle it. Follow these simple steps:

  • Consult the Printer Manual: Learn which sizes are compatible with your printer.
  • Check the Paper Tray: Your printer may need a specific tray for non-standard sizes.
  • Print Settings Adjustment: Align document and printer settings to prevent errors and paper waste.

Ensuring compatibility keeps your printer running smoothly and extends its life. Always match document sizes with your printer’s capabilities for best results.

Maximizing Your Print Environment

Efficient use of printer paper sizes is one part of a comprehensive print strategy. Maximizing your printing environment also involves considering paper quality and understanding how it affects your documents.

Understanding Paper Quality

The quality of paper plays a critical role in the outcome of your prints. High-quality paper can enhance the appearance and feel of your documents. It can also reduce printer wear and tear. Here are some key points to remember when selecting paper:

  • Weight and Thickness: Heavier, thicker papers feel more substantial and are less transparent.
  • Brightness: Brighter paper provides a vivid base for ink or toner, making colors pop.
  • Texture: Smooth paper yields sharp, high-quality prints, while textured paper adds a tactile dimension.
  • Finish: Matte or glossy? Matte is best for readability, while glossy makes images shine.

Investing in decent paper can prevent jams and ensure crisp, professional-looking documents. Aim to use the best paper your budget allows.

The Implications of Paper Size in Print Management

Paper size not only affects how content is displayed but also impacts your print management. Here are some ways in which paper size matters:

  • Standardization: Using standard sizes like Letter or A4 can streamline processes and reduce waste.
  • Cost-efficiency: Correct sizes mean less trimming and fewer unused paper scraps.
  • Professionalism: Properly sized documents convey a professional image to clients.
  • Printers’ Capacity: Make sure your printer can handle different sizes to avoid jams and damage.

To manage prints well, match paper sizes to your documents’ intended use and the recipients’ expectations. Know your printer’s capabilities, and prepare for size adjustments for international documents. Understanding these elements helps reduce costs and maintain printer health.

Newer posts »