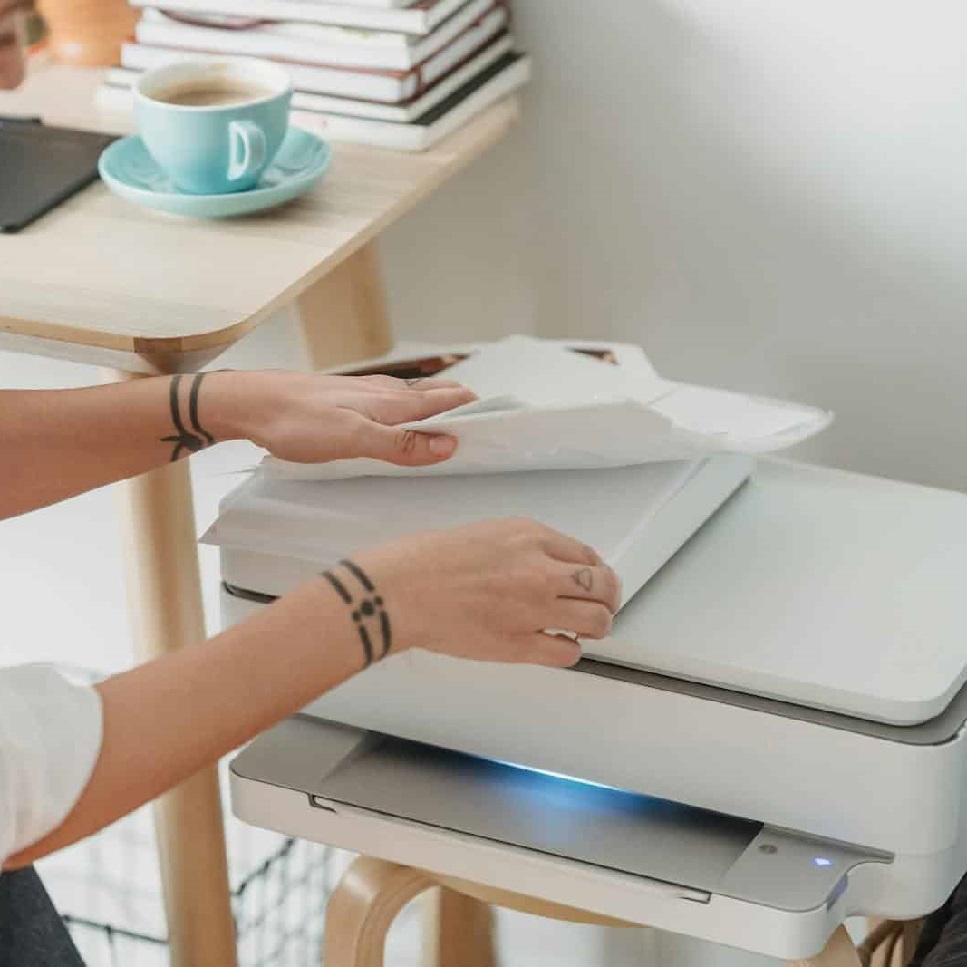
Preparing Your Printer for Connection
Before linking your phone to a printer, it’s essential to prep the printer. This makes sure the connection goes smoothly. Here’s how to do it.
Ensuring Compatibility and Readiness
First, check your printer for mobile printing support. Most new printers connect using Wi-Fi or Bluetooth. If it’s an older model, you might need a wireless adapter. Check the printer’s manual or online specs to confirm compatibility.
Next, power up your printer. Make sure it has paper, ink or toner, and no errors. If it’s not ready, your phone won’t find it. Also, update your printer’s software to the newest version. This can fix bugs and improve connection success.
Setting up Wi-Fi or Bluetooth on Your Printer
For Wi-Fi printers, join your home network. Go to the printer’s settings. Find the Wi-Fi option and connect to your network. If it asks for a password, enter it.
For Bluetooth, turn on the printer’s Bluetooth mode. Check the manual if you’re unsure how. Your printer will then be discoverable by your phone.
Once connected to Wi-Fi or Bluetooth, your printer is ready for your phone. Ensure both devices are on the same network. This is crucial for the connection to work.
Connecting Your Android Phone to a Printer
Connecting an Android phone to your printer is straightforward. Follow these steps to get started quickly.
Utilizing Android’s Default Print Service
First, ensure your phone’s print service is on. Open your phone’s settings and search for ‘printing.’ Turn on the ‘Default Print Service’ and a list of Wi-Fi printers should appear. Pick yours to connect.
Installing Printer Brand Specific Apps
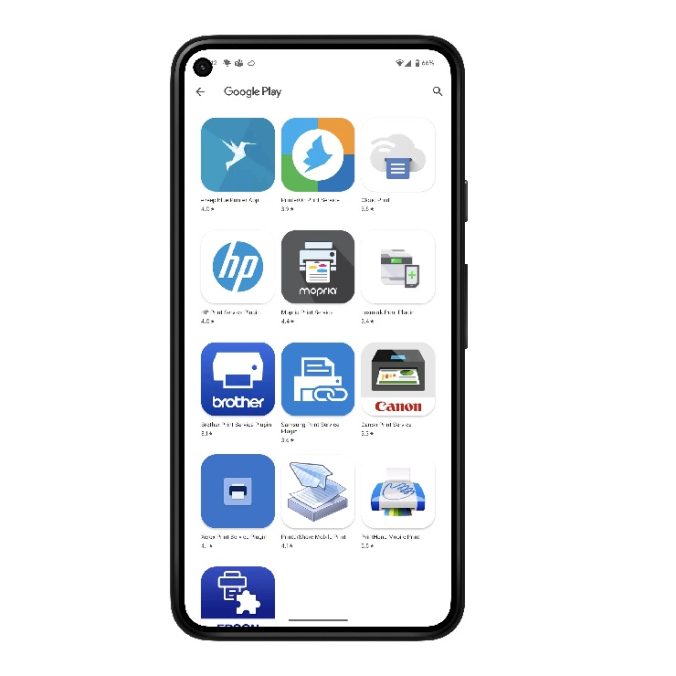
If your printer isn’t listed, try the printer’s app. Go to the Play Store, search for your printer brand’s app, install it, and follow the instructions provided.
Manual Addition of Printer Via IP Address or Wi-Fi Direct
Still can’t connect? Add your printer manually using its IP address. Find the IP in your router settings and add it in the Default Print Service. Alternatively, select ‘Wi-Fi Direct printing’ to find and connect to printers directly.
Connecting Your iPhone to a Printer
Getting your iPhone hooked up to your printer is a smooth process if you follow the right steps.
Checking AirPrint Compatibility
Start by making sure your printer has AirPrint. This Apple tech lets you print without installing extra apps. Look for the AirPrint logo or check online to see if your printer is compatible. Your iPhone and printer must connect to the same Wi-Fi to work together.
Using Manufacturer’s iOS Apps for Printing
If your printer doesn’t support AirPrint, don’t worry. Most printer brands offer iOS apps for their products. Download the app made for your printer from the App Store. Follow the app’s guide to connect and print. These apps often give more control over printing settings.
Printing Options Through iOS Share Menu
Ready to print? Just open the file and tap the share icon. Scroll to find ‘Print,’ then tap it. Pick your printer from the list, set your preferences, and press ‘Print.’ Your document or photo will start printing right away.
Remember, if AirPrint isn’t an option, the brand app is your next best bet. And always ensure your printer and iPhone are on the same Wi-Fi during setup.
Troubleshooting Common Connection Issues
Encountering issues when tying to connect your phone to a printer can be common. Here’s what to look out for and how to fix these issues.
What to Do If Your Mobile Can’t Find the Printer
If your phone doesn’t spot your printer, verify that both devices use the same Wi-Fi. Restarting both your phone and printer can sometimes clear up this trouble. Also, ensure your printer’s Wi-Fi is active and check if your phone’s print settings include your printer’s brand.
Steps to Take If the Printer Is Unresponsive
When printers don’t react, check their network connection. A printer might seem ‘unavailable’ if it’s offline or the network is unstable. Try rebooting your router and printer to reset network links. If it persists, the manufacturer’s customer service might have a solution.
Ensuring Both Devices Are on the Same Wi-Fi Network
To print successfully, your phone and printer need to be on the same Wi-Fi. This lets them communicate without hiccups. Verify your Wi-Fi settings on both. If your printer connects via Bluetooth, make sure it’s discoverable and pair it with your phone again.
Exploring Special Printer Apps and Advanced Features
Printer technology has evolved, and now there are dedicated mobile apps that enhance the printing experience. These apps, designed by printer manufacturers, offer additional functions and ease in printing directly from your phone.
Overview of Manufacturer-Specific Printing Apps
Top printer brands have their own apps. Examples include HP ePrint, Canon Print Service, and Epson iPrint. These apps help to connect, print, and manage printer settings smoothly from your phone. They turn your mobile into a powerful remote control for your printer.
Benefits of Third-Party Printing Apps
Besides brand apps, third-party apps like PrintCentral and Printer Pro offer more choices. They work with a range of printer brands. These apps might provide unique features not found in the manufacturer’s apps, making them worth exploring.
Advanced Printing Options and Settings
Both manufacturer and third-party apps offer advanced settings. You can choose paper size, color options, and print quality. Some even let you order ink or toner directly through the app. Advanced features make phone-to-printer connections as functional as computer printing setups.
Printing Without a Network: Alternative Methods
Even if you’re not connected to a network, you can still print from your phone. Here are two handy ways to do that.
Using NFC for Quick Connections
NFC, or Near Field Communication, lets you print with a simple tap. Many modern printers have NFC capabilities. Check if yours does. Turn on NFC on your phone, then tap it against the NFC spot on the printer. It’s usually marked with an NFC icon. This connects your phone and printer instantly, ready for printing.
Email-to-Print Feature for Remote Printing
Some printers have a cool email-to-print function. Set up an email address for your printer through the manufacturer’s instructions. Send your documents or photos as attachments to this address. Your printer will automatically print them out. This method works from anywhere, not just your home network. It’s great if you’re on the go and need a print waiting for you when you get back.
Final Tips for Successful Printing from Your Phone
Ensuring a smooth printing process from your phone involves a few last steps. Following these final tips will help you avoid common problems and maintain an efficient printing setup.
Keeping Software and Apps Updated
Regularly check for updates to your printer’s firmware and your phone’s operating system. These updates can fix bugs, improve compatibility, and add new features. If you’re using a printing app, whether it’s brand-specific or third-party, keep it updated too. App updates often provide important security patches and usability enhancements.
- Check for updates: Look in your printer’s settings or manufacturer’s website for firmware updates.
- Update your phone: Keep your iOS or Android device updated to the latest version.
- App updates: Regularly visit the App Store or Google Play Store to update your printing apps.
Staying on top of these updates will keep your printing tasks running without a hitch.
Contacting Manufacturer Support for Persistent Issues
If you’ve tried all the troubleshooting steps and keep having issues, reaching out to the printer manufacturer might be the way to go. They can offer tailored assistance and more advanced solutions.
- Read the manual: Your printer’s manual may have a support section with contact details.
- Online support: Use the manufacturer’s online help center for FAQs and contact options.
- Phone or email: If problems persist, call or email the manufacturer’s customer support team.
With these resources, you can get specific help for your printing woes. Remember, manufacturers are there to help clients like you, so don’t hesitate to reach out.