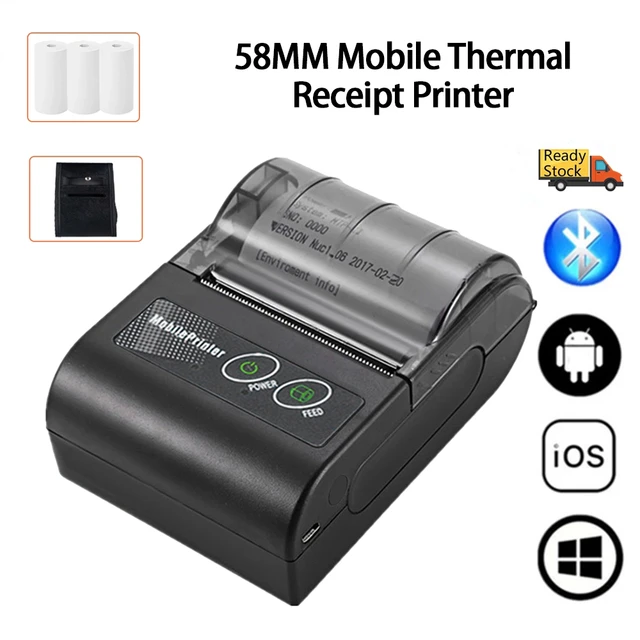
How to connect iphone to printer wireless
In today’s digital age, printing documents from your iPhone is a breeze thanks to wireless technology. Whether you need to print a boarding pass, a recipe, or a school assignment, connecting your iPhone to a printer wirelessly is a simple and convenient process. This guide will walk you through every step, explaining the different methods and troubleshooting common issues.
 Understanding Wireless Printing Options
How to connect iphone to printer wireless
Before we dive into the steps, let’s understand the two primary ways to connect your iPhone to a printer wirelessly:
- AirPrint: Apple’s own wireless printing protocol, AirPrint, is the most straightforward and widely supported method. It allows your iPhone to automatically detect and print to compatible printers without any setup or software installation.
- Third-Party Apps: If your printer doesn’t support AirPrint, you can still print wirelessly by using a third-party app. These apps bridge the communication gap between your iPhone and your printer, enabling printing even for older models.
Connecting Using AirPrint: The Easiest Way
AirPrint is the easiest method for printing from your iPhone. Here’s how to do it:
1. Ensure Compatibility:
- Printer Support: Your printer must be AirPrint compatible. Most modern printers from leading brands like HP, Canon, Epson, and Brother support AirPrint. You can check your printer’s manual or manufacturer’s website to confirm.
- Network Connection: Your printer and iPhone need to be connected to the same Wi-Fi network.
2. Open the Document:
- Open the Document: Open the document you want to print from your iPhone. This could be a PDF, image, web page, or a document from an app like Pages or Word.
3. Choose Print Option:
- Find the Print Icon: Look for the “Share” or “Print” icon in the app’s menu. Tap on it to open the printing options.
- Select Your Printer: Your iPhone will automatically detect all AirPrint-compatible printers on your Wi-Fi network. Select the desired printer from the list.
- Adjust Printing Settings (Optional): Depending on the app and printer, you may have options to adjust settings such as paper size, number of copies, and print quality.
4. Start Printing:
- Confirm and Print: Review your printing options and tap on “Print” to send the document to your printer. Your document will begin printing shortly.
 Connecting Using Third-Party Apps
How to connect iphone to printer wireless
If your printer doesn’t support AirPrint, you can still print wirelessly using a third-party app. Here are some popular options:
1. HP Smart:
- Official App: HP Smart is the official app for HP printers. It offers a wide range of features, including printing, scanning, and managing your printer.
- Compatibility: This app supports most HP printers, both AirPrint compatible and non-AirPrint models.
2. Canon PRINT Inkjet/SELPHY:
- Official App: Canon PRINT Inkjet/SELPHY is the official app for Canon printers. It provides similar features to HP Smart, allowing you to print, scan, and manage your Canon printer.
- Compatibility: The app supports a wide range of Canon inkjet and SELPHY photo printers.
3. Epson iPrint:
- Official App: Epson iPrint is the official app for Epson printers. It offers printing, scanning, and other features for Epson printers.
- Compatibility: The app supports a wide range of Epson inkjet and laser printers.
4. Brother iPrint&Scan:
- Official App: Brother iPrint&Scan is the official app for Brother printers. It allows you to print and scan documents from your iPhone.
- Compatibility: The app supports most Brother printers, including both AirPrint compatible and non-AirPrint models.
5. PrinterShare:
- Third-Party App: PrinterShare is a popular third-party app that supports a wide range of printers from different manufacturers. It acts as a bridge between your iPhone and your printer.
- Compatibility: PrinterShare supports thousands of printers, including models that don’t have native AirPrint support.
How to Use Third-Party Apps for Printing:
How to connect iphone to printer wireless
- Download and Install: Download and install the appropriate app from the App Store.
- Connect to Printer: Follow the app’s instructions to connect your iPhone to your printer. This may involve connecting to your printer’s Wi-Fi network or configuring the app to discover your printer.
- Print Documents: Open the document you want to print and use the app’s interface to select the printer and adjust printing options.
- Start Printing: Initiate the print command from the app, and your document will be sent to the printer.
Troubleshooting Common Printing Issues
Even with the convenience of wireless printing, you might encounter some issues. Here are some troubleshooting tips:
1. Check Network Connection:
- Both Devices: Ensure both your iPhone and printer are connected to the same Wi-Fi network.
- Router and Modem: Restart your router and modem to refresh the network connection.
2. Printer Power:
- Switch On: Make sure your printer is turned on and ready to print.
3. Paper and Ink:
- Paper Availability: Check if the printer has paper in the tray and that it is not jammed.
- Ink Levels: Ensure your printer has enough ink. Low ink levels can prevent printing.
4. Printer Settings:
- AirPrint: If using AirPrint, check your printer’s settings to ensure that AirPrint is enabled.
- Third-Party Apps: If using a third-party app, check its settings to ensure that the printer is selected and connected correctly.
5. App Updates:
- Check Updates: Make sure your iPhone’s operating system and the printing app are up to date.
6. Printer Firmware:
- Update Firmware: Check for firmware updates for your printer. Outdated firmware can sometimes cause printing problems.
7. Firewall:
- Firewall Settings: If your router has a firewall, check its settings to ensure that it doesn’t block communication between your iPhone and the printer.
 Enhancing Your Wireless Printing Experience
How to connect iphone to printer wireless
Here are some additional tips to make your wireless printing experience smoother:
1. Print Directly from Safari:
- Web Page Printing: If you’re browsing a webpage on your iPhone, you can usually print it directly from the Safari browser without needing to open a separate app.
- Print Icon: Look for the “Share” or “Print” icon in the Safari menu.
2. Printing from Email:
- Email Attachment: If you have a document as an email attachment, you can typically print it directly from the email app.
3. Utilizing Cloud Printing Services:
- Cloud Printing: Cloud printing services, such as Google Cloud Print, allow you to print documents from anywhere in the world, as long as you have an internet connection.
- Integration: Some third-party printing apps offer integration with cloud printing services.
4. Using Apple’s AirPlay for Printing:
- AirPlay Compatibility: Some AirPlay-compatible printers allow you to print directly from your iPhone using the AirPlay feature.
- Mirror Screen: You can mirror your iPhone’s screen onto the printer’s screen to control printing settings.
5. Exploring Printer-Specific Features:
- Manufacturer Apps: Many printer manufacturers offer their own apps with additional features beyond basic printing.
- Features: These apps often include features like scanning, copying, faxing, and managing printer settings.
Some trends in the printer market:
Here are some trends in the printer market:
Overall Trends:
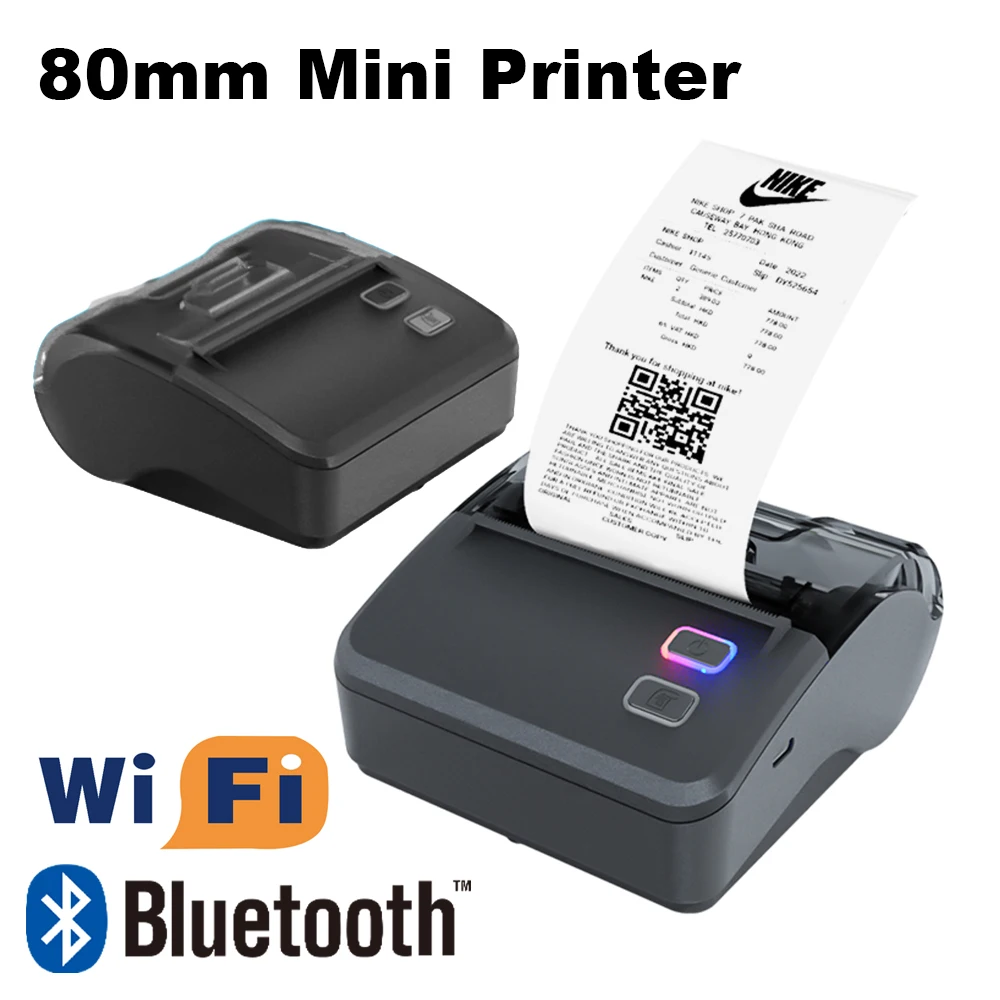
- Shifting to multifunction devices (MFDs): Printers are increasingly integrated with other functionalities like scanning, copying, and faxing. This trend is driven by the need for all-in-one devices that save space and streamline workflows.
- Focus on wireless connectivity: Wireless printing has become the norm, allowing users to print from any device in the home or office. This has further driven the popularity of mobile printing solutions.
- Growing importance of security features: As data breaches become more frequent, businesses and consumers are looking for printers with strong security features to protect sensitive information.
- Sustainability and eco-friendly options: Consumers are becoming more environmentally conscious and are seeking printers with low energy consumption and recycled materials.
 Specific Trends:
How to connect iphone to printer wireless
- Rise of 3D printing: 3D printing technology is gaining traction, particularly in industries like manufacturing, healthcare, and education. It offers the ability to create custom objects on demand, leading to faster prototyping and personalized products.
- Growth of label printers: Businesses of all sizes are relying on label printers for product identification, inventory management, and shipping.
- Increasing adoption of cloud printing: Cloud printing allows users to print from any location with an internet connection, making it a convenient option for businesses with remote workers.
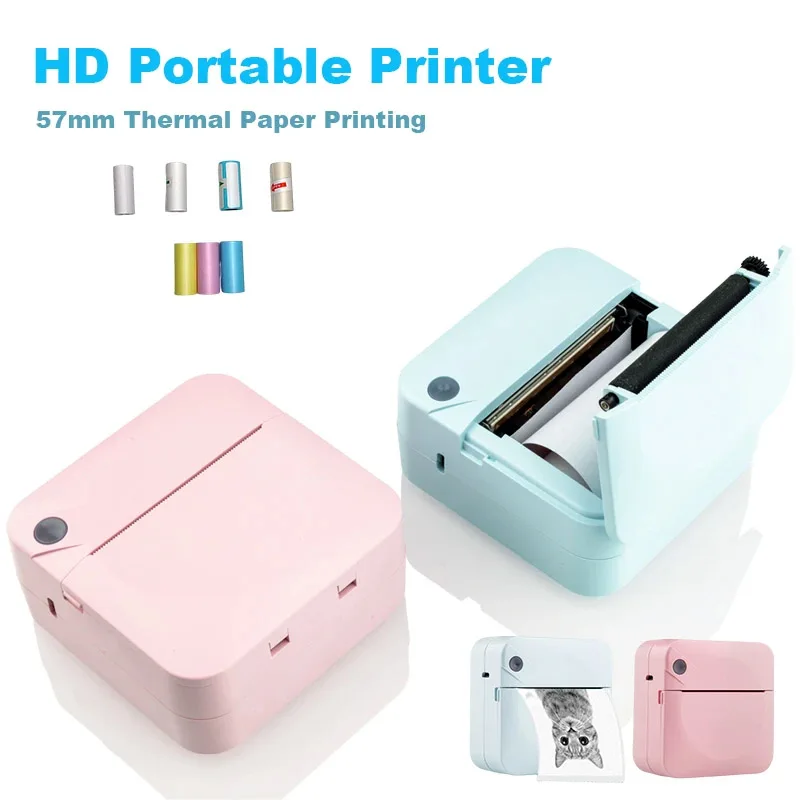
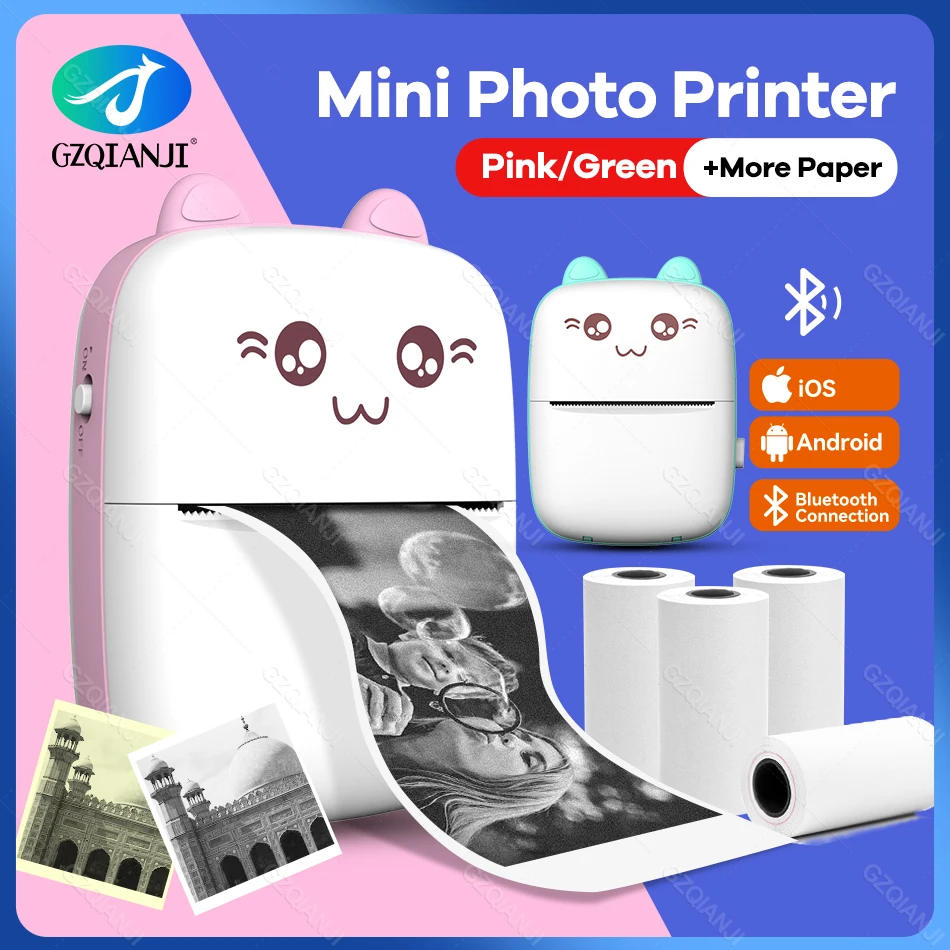
- Demand for high-quality photo printing: Despite the rise of digital photos, many consumers still prefer prints for displaying memories and creating personalized gifts.
- Growing popularity of inkjet printers: Inkjet printers are becoming more affordable and offer superior quality for photo printing compared to laser printers.
Future Trends:
- Artificial intelligence (AI) integration: Printers are expected to incorporate AI features for tasks like automatic paper size detection, smart document management, and predictive maintenance.
- Internet of Things (IoT) integration: Printers could be connected to other devices in the home or office printer , allowing for seamless workflows and remote monitoring.
- Increased use of bioplastics and recycled materials: The printer industry will likely continue to adopt sustainable materials to reduce its environmental impact.
Overall, the printer market is evolving to meet the changing needs of consumers and businesses. From multifunctionality and wireless connectivity to cloud printing and 3D printing, there are a variety of trends shaping the industry and driving innovation.
 Conclusion:
How to connect iphone to printer wireless
Printing wirelessly from your iPhone is now a seamless experience, thanks to advancements in technology and user-friendly software. Whether you choose AirPrint or a third-party app, you can easily print documents, photos, and web pages. By following the steps outlined in this guide and troubleshooting any issues, you can enjoy the convenience of wireless printing from your iPhone.
 The Power of the Shared Experience
 The Office Space Legacy: More Than Just a GIF
 Some printer usage considerations:
 Some trends in the printer market:
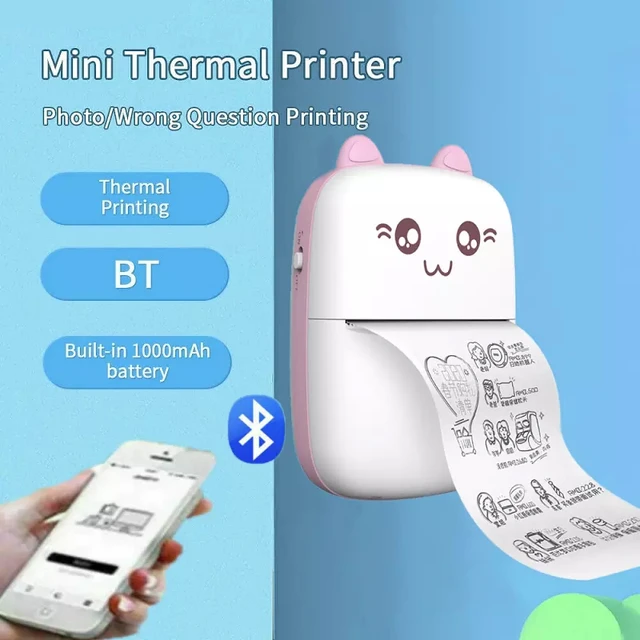 Future Trends:

 2. Choosing the Right Location
 4. Setting Up the Ring Camera
 5. Configuring Your Ring Camera Settings
 The popularity of Ring cameras:
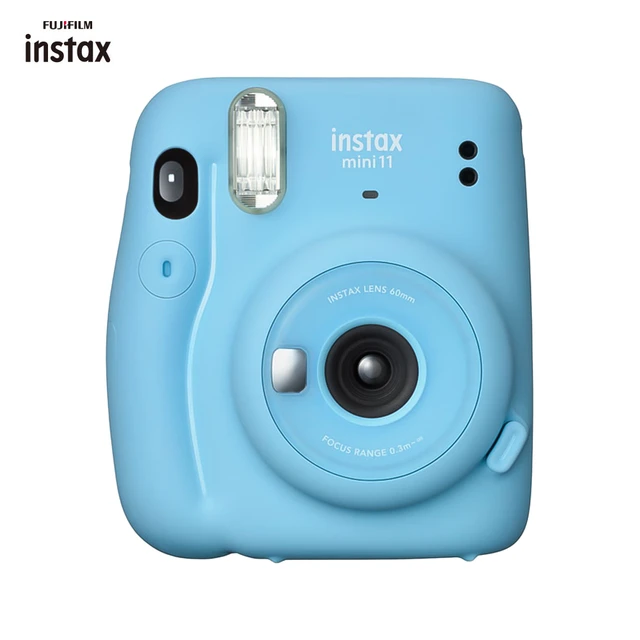
 What is Camera Flicker?
 Definition of Camera Flicker
 2. LED Lights