 Introduction:
Experiencing issues with your Blink camera not connecting can be frustrating, especially when you rely on it for surveillance and security. A Blink camera that won’t connect may prevent you from monitoring your premises or accessing important footage. In this article, we will provide you with a comprehensive troubleshooting guide to help you resolve connectivity issues with your Blink camera. By following these troubleshooting steps, you can restore the connection and ensure the proper functioning of your Blink camera.
Introduction to Blink Cameras
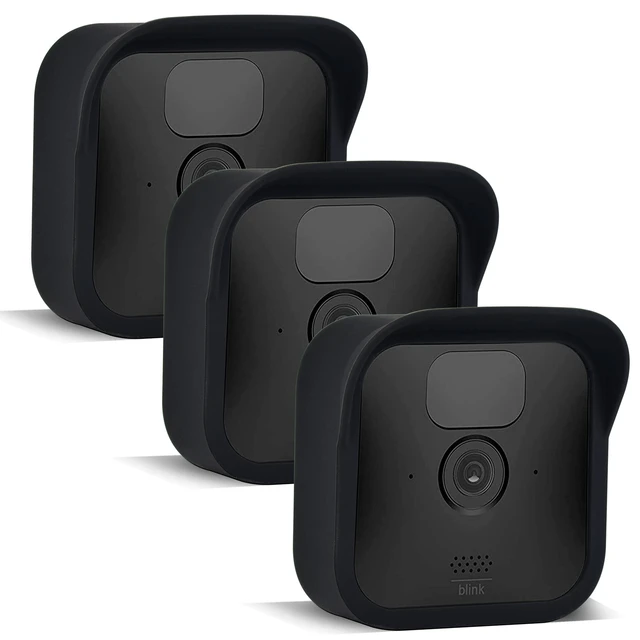
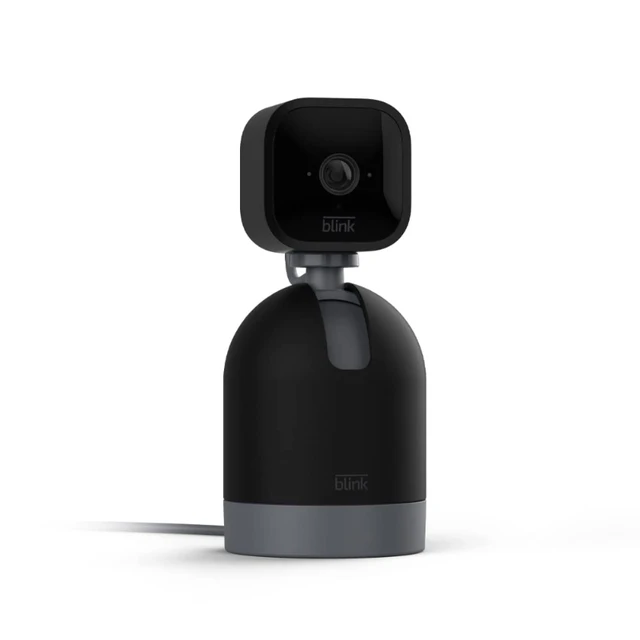
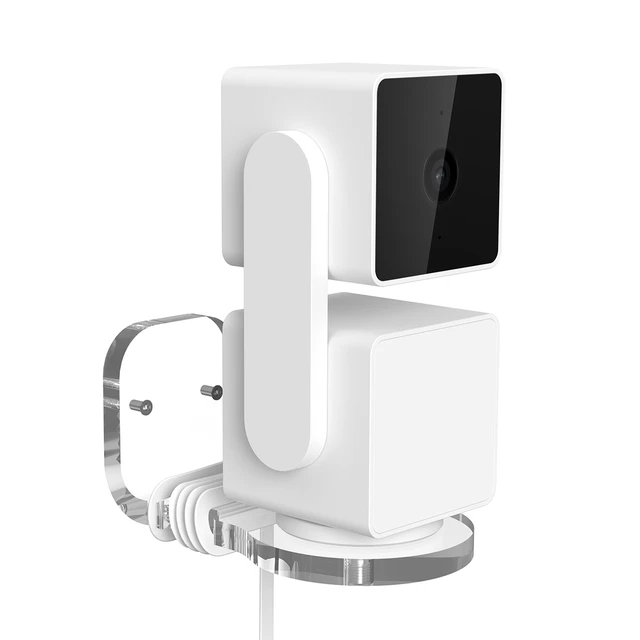
Blink cameras are popular wireless security devices that allow you to monitor and record activities in and around your home.
A. Camera Connectivity: Blink cameras require a stable internet connection to transmit live video and store footage.
B. Blink Sync Module: The Blink Sync Module acts as a bridge between the Blink cameras and your home Wi-Fi network.
Basic Troubleshooting Steps
When your Blink camera won’t connect, start by performing basic troubleshooting steps.
A. Camera Reset: Press and hold the reset button on the back of the camera for 10-15 seconds until the LED light on the front of the camera blinks red. Release the button, and the camera will restart.
B. Sync Module Reset: Disconnect the power adapter from the Blink Sync Module, wait for 10 seconds, and then reconnect it. Allow the module to restart.
C. Internet Router Reset: Unplug your internet router from the power source, wait for 10-15 seconds, and then plug it back in. Allow the router to restart.
Wi-Fi Network Issues
Wi-Fi network issues can contribute to connectivity problems with your Blink camera.
A. Signal Strength: Ensure that your Blink camera is within range of your Wi-Fi router and that the signal strength is strong enough.
B. Network Congestion: Check for other devices or activities that may be consuming excessive bandwidth and affecting the connectivity of your Blink camera. Reduce the number of connected devices or limit bandwidth-intensive activities.
C. Wi-Fi Channel: Check if other devices or nearby networks are using the same Wi-Fi channel. If so, consider changing your router’s channel to reduce interference.
 Sync Module and Camera Pairing
Proper pairing between the Sync Module and your camera is vital for connectivity.
A. Sync Module Placement: Ensure that the Sync Module is located within a reasonable distance (around 30 feet) from your Blink camera for a reliable connection.
B. Sync Button: Press and release the button on the Blink Sync Module and within 10 seconds, press the button on the Blink camera. The LED light on the camera should flash blue, indicating successful pairing.
C. Add Camera: If you are adding a new camera to an existing Sync Module, follow the instructions on the Blink mobile app to add the camera and complete the pairing process.
Firmware Updates
Keeping your Blink camera and Sync Module firmware up to date is important for optimal performance.
A. Check for Updates: Use the Blink mobile app or visit the Blink website to check for available firmware updates for your camera and Sync Module. If updates are available, follow the instructions to install them.
B. Restart Sync Module: After firmware updates, restart the Sync Module to ensure any changes take effect.
 Battery and Power Issues
Low battery or power-related issues can affect the connectivity of your Blink camera.
A. Battery Level: Ensure that the battery level of your Blink camera is sufficient. Replace or recharge the batteries if necessary.
B. Power Source: If your Blink camera is powered by an electrical outlet, check that the power adapter is securely connected and that the outlet is working correctly.
C. External Power Supply: If using an external power supply or solar panel, verify that the connection is secure and that the power supply is functioning properly.
Contacting Blink Support
If you have followed all the troubleshooting steps and your Blink camera still doesn’t connect, it may be necessary to contact Blink support for further assistance.
A. Blink Support Resources: Visit the Blink website or contact Blink support via phone or email for additional troubleshooting assistance or guidance.
B. Warranty Coverage: If your Blink camera is still under warranty, Blink support can provide guidance on warranty-related issues and potential replacements.
 Blink Camera and Ring Camera:
Blink Camera and Ring Camera are both popular brands of home security cameras that offer similar features but have some key differences. Here’s a comparison between the two:
Design and Installation:
Blink cameras are small, wireless, and battery-powered. They are easy to install and can be placed indoors or outdoors. Ring cameras, on the other hand, offer various models including both wired and wireless options. They are typically larger in size and may require a power source for operation.
Connectivity:
Blink cameras use Wi-Fi for connectivity and require a sync module to connect to the internet. The sync module acts as a bridge between the cameras and the home network. Ring cameras connect directly to Wi-Fi without the need for an additional sync module.
Video Quality:
Both Blink and Ring cameras offer HD video quality, but the specific resolution can vary between models. Ring cameras often provide higher resolution options such as 1080p, whereas Blink cameras may have slightly lower resolutions depending on the model.
Motion Detection:
Both cameras offer motion detection features, but Ring cameras typically provide more advanced motion detection capabilities. Ring camera models often include customizable motion zones and advanced motion detection algorithms to reduce false alerts.
Cloud Storage and Subscription:
Both Blink and Ring offer cloud storage options to save and access recorded videos. Blink provides free cloud storage for limited clips, while Ring requires a subscription to access cloud storage and advanced features like person detection and extended video history.
Integration with Smart Home Devices:
Ring cameras are well-known for their integration with other Ring and Amazon smart home devices. They can be easily integrated into a larger Ring security system. Blink cameras, while compatible with Amazon Alexa, have fewer options for integration with smart home devices.
Price:
Blink cameras tend to be more budget-friendly compared to Ring cameras. However, the cost can vary depending on the specific models and features you choose.
When choosing between Blink and Ring cameras, consider factors such as your specific security needs, installation preferences, desired features, video quality requirements, and budget. Both brands offer reliable options for home security cameras, so it’s important to assess your individual requirements before making a decision.
 Conclusion
When your Blink camera won’t connect, following a systematic troubleshooting approach can help resolve the issue. Start with basic resets, ensure proper pairing between the camera and Sync Module, and address any Wi-Fi network issues. Keep your firmware up to date and monitor battery and power-related concerns. If all else fails, reach out to Blink support for further assistance.
 Introduction:
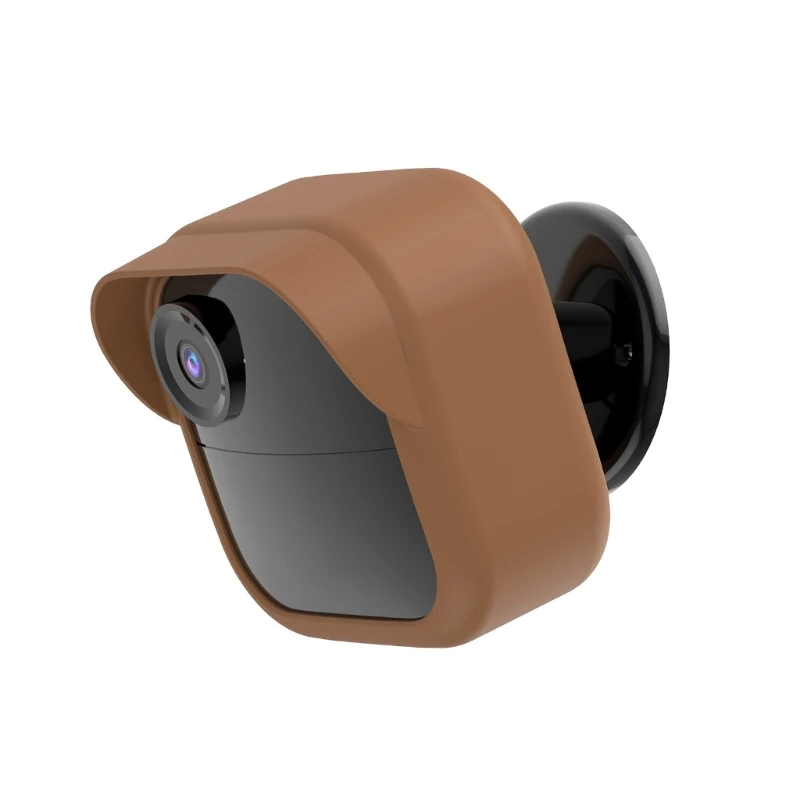 Potential Causes of a Blink Camera Blinking Red
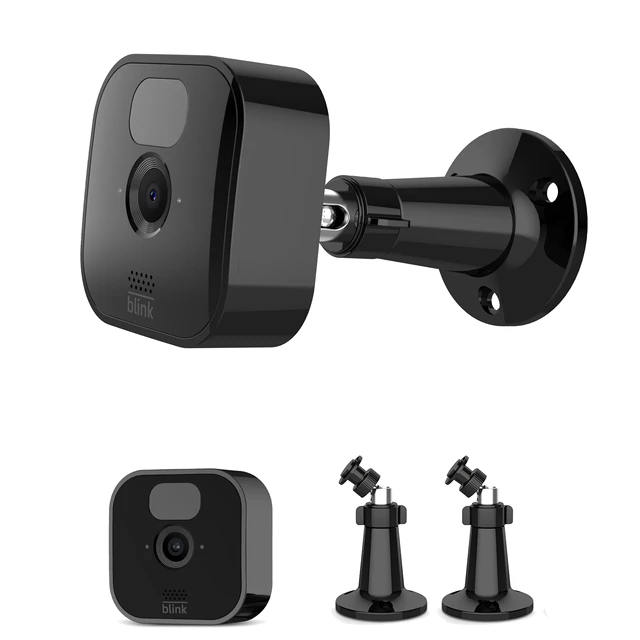 Additional Tips for Blink Camera Maintenance
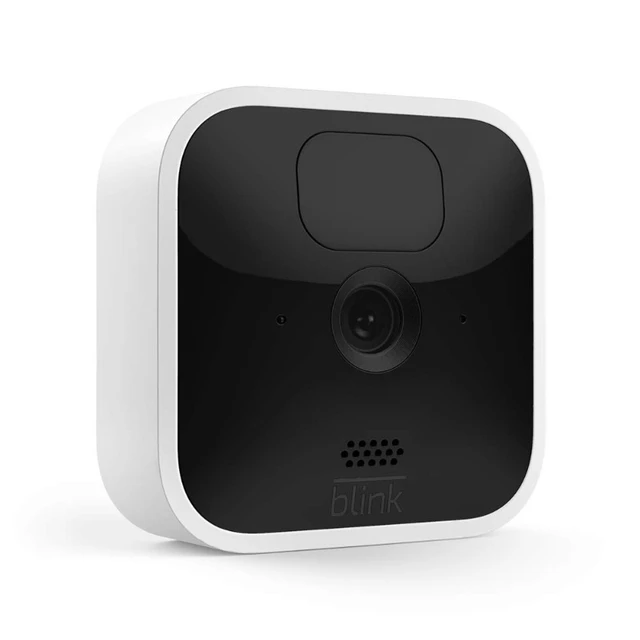 Blink Camera and Ring Camera:
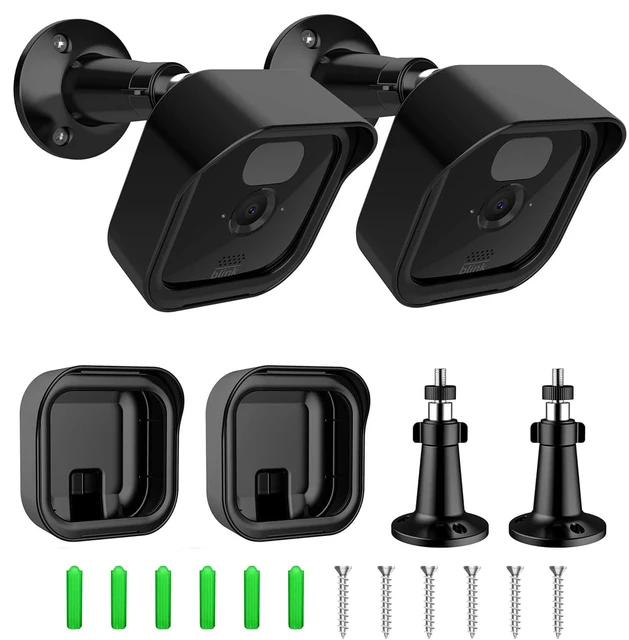 Conclusion
 Introduction:
 Understanding the Causes of Camera Shake
 Additional Measures to Reduce Camera Shake
 Comparing Ring camera and Blink camera:
 Conclusion
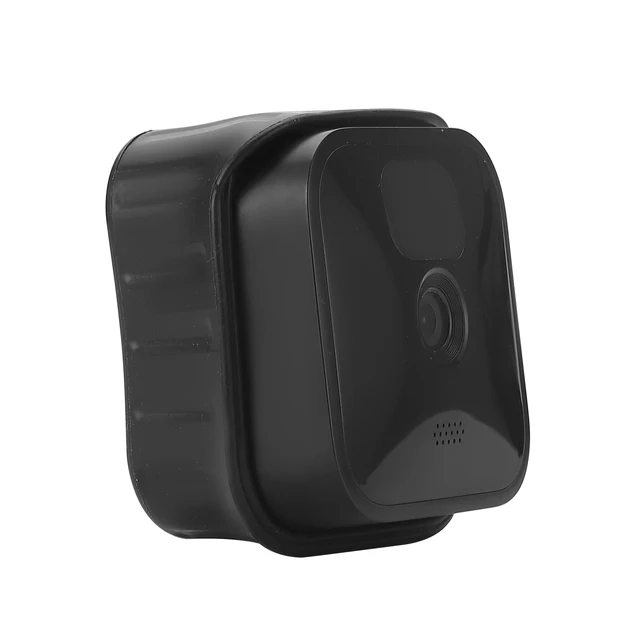
 Introduction:
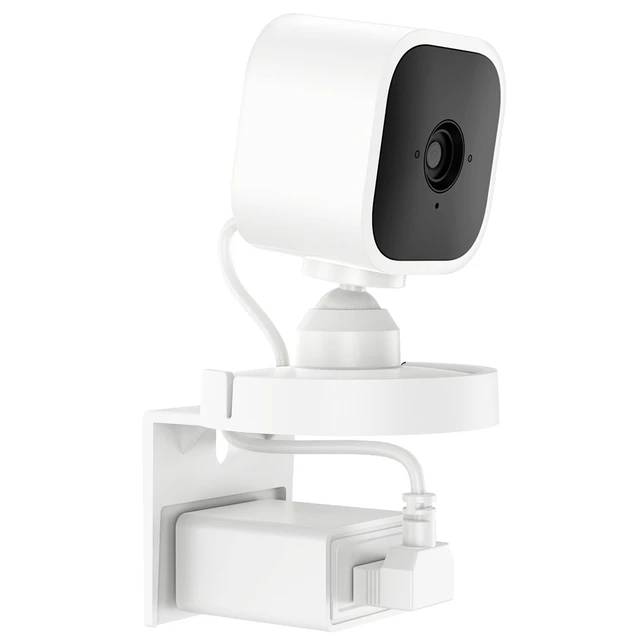 Introduction to Blink Camera Batteries
 Removing the Old Batteries
 Reinstalling the Blink Camera
 Conclusion